
Шлифмашины Bosch 0.601.37B.101 - инструкция пользователя по применению, эксплуатации и установке на русском языке. Мы надеемся, она поможет вам решить возникшие у вас вопросы при эксплуатации техники.
Если остались вопросы, задайте их в комментариях после инструкции.
"Загружаем инструкцию", означает, что нужно подождать пока файл загрузится и можно будет его читать онлайн. Некоторые инструкции очень большие и время их появления зависит от вашей скорости интернета.


16
| English
2 609 932 909 | (3.12.13)
Bosch Power Tools
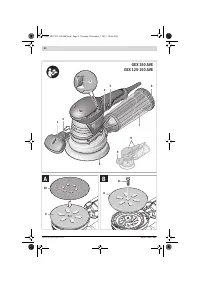
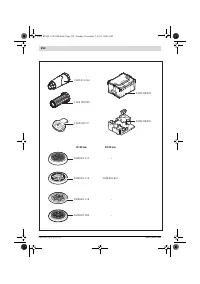
Replacing the Sanding Sheet (see figure A)
To remove the sanding sheet
10
, lift it from the side and pull it
off of the sanding plate
8
.
When attaching a new sanding sheet, remove any dust or de-
bris from the sanding plate
8
, e. g., with a brush.
The surface of the sanding plate
8
is fitted with Velcro backing
for quick and easy fastening of sanding sheets with Velcro ad-
hesion.
Press the sanding sheet
10
firmly against the bottom side of
the sanding plate
8
.
To ensure optimum dust extraction, pay attention that the
punched holes in the sanding sheet match with the holes in
the sanding plate.
Selection of the Sanding Plate
Depending on the application, the machine can be equipped
with sanding plates of different hardness:
– Sanding plate, extra soft: Suitable for polishing and sensi-
tive sanding, incl. on convex surfaces.
– Soft sanding plate: Suitable for all sanding applications
and general-purpose use.
– Hard sanding plate: Suitable for high sanding capacity on
flat surfaces.
Replacing the Sanding Plate (see figure B)
Note:
Replace a damaged sanding plate
8
immediately.
Pull off the sanding sheet or polishing tool. Completely un-
screw the screw
11
and take off the sanding plate
8
. Attach
the new sanding plate
8
and tighten the screw again.
Note:
When attaching the sanding plate, pay attention that
the toothing of the drive element engage into the openings of
the sanding plate.
Note:
A damaged sanding-plate base may be changed only by
an authorised after-sales service agent for Bosch power tools.
Dust/Chip Extraction
Dusts from materials such as lead-containing coatings,
some wood types, minerals and metal can be harmful to
one’s health. Touching or breathing-in the dusts can cause
allergic reactions and/or lead to respiratory infections of
the user or bystanders.
Certain dusts, such as oak or beech dust, are considered
as carcinogenic, especially in connection with wood-treat-
ment additives (chromate, wood preservative). Materials
containing asbestos may only be worked by specialists.
– As far as possible, use a dust extraction system suita-
ble for the material.
– Provide for good ventilation of the working place.
– It is recommended to wear a P2 filter-class respirator.
Observe the relevant regulations in your country for the
materials to be worked.
Prevent dust accumulation at the workplace.
Dusts can
easily ignite.
Integrated Dust Extraction with Dust Box
(see figures C
–
G)
Mount the dust box
7
onto the extraction outlet
12
. Turn the
dust box in such a manner that its recesses face against the
tips on the extraction outlet and the dust box can be felt to en-
gage.
The filling level of the dust box
7
can easily be checked
through the transparent container.
To empty the dust box
7
, pull it off toward the rear with a slight
twisting motion.
Screw the filter element
6
on and pull it out of the dust box
7
.
Empty the dust box.
To loosen the dust, gently strike or tap the filter element
6
against a firm surface. Clean the lamellas of the filter element
6
with a soft brush.
Note:
To ensure optimum dust extraction, empty the dust box
7
in good time and clean the filter element
6
at regular inter-
vals.
When working vertical surfaces, hold the power tool in such a
manner that the dust box
7
faces downward.
External Dust Extraction (see figure H)
Mount a vacuum hose
13
onto the extraction outlet
12
. Mount
the vacuum hose onto the extraction outlet (as shown in the
figure) in such a manner that the lateral openings on the ex-
traction outlet remain free. This prevents the power tool from
adhering to the workpiece during sanding and the surface
quality of the workpiece from being impaired.
Connect the vacuum hose
13
to a vacuum cleaner (accesso-
ry). An overview for connecting to various vacuum cleaners
can be found at the end of this manual.
The vacuum cleaner must be suitable for the material being
worked.
When vacuuming dry dust that is especially detrimental to
health or carcinogenic, use a special vacuum cleaner.
– Automotive paint
– Masonry, stone
– Marble
– Granite
– Ceramic
– Glass
– Plexiglas
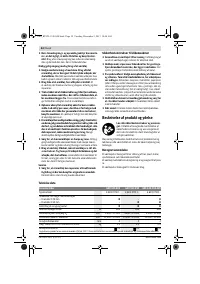
– Glass-fibre plastics
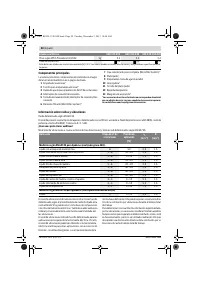
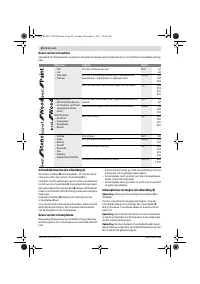
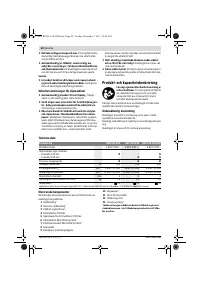
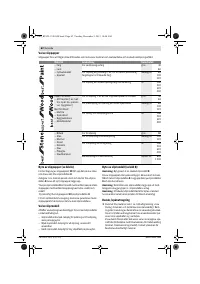
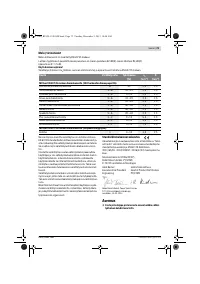
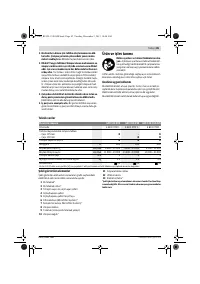
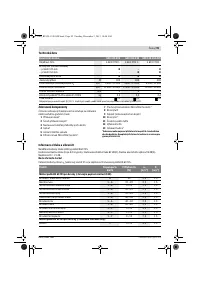
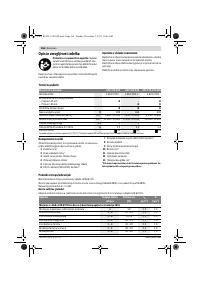
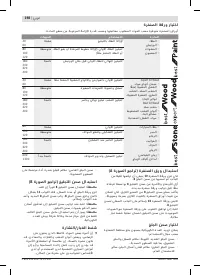
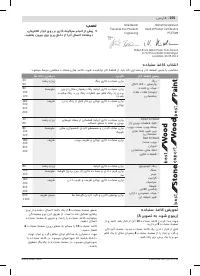
For pre-sanding
coarse
80
For shaping and braking edges
medium
100
120
For final sanding and forming
fine
180
240
320
400
For polish-sanding and rounding off edges
very fine
600
1 200
Material
Application
Grain size
OBJ_BUCH-1330-004.book Page 16 Tuesday, December 3, 2013 10:46 AM
Содержание
- 118 Описание продукта и услуг; Применение по назначению
- 119 Технические данные
- 120 Заявление о соответствии; Сборка; Выбор шлифовальной шкурки
- 121 Выбор опорной шлифовальной тарелки
- 122 Дополнительная рукоятка; Работа с инструментом; Включение электроинструмента
- 123 Техобслуживание и сервис; Техобслуживание и очистка
- 124 Утилизация; Українська; Вказівки з техніки безпеки; Загальні застереження для електроприладів
Характеристики

Остались вопросы?Не нашли свой ответ в руководстве или возникли другие проблемы? Задайте свой вопрос в форме ниже с подробным описанием вашей ситуации, чтобы другие люди и специалисты смогли дать на него ответ. Если вы знаете как решить проблему другого человека, пожалуйста, подскажите ему :)


