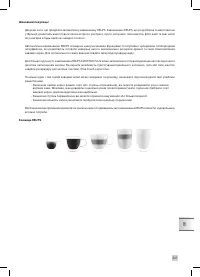
Кофемашина Krups EA894T10 Evidence Plus - инструкция пользователя по применению, эксплуатации и установке на русском языке. Мы надеемся, она поможет вам решить возникшие у вас вопросы при эксплуатации техники.
Если остались вопросы, задайте их в комментариях после инструкции.
"Загружаем инструкцию", означает, что нужно подождать пока файл загрузится и можно будет его читать онлайн. Некоторые инструкции очень большие и время их появления зависит от вашей скорости интернета.


27
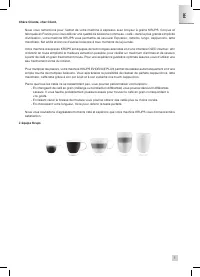
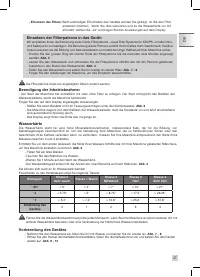
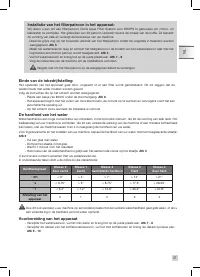
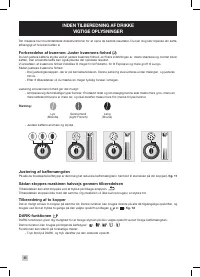
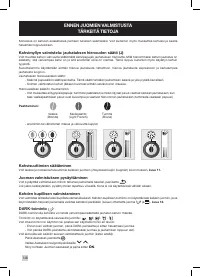
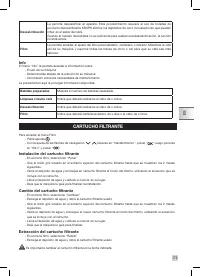
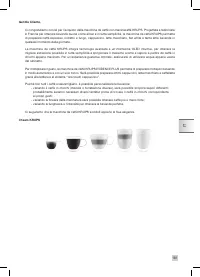
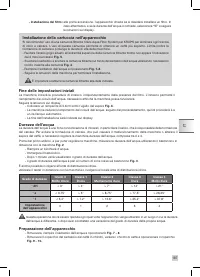
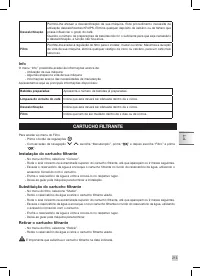
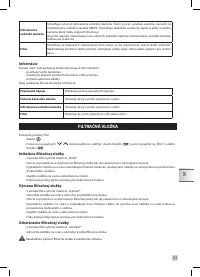
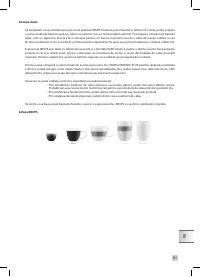
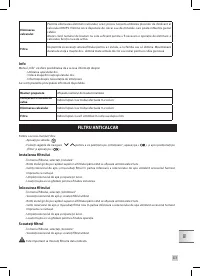
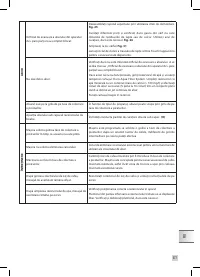
Installation of the filter cartridge in the appliance:
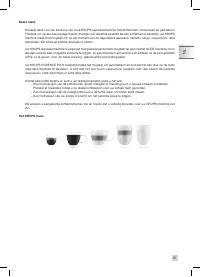
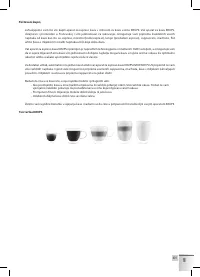
We advise you to use a Claris Aqua Filter System cartridge for KRUPS machines in order to remove any trace
of chlorine and limescale. In addition it limits the formation of limescale and ensures the longevity of your
machine.
- Turn the grey ring located on the upper end of the filter cartridge until it displays 2 months.
Fig. 5
- Empty the water tank and screw the filter cartridge in the bottom of the water tank using the accessory
supplied with the cartridge.
Fig. 4
- Fill the water tank and put it back in place.
Fig. 7- 8
- Let the machine guide you to finish the installation.
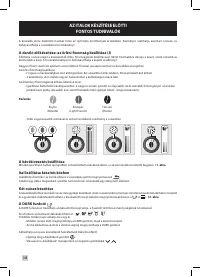
It is important to replace the filter cartridge properly on the date indicated
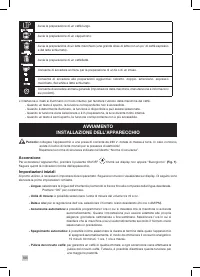
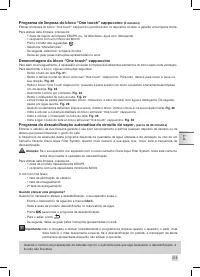
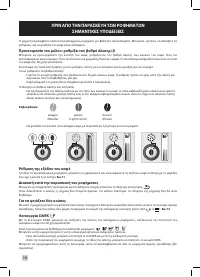
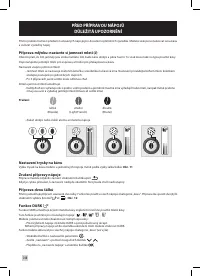
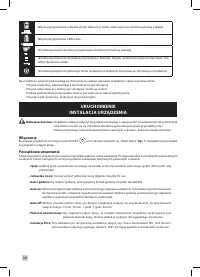
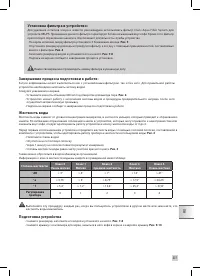
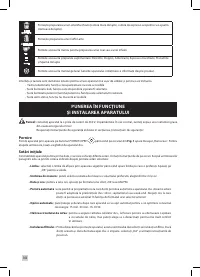
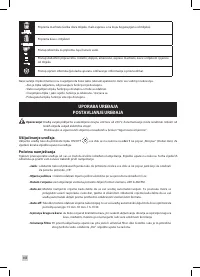
Priming the appliance:
The machine must be primed whether the filter is installed or not. Priming allows the water circuits to be filled, so
that the machine can operate.
Follow the on-screen instructions
- Place a 600 ml container under the steam outlet.
Fig. 6
- The machine will start by filling the water circuits, followed by preheating and then will proceed to automatic
rinsing.
- The screen will indicate the end of the installation
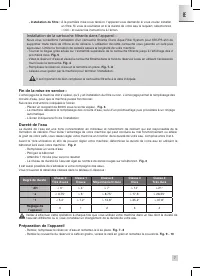
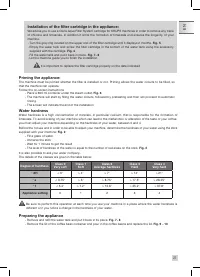
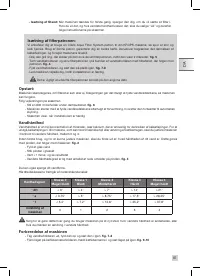
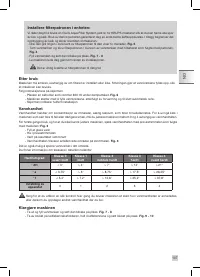
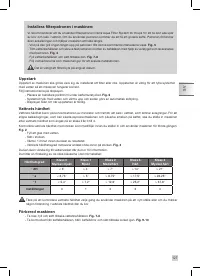
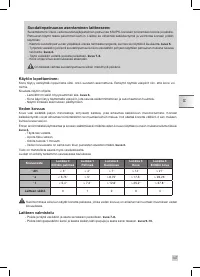
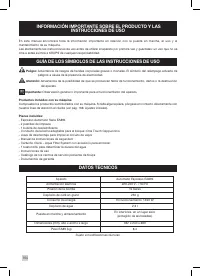
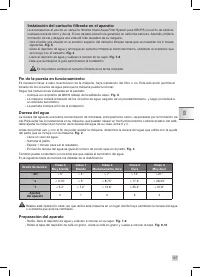
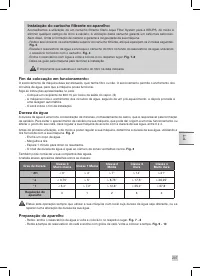
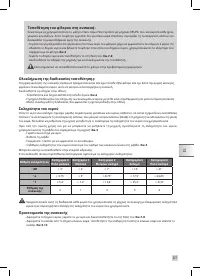
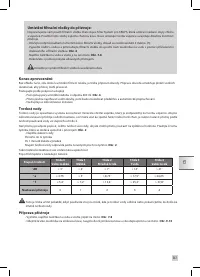
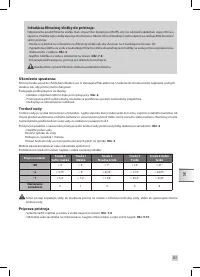
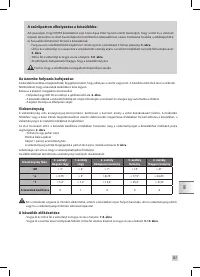
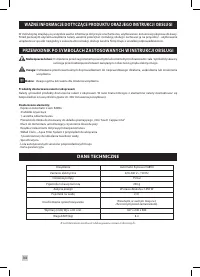
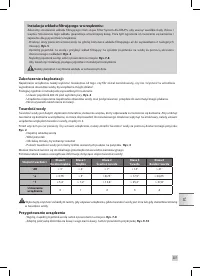
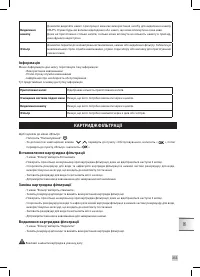
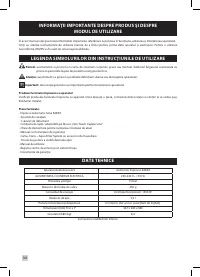
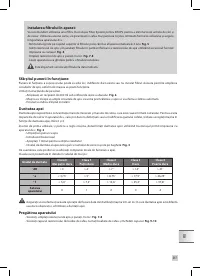
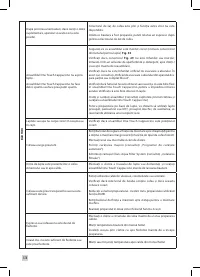
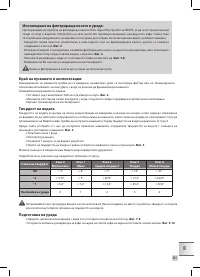
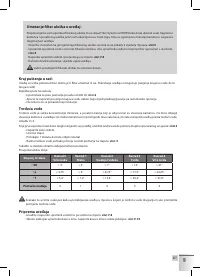
Water hardness
Water hardness is a high concentration of minerals, in particular calcium, that is responsible for the formation of
limescale. To avoid scaling of your machine which can lead to the malfunction or alteration of the taste of your coffee,
you must adjust your machine depending on the hardness of your water, between 0 and 4.
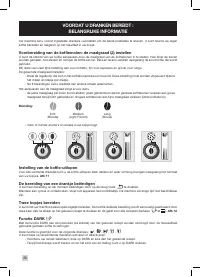
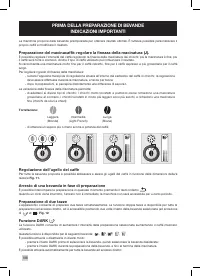
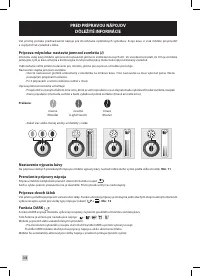
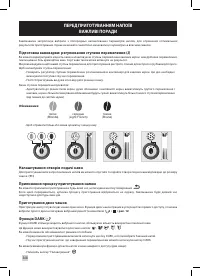
Before the 1st use and in order to be able to adjust your machine, determine the hardness of your water using the stick
supplied with your machine:
Fig. 2
- Fill a glass of water
- Immerse the stick
- Wait for 1 minute to get the result
- The level of hardness of the water is equal to the number of red areas on the stick.
Fig. 3
It is also possible to ask your water company.
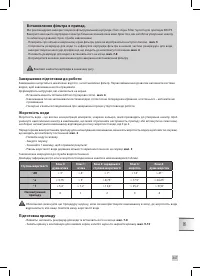
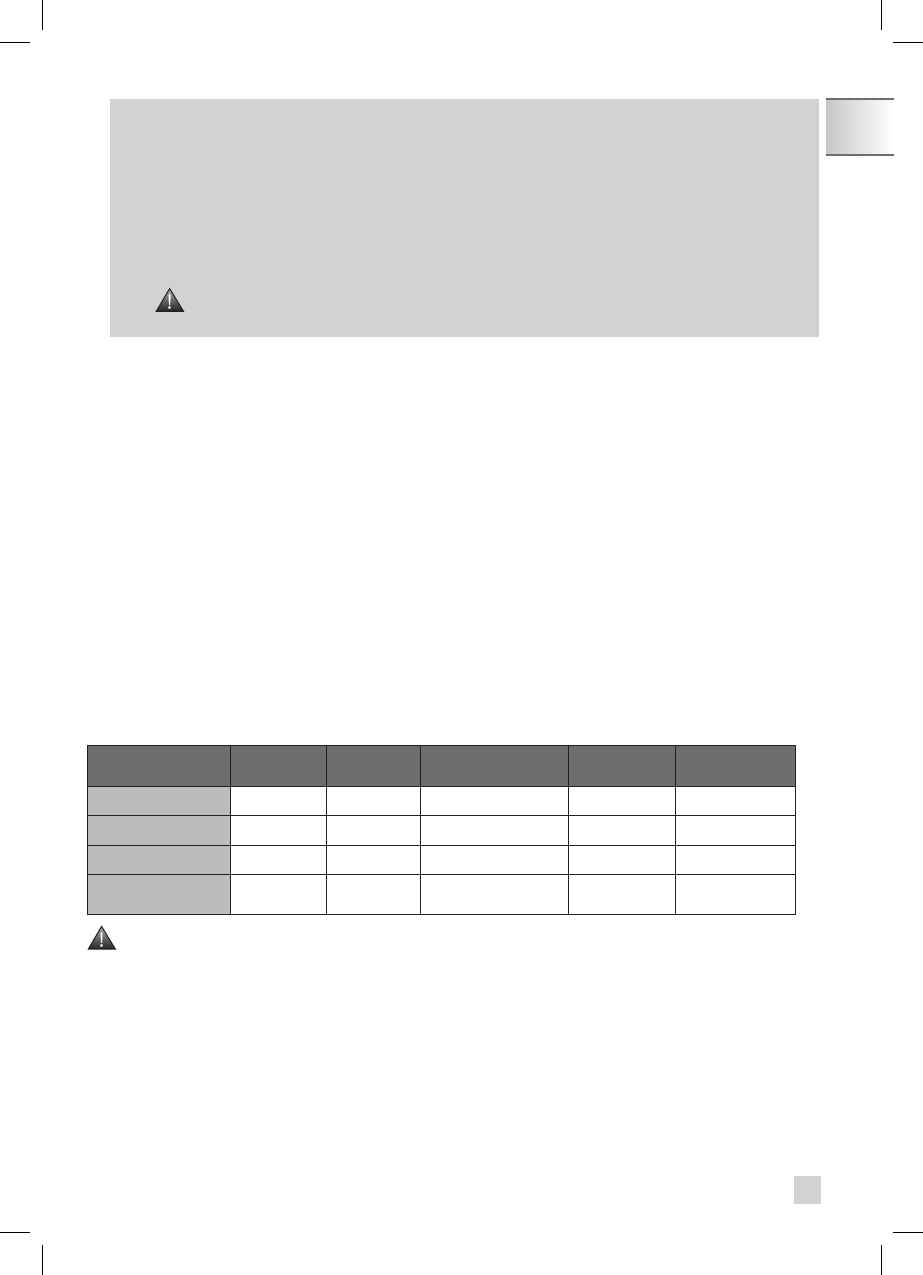
The details of the classes are given in the table below:
Degree of hardness
Class 0
Very soft
Class 1
Soft
Class 2
Average hardness
Class 3
Hard
Class 4
Very hard
° dH
< 3°
> 4°
> 7°
> 14°
> 21°
° e
< 3.75°
> 5°
> 8.75°
> 17.5°
> 26.25°
° f
< 5.4°
> 7.2°
> 12.6°
> 25.2°
> 37.8°
Appliance setting
0
1
2
3
4
Be sure to perform this operation at each time you use your machine in a place where the water hardness is
different or if you notice a change in the hardness of your water.
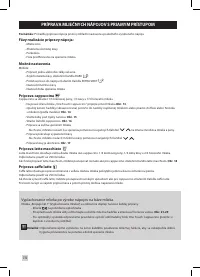
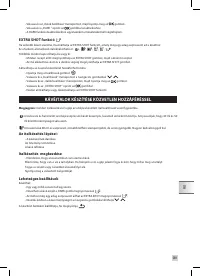
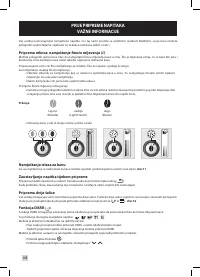
Preparing the appliance
- Remove and refill the water tank and put it back in its place.
Fig. 7- 8
- Remove the lid of the coffee bean container and pour in the coffee beans and replace the lid.
Fig. 9 - 10
EN
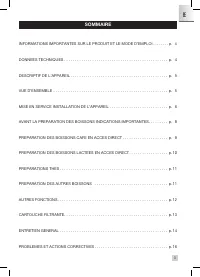
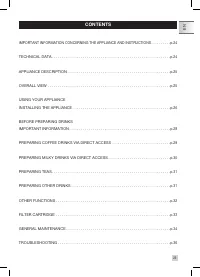
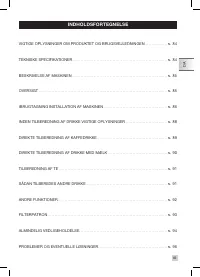
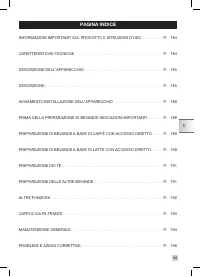
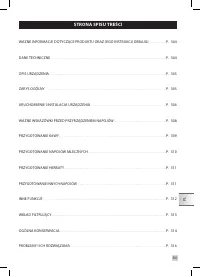
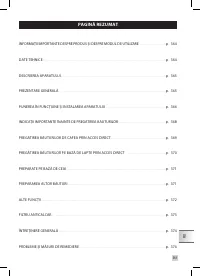
Содержание
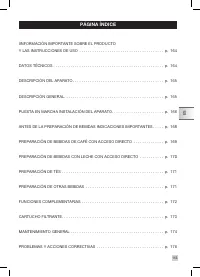
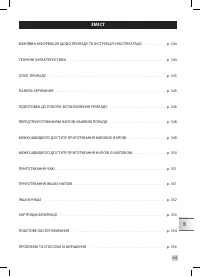
- 325 ОГЛАВЛЕНИЕ
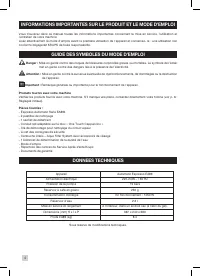
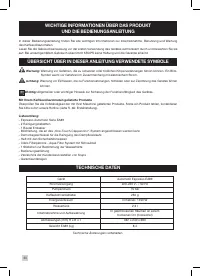
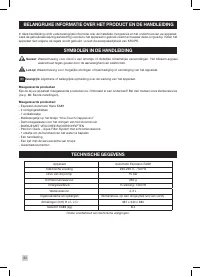
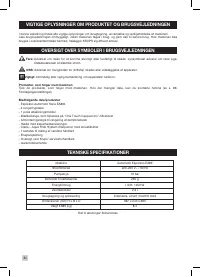
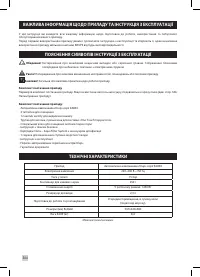
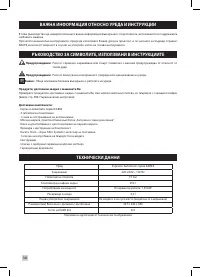
- 326 ТЕХНИЧЕСКАЯ ИНФОРМАЦИЯ
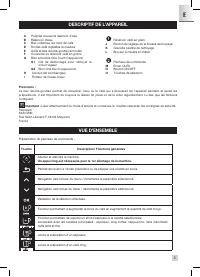
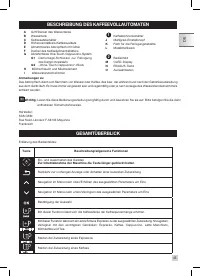
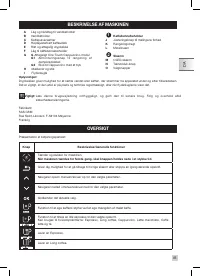
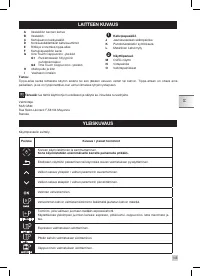
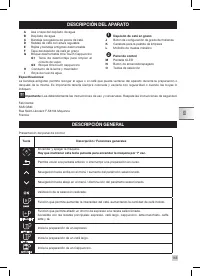
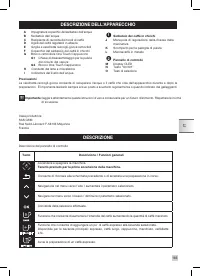
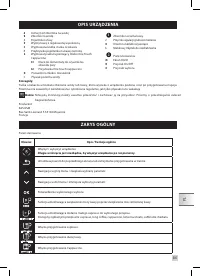
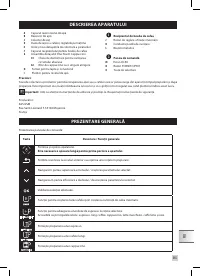
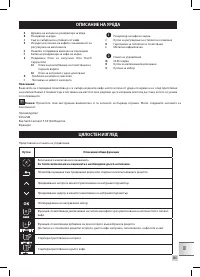
- 327 ОПИСАНИЕ УСТРОЙСТВА; ОБЗОР
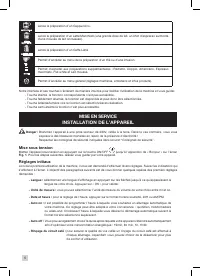
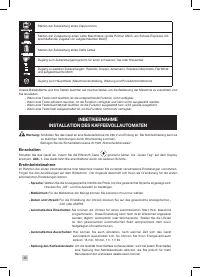
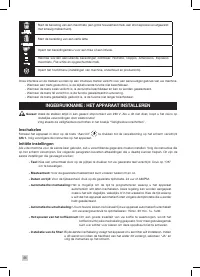
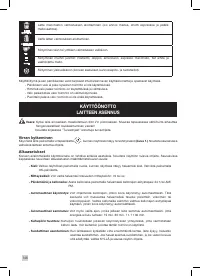
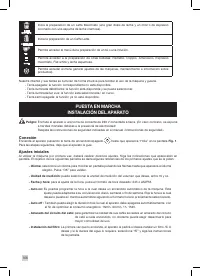
- 328 Включение
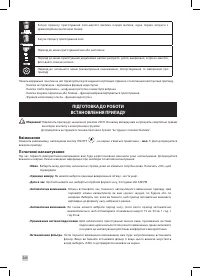
- 329 Подготовка устройства
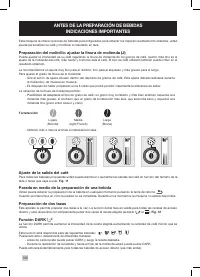
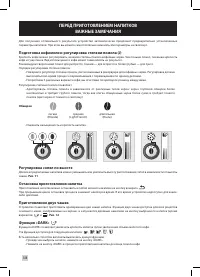
- 330 Регулировка сопел по высоте
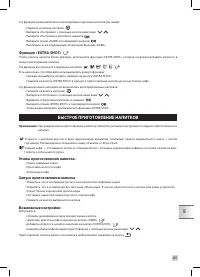
- 331 Функция «EXTRA SHOT»; БЫСТРОЕ ПРИГОТОВЛЕНИЕ НАПИТКОВ; Этапы приготовления напитка:
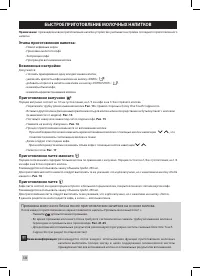
- 332 БЫСТРОЕ ПРИГОТОВЛЕНИЕ МОЛОЧНЫХ НАПИТКОВ
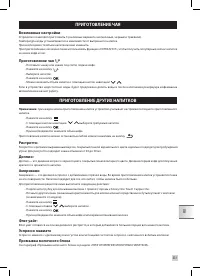
- 333 ПРИГОТОВЛЕНИЕ ЧАЯ; Возможные настройки; ПРИГОТОВЛЕНИЕ ДРУГИХ НАПИТКОВ; Эспрессо макиато
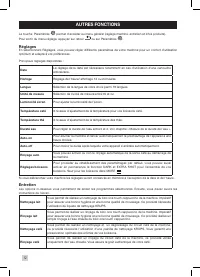
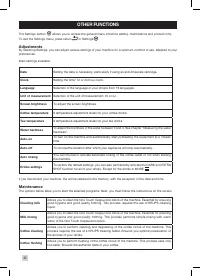
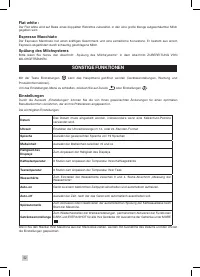
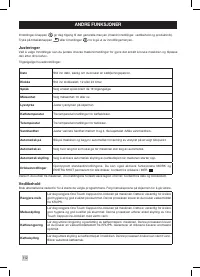
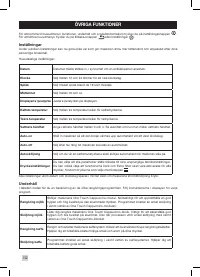
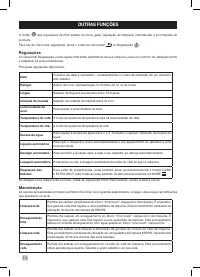
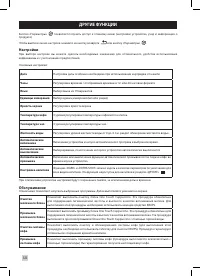
- 334 ДРУГИЕ ФУНКЦИИ; Настройки
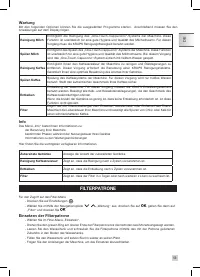
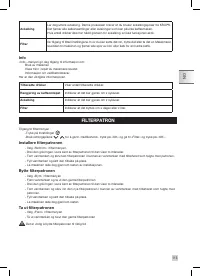
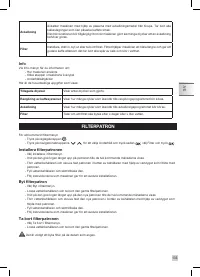
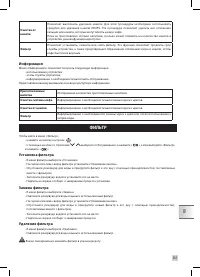
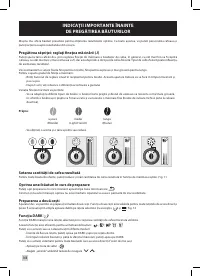
- 335 Информация; ФИЛЬТР; Установка фильтра
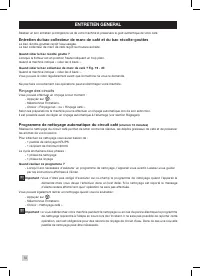
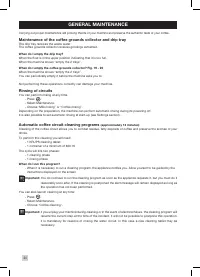
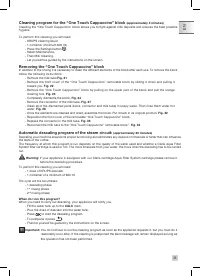
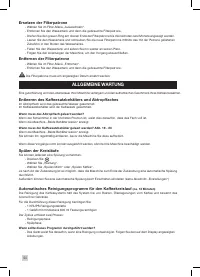
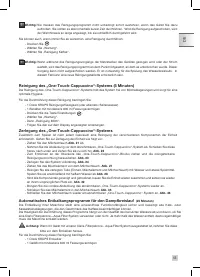
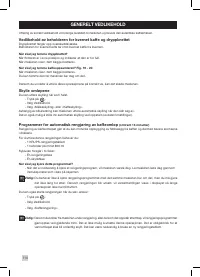
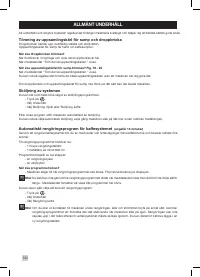
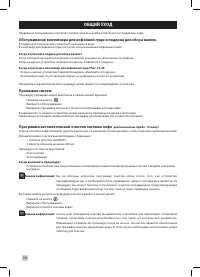
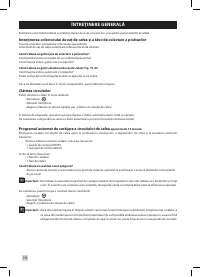
- 336 ОБЩИЙ УХОД; Промывка систем; Программа автоматической очистки системы кофе
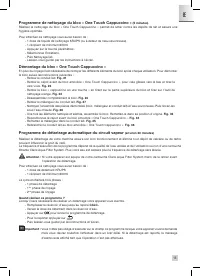
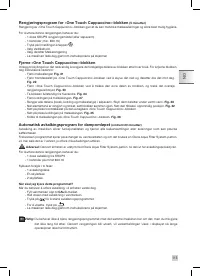
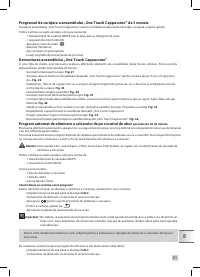
- 337 Снятие блока One Touch Cappuccino
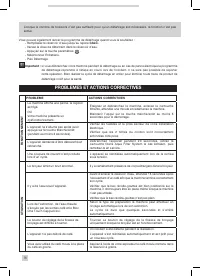
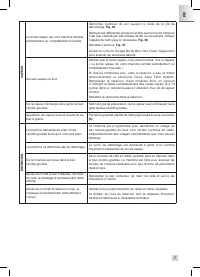
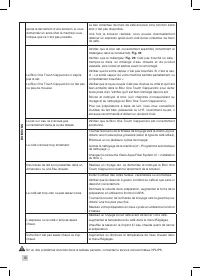
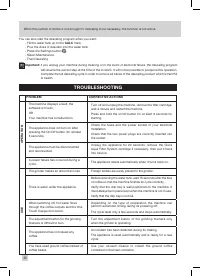
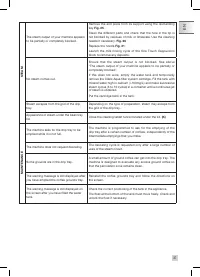
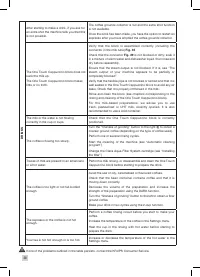
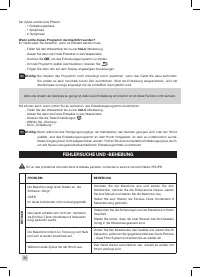
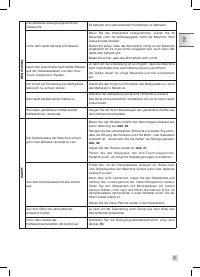
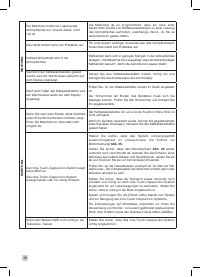
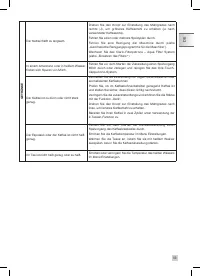
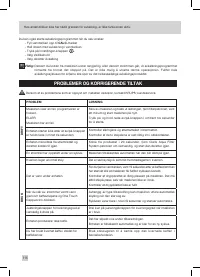
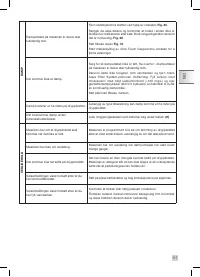
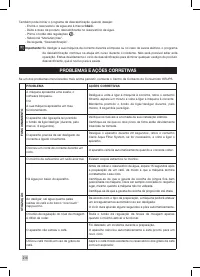
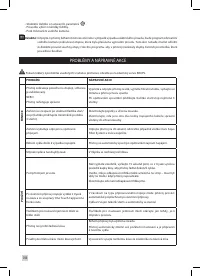
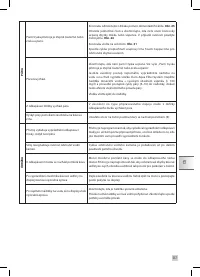
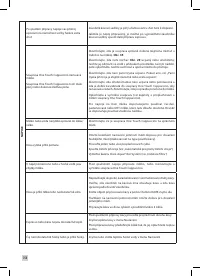
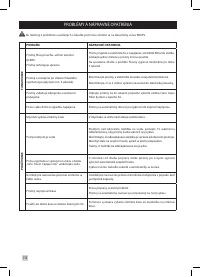
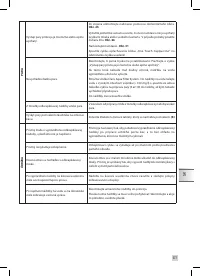
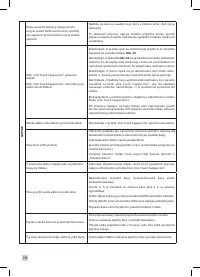
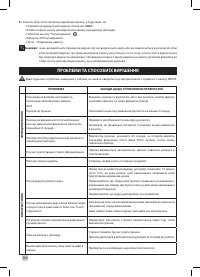
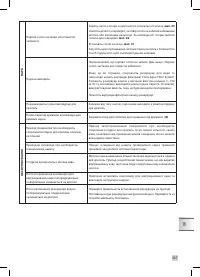
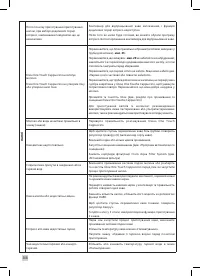
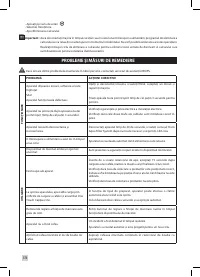
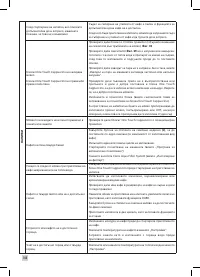
- 338 НЕИСПРАВНОСТИ И ДЕЙСТВИЯ ПО ИХ УСТРАНЕНИЮ
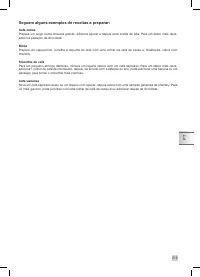
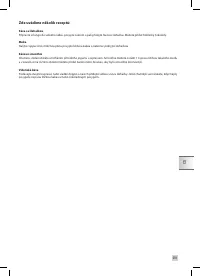
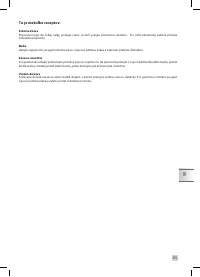
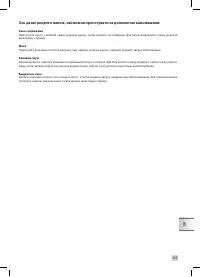
- 341 Представляем вам несколько рецептов


