Кофемашина Siemens TE501203RW - инструкция пользователя по применению, эксплуатации и установке на русском языке. Мы надеемся, она поможет вам решить возникшие у вас вопросы при эксплуатации техники.
Если остались вопросы, задайте их в комментариях после инструкции.
"Загружаем инструкцию", означает, что нужно подождать пока файл загрузится и можно будет его читать онлайн. Некоторые инструкции очень большие и время их появления зависит от вашей скорости интернета.


12
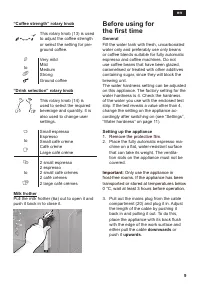
en
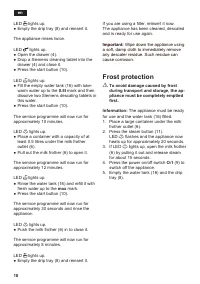
4. Press and hold the start button (10)
for at least 5 seconds. The set number
of LEDs will light up to indicate that
the selected water hardness has been
saved successfully.
Important:
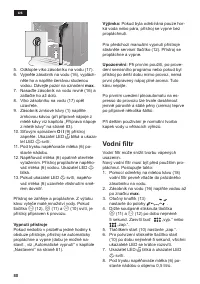
If a water filter is used (special
accessory order no. 467873), proceed as
follows, see “Water filter” on page 10.
Note:
If no button is pressed within
90 seconds, the appliance switches to
stand-by mode without saving the new
settings. In this case, the previously saved
water hardness setting is retained.
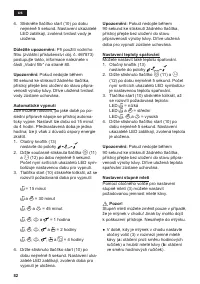
Automatic switch-off
Here you can set the period of time after
which the appliance should switch off auto-
matically following the last drink preparation.
A time between 15 minutes and 4 hours can
be set. The default time is 1 hour, but this
can be shortened to save energy.
1. Turn the rotary
knob (13) to position
2. Press and hold buttons
B
(11) and
A
(12) simultaneously for at least 5 sec-
onds. The time after which the appliance
should switch off is indicated by the
number of LEDs that now light up.
3. Now press the start button (10) repeat-
edly until the required number of LEDs
light up to indicate the switch-off time:
D
= 15 minutes
D
and
E
= 30 minutes
D
,
E
and
F
= 45 minutes
D
,
E
,
F
and
G
= 1 hour
D
,
E
,
F
,
G
and
H
= 2 hours
D
,
E
,
F
,
G
,
H
and
I
= 4 hours
4. Press and hold the start button (10) for
at least 5 seconds. The set number of
LEDs will light up to indicate that the
selected switch-off time has been saved
successfully.
Note:
If no button is pressed within
90 seconds, the appliance switches to
stand-by mode without saving the new
settings. In this case, the previously saved
switch-off time is retained.
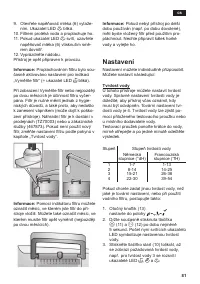
Setting the brewing temperature
The brewing temperature can also be set.
1. Turn the rotary
knob (13) to position
2. Press and hold buttons
B
(11) and
A
(12) for at least 5 seconds. The set
brewing temperature is indicated by the
number of LEDs that now light up.
3. Now press the start button (10) repeat-
edly until the required number of LEDs
light up to indicate the temperature:
LED
D
= low
LED
D
and
E
= medium
LED
D
,
E
,and
F
= high
4. Press and hold the start button (10) for
at least 5 seconds. The set number of
LEDs will light up to indicate that the
selected temperature has been saved
successfully.
Note:
If no button is pressed within
90 seconds, the appliance switches to
stand-by mode without saving the new
settings. In this case, the previously saved
brewing temperature setting is retained.
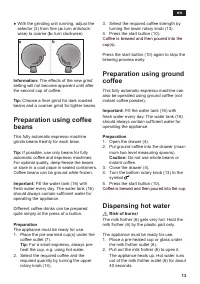
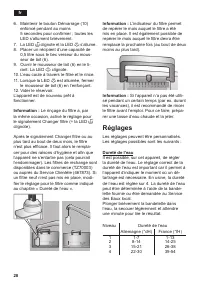
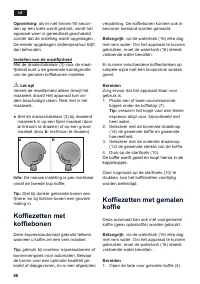
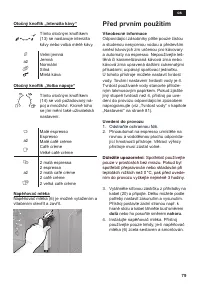
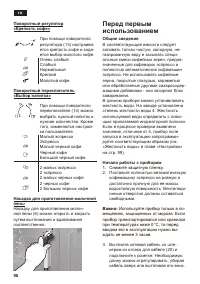
Adjusting the grind settings
The selector (3) for grind setting adjusts the
grind settings from coarse to fine.
¡
¡
Warning!
Adjust the grinding unit only while it is run-
ning! Otherwise the appliance may be dam-
aged. Do not reach into the grinding unit.
Содержание
- 94 Обзор; Опасность ожога горячей; Объем поставки
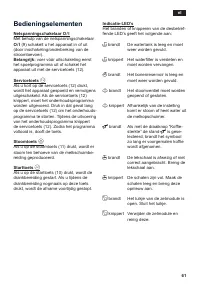
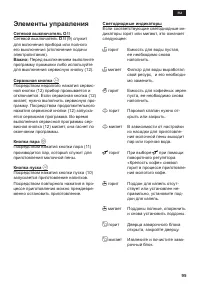
- 95 Элементы управления; Сетевой выключатель O / I
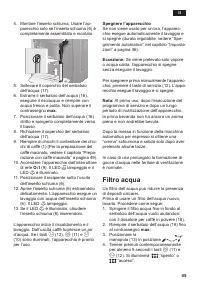
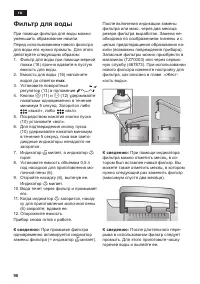
- 98 Фильтр для воды
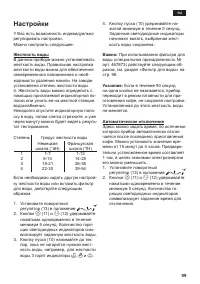
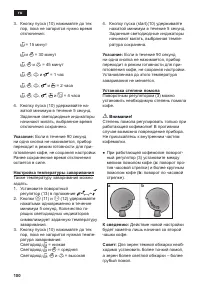
- 99 Настройки; Жесткость воды
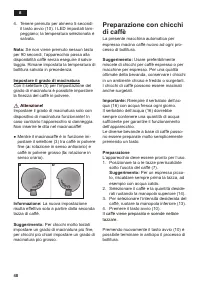
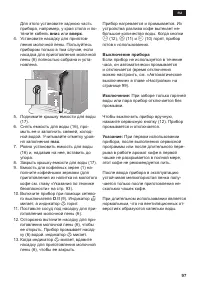
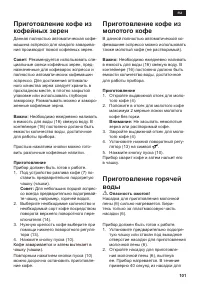
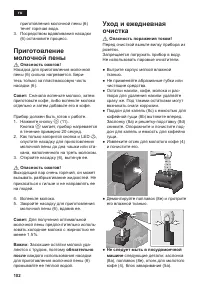
- 101 Приготовление
- 102 обязательно; Уход и ежедневная; Опасность поражения током!
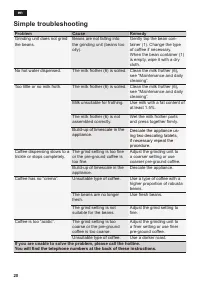
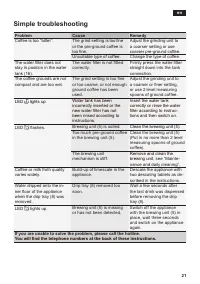
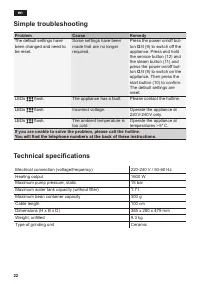
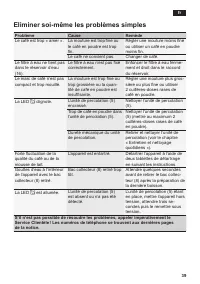
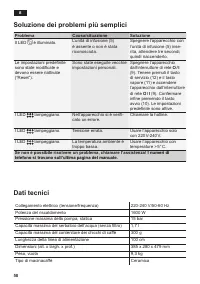
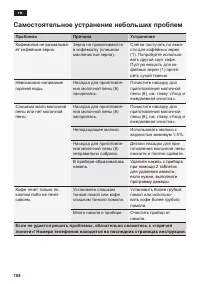
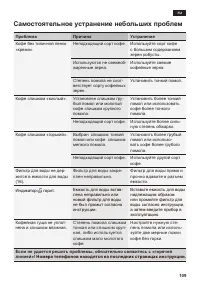
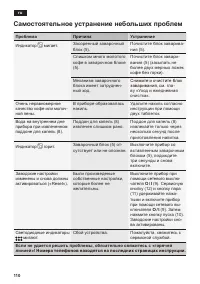
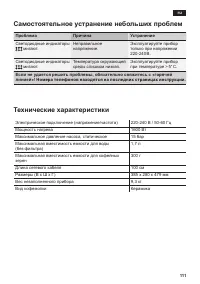
- 108 Если не удается решить проблемы, обязательно свяжитесь с «горячей; Самостоятельное устранение небольших проблем
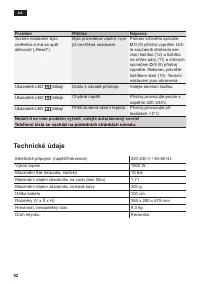
- 109 Проблема


