
Духовые шкафы Zigmund & Shtain EN 125.622 I - инструкция пользователя по применению, эксплуатации и установке на русском языке. Мы надеемся, она поможет вам решить возникшие у вас вопросы при эксплуатации техники.
Если остались вопросы, задайте их в комментариях после инструкции.
"Загружаем инструкцию", означает, что нужно подождать пока файл загрузится и можно будет его читать онлайн. Некоторые инструкции очень большие и время их появления зависит от вашей скорости интернета.


EN
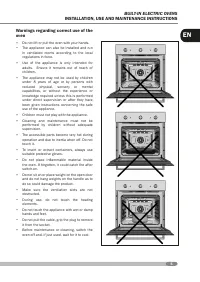
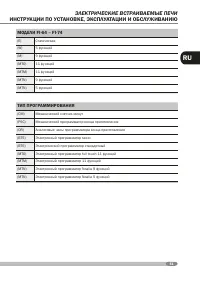
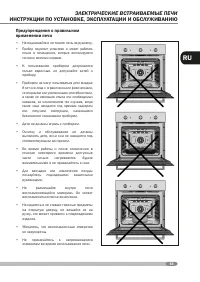
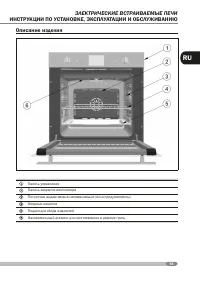
BUILT-IN ELECTRIC OVENS
INSTALLATION, USE AND MAINTENANCE INSTRUCTIONS
23
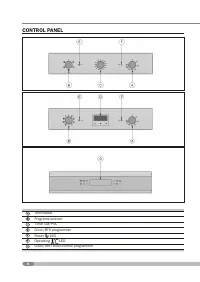
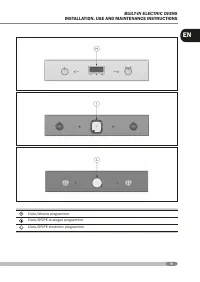
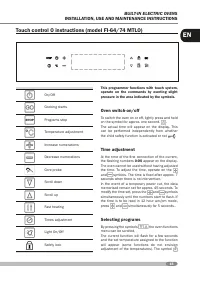
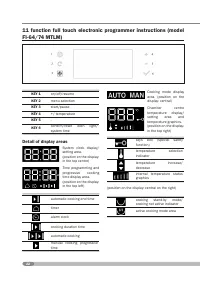
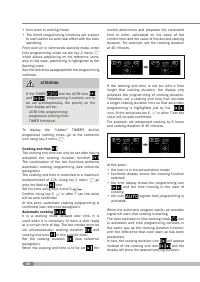
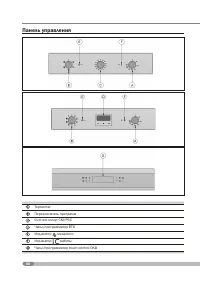
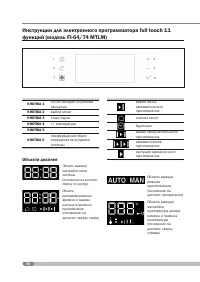
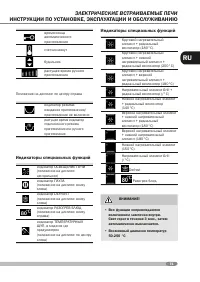
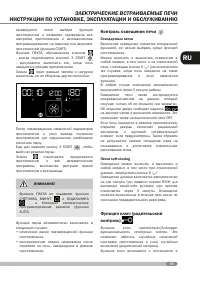
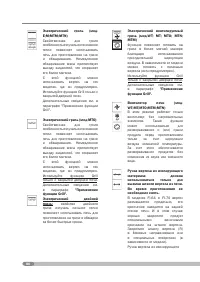
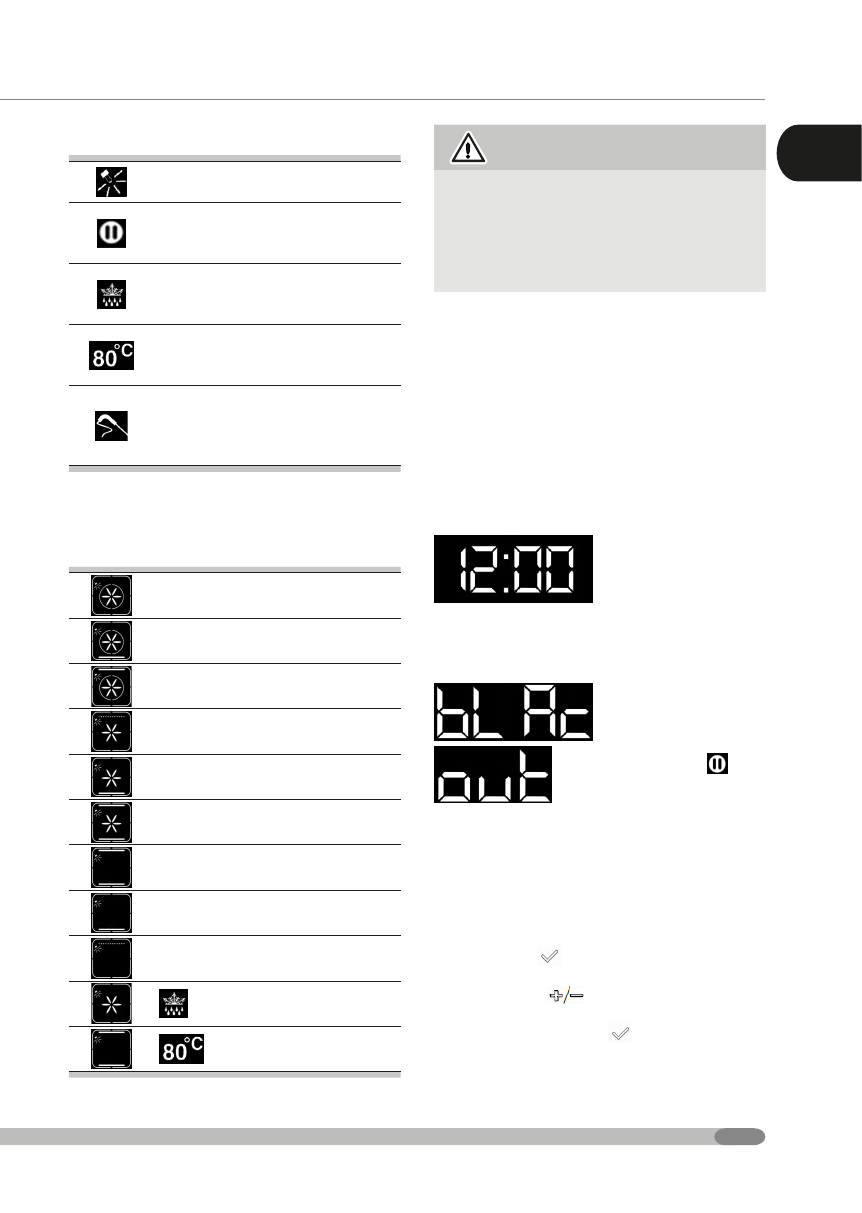
Special functions indicators
“OVEN LIGHT” indicator
(position on the display: central)
“PAUSE” indicator
(position on the display: in bottom
left)
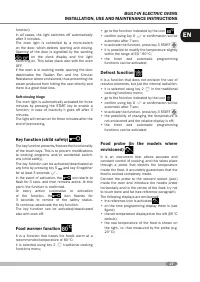
“DEFROST” indicator
(position on the display: in bottom
left)
“FOOD WARMER” indicator
(position on the display: in bottom
left)
“FOOD PROBE” indicator, in the
models where envisioned
(position on the display: central on
the left)
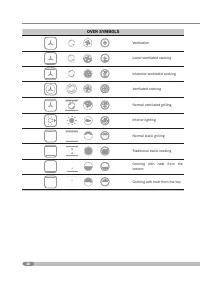
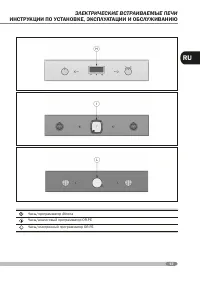
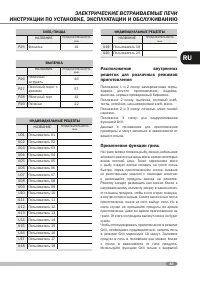
Cooking functions that can be
selected
Circular Resistance + Radial Fan
180°C
Circular Resistance + Bottom
Resistance + Radial Fan (200°C)
Circular Resistance + Top
Resistance + Radial Fan (180°C)
Grill Resistance + Radial Fan (°C)
Bottom Resistance + Radial Fan
(140°C)
Circular Resistance + Top
Resistance + Radial Fan (180°C)
Top Resistance + Bottom
Resistance (180°C)
Bottom Resistance (150°C)
Grill Resistance (°C)
Defrost
Food warmer
ATTENTION
• All the functions are accompanied by
the activation of the internal light bulb .
The light remains on for 3 mins. and then
it switches off automatically.
• Possible temperature range 50-250 °C
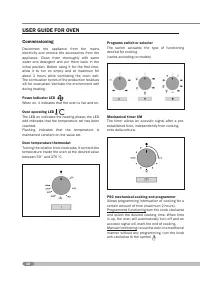
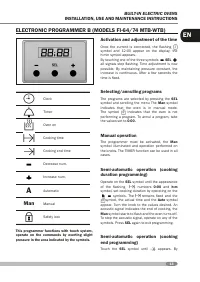
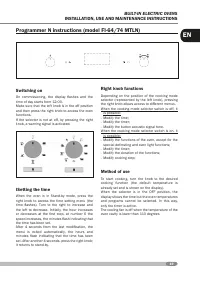
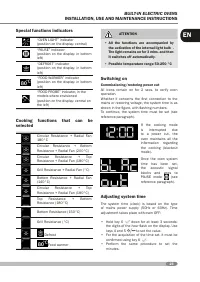
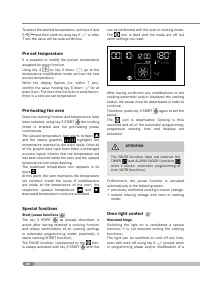
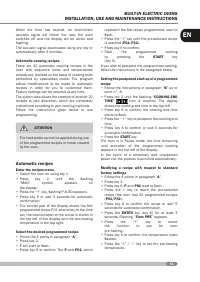
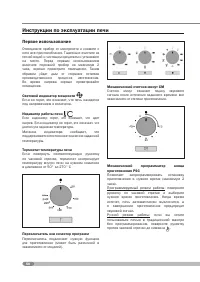
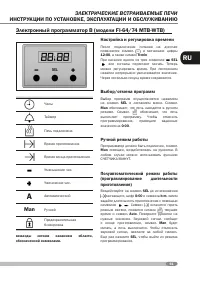
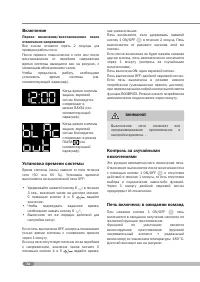
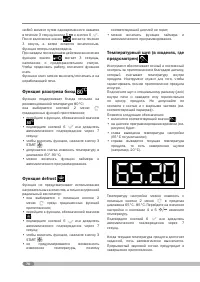
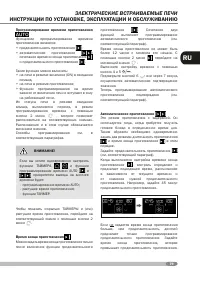
Switching on
Commissioning/restoring power cut
All icons remain on for 2 secs. to verify oven
operation.
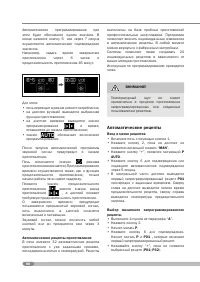
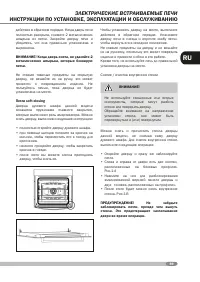
Whether it concerns the first connection to the
mains or restoring voltage, the system time is as
shown in the figure, with flashing numbers-
To continue, the system time must be set (see
reference paragraph).
If the cooking mode
is interrupted due
to a power cut, the
oven maintains all the
information regarding
the cooking (blackout
mode).
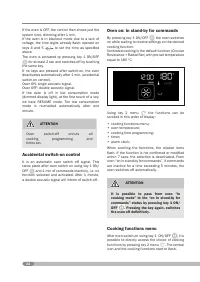
Once the oven system
time has been set,
the acoustic signal
blocks and goes to
PAUSE mode (see
reference paragraph).
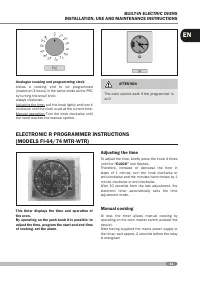
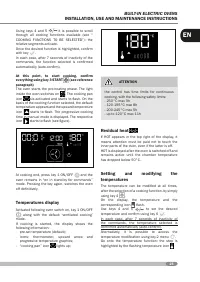
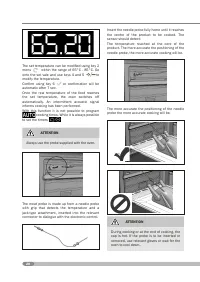
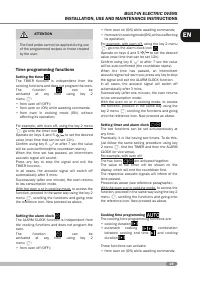
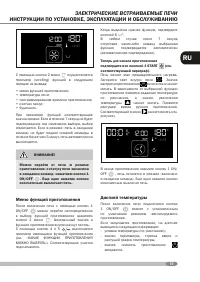
Adjusting system time
The system time (clock) is based on the type
of mains power supply (50Hz or 60Hz). Time
adjustment takes place with oven OFF:
• Hold key 6
down for at least 3 seconds:
the digits of the hour flash on the display. Use
keys 4 and 5
to set the value.
• For the acquisition of the time set, it must be
confirmed using key 6
.
• Perform the same procedure to set the
minutes.


