Утюги Zelmer 28Z017 - инструкция пользователя по применению, эксплуатации и установке на русском языке. Мы надеемся, она поможет вам решить возникшие у вас вопросы при эксплуатации техники.
Если остались вопросы, задайте их в комментариях после инструкции.
"Загружаем инструкцию", означает, что нужно подождать пока файл загрузится и можно будет его читать онлайн. Некоторые инструкции очень большие и время их появления зависит от вашей скорости интернета.

52
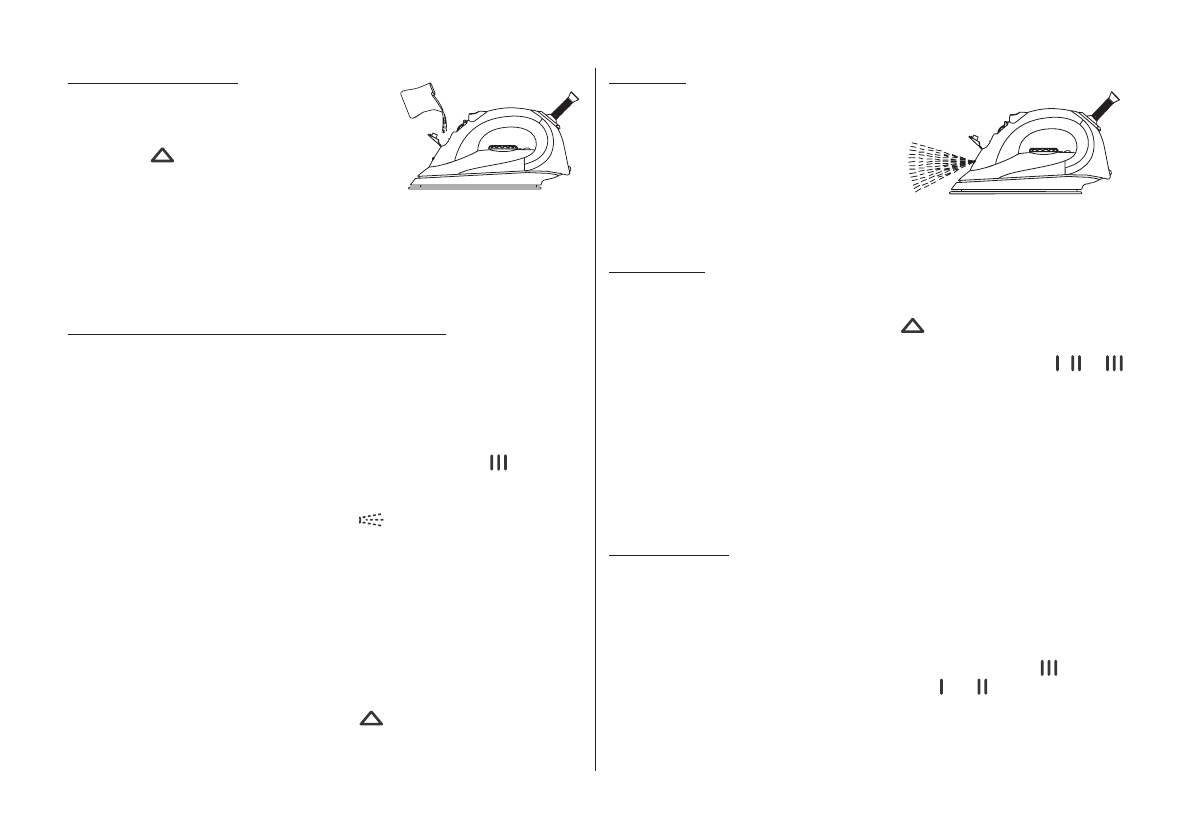
How to ill the water
Disconnect the iron from mains supply
–
outlet.
Move the
–
Steam Control Knob to (7)
position
.
Release the water inlet cover
–
(5)
and ill
water through the water inlet hole.
Fill up to the „
–
MAX
” level marked on the side of the water tank.
Close the water inlet cover
–
(5)
.
For best result, it is advisable to use demineralised water or distilled
water.
Do not use chemically descaled water or any other liquids.
Preparation for operation – irst time ironing
Remove any protective ilms or stickers from the sole plate and the
–
cabinet.
Unwind and straighten the power cord.
–
Fill the water tank with demineralised water or distilled water. (See
–
How To Fill Water).
Connect the iron to a suitable mains supply outlet.
–
Turn the
–
Temperature Dial (2)
in clockwise direction to position –
control light (4)
glows.
Control light goes off when the required temperature is reached.
–
Move the
–
Steam Control Knob (7)
to
position.
Steam starts coming out from the holes in the sole plate after putting
–
the iron in horizontal position and after
Burst of steam knob (9)
.
Begin irst time ironing with an old towel.
–
When the water tank is empty and there is no more steam produced;
–
the preparation work is completed. The iron is now ready for proper
use.
After ironing
Move the
–
Temperature Dial (2)
in anti-clockwise direction to „
MIN
”;
the iron is switched off.
Move the
–
Steam Control Knob (7)
to
position.
Disconnect the iron from mains supply outlet.
–
When the iron gets cool completely, store it vertically in a safe place.
–
Spraying
This function can be used any time
–
and is not affect any setting.
Fill the water tank as described in
–
How to Fill Water.
Aim the
–
nozzle (6)
to the garment.
Press the
–
Spray Button (8)
.
It may be necessary to press the spray button a few times to start this
–
function.
Dry ironing
– Always follow the garment manufacturer’s ironing
instructions mentioned at the garment label.
Unwind and straighten the power cord.
–
Move the
–
Steam Control Knob (7)
to
position.
Connect the iron to a suitable mains supply outlet.
–
Turn the
–
Temperature Dial (2)
in clockwise direction to; set , or
position.
Control light (4)
–
glows, indicating that the iron is on.
Control light goes off when the required temperature is reached. The
–
iron is now ready for use.
Move the
–
Temperature Dial (2)
in anti-clockwise direction to „
MIN
”;
the iron is switched off.
Disconnect the iron from mains supply outlet.
–
When the iron gets cool completely, store it vertically in a safe place.
–
Steam ironing
– Always follow the garment manufacturer’s
ironing instructions mentioned at the garment label.
Unwind and straighten the power cord.
–
Fill the water tank with demineralised water or distilled water. (See
–
How To Fill Water)”.
Connect the iron to a suitable mains supply outlet.
–
Turn the
–
Temperature Dial (2)
in clockwise direction to position.
(For optimum steam quality, do not use or setting for steam
ironing).
Control light (4)
–
glows, indicating that the iron is on.
Control light goes off when the required temperature is reached. The
–
iron is now ready for use.
Содержание
- 32 температура подошвы очень высокая!
- 33 Рекомендации по глажению; Внимательно прочитайте ярлык на изделии, которое Вы собира; Техническая характеристика
- 34 Наполнение резервуара водой; Подготовка утюга к работе – первое глажение; Разбрызгивание; Глажение с паром
- 35 Выброс пара; Вертикальное отпаривание
- 36 Самоочищение утюга
- 37 Очистка и консервация


