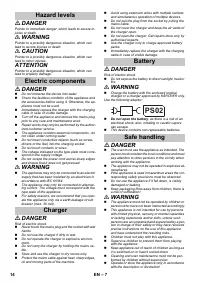
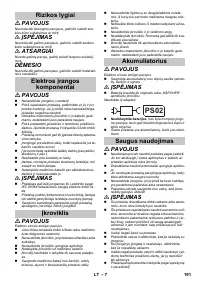
Пылесос Karcher EWM2 - инструкция пользователя по применению, эксплуатации и установке на русском языке. Мы надеемся, она поможет вам решить возникшие у вас вопросы при эксплуатации техники.
Если остались вопросы, задайте их в комментариях после инструкции.
"Загружаем инструкцию", означает, что нужно подождать пока файл загрузится и можно будет его читать онлайн. Некоторые инструкции очень большие и время их появления зависит от вашей скорости интернета.


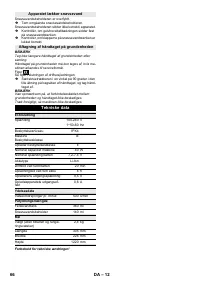


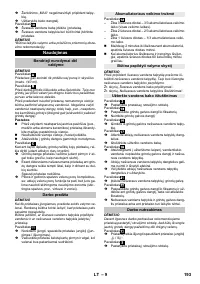


– 9
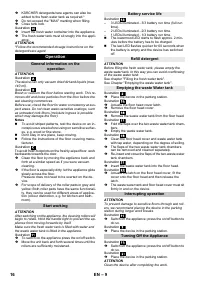
KÄRCHER detergents/care agents can also be
added to the fresh water tank as required.*
Do not exceed the "MAX" marking when filling.
Close tank lock.
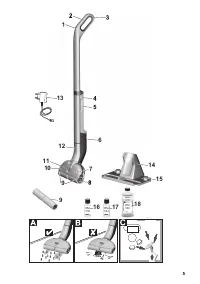
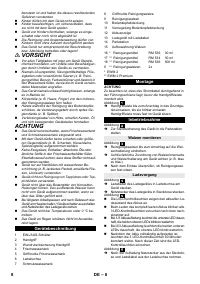
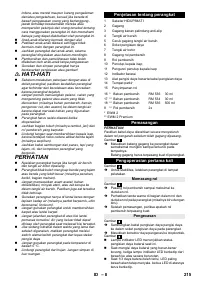
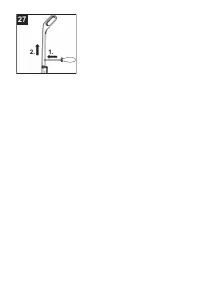
Illustration
Insert the fresh water container into the appliance.
The fresh water tank must sit snugly into the appli-
ance.
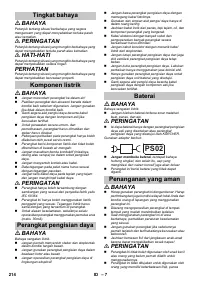
ATTENTION
*Follow the recommended dosage instructions on the
detergent/care agent.
ATTENTION
Illustration
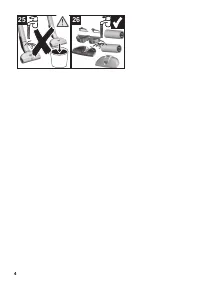
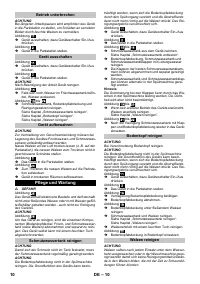
The device can only vacuum dried dirt and liquids (max.
140 ml).
Illustration
Brush or vacuum the floor before starting work. This re-
moves dirt and loose particles from the floor before the
wet cleaning commences.
Before use, check the floor for water consistency at sus-
pect areas. Do not clean water-sensitive coatings, such
as untreated cork floors (moisture ingress is possible
which may damage the floor).
Notes
To avoid striped patterns, test the device on an in-
conspicuous area before using on sensitive surfac-
es, e.g. wood or fine stone.
Don't stay in one place, keep moving.
Follow the instructions of the floor covering manu-
facturer.
Illustration
To avoid fresh footprints on the freshly-wiped floor, work
backwards towards the door.
Clean the floor by moving the appliance back and
forth at a similar speed as if you were vacuum
cleaning.
If the floor is especially dirty, let the appliance glide
slowly across the floor.
Pressure does not need to be exerted on the de-
vice.
For scope of delivery of the roller pads in grey and
yellow: Both roller pads have the same functionali-
ty, they can be used for different areas of applica-
tion (colour distinction, e.g. for kitchen and bath-
room).
ATTENTION
After switching on the appliance, the cleaning rollers will
begin to rotate. Hold the handle tight to prevent the ap-
pliance from moving forwards by itself.
Make sure the fresh water tank is filled with water and
the waste water tank is fitted in the appliance.
Illustration
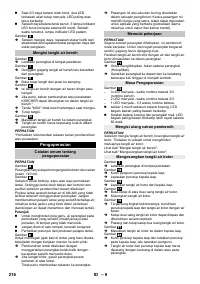
To switch on the appliance press the on/off switch.
Move the unit back and forth several times until the
rollers are sufficiently moistened.
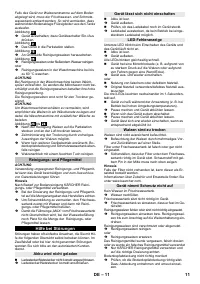
Illustration
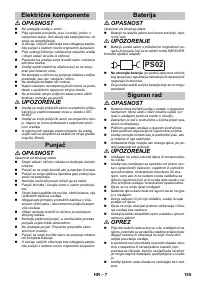
–
3 LEDs illuminated - 3/3 battery run time (full run
time).
–
2 LEDs illuminated - 2/3 battery run time.
–
1 LEDs illuminated - 1/3 battery run time.
The lowermost LED starts to flash approx. 2 min-
utes before the battery has to be charged.
The last LED flashes quicker for 60 seconds when
the battery is empty and the device has switched
off.
ATTENTION
Before filling the fresh water tank, please empty the
waste water tank. In this way you can avoid overflowing
of the waste water tank.
See chapter "Filling the fresh water tank".
See Chapter "Emptying the waste water tank".
Illustration
Place the device in the parking station.
Illustration
Actuate the floor head cover latch.
Remove the floor head cover.
Illustration
Remove the waste water tank from the floor head.
Illustration
Fold the flaps over the two waste water tank cham-
bers.
Empty the waste water tank.
Illustration
Clean the floor head cover and waste water tank
with tap water, depending on the degree of soiling.
The flaps of the two waste water tank chambers
can be removed and cleaned separately.
Re-insert and close the flaps of the two waste water
tank chambers.
Illustration
Insert the waste water tank into the floor head.
Illustration
Actuate the latch on the floor head cover, fit the
cover onto the floor head and then release the
latch.
The waste water tank and floor head cover must sit
firmly in and on the device.
ATTENTION
To prevent damage to sensitive floors through wet roll-
ers, we recommend placing the device in the parking
station during longer work breaks.
Illustration
Switch off the appliance; press the on/off button to
do so.
Illustration
Place the device in the parking station.
Illustration
Switch off the appliance; press the on/off button to
do so.
Illustration
Place the device in the parking station.
ATTENTION
Clean the device after completing the work.
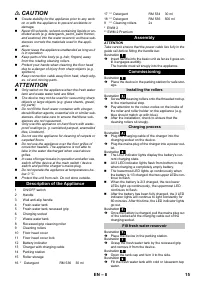
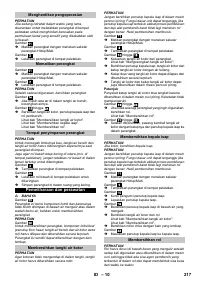
Operation
General information on the
operation
Start working
Battery service life
Refill detergent
Emptying the waste Water tank
Interrupting operation
Turning Off the Appliance
16
EN
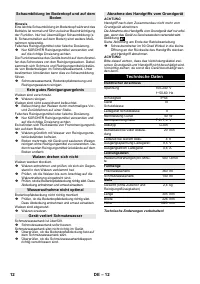
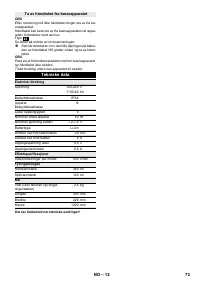
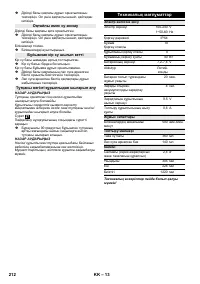
Характеристики

Остались вопросы?Не нашли свой ответ в руководстве или возникли другие проблемы? Задайте свой вопрос в форме ниже с подробным описанием вашей ситуации, чтобы другие люди и специалисты смогли дать на него ответ. Если вы знаете как решить проблему другого человека, пожалуйста, подскажите ему :)


