
Пилы дисковые Bosch GKS 55+ GCE - инструкция пользователя по применению, эксплуатации и установке на русском языке. Мы надеемся, она поможет вам решить возникшие у вас вопросы при эксплуатации техники.
Если остались вопросы, задайте их в комментариях после инструкции.
"Загружаем инструкцию", означает, что нужно подождать пока файл загрузится и можно будет его читать онлайн. Некоторые инструкции очень большие и время их появления зависит от вашей скорости интернета.


English |
19
Bosch Power Tools
1 609 92A 2AV | (23.3.16)
Operation
Operating Modes
Before any work on the machine itself, pull the mains
plug.
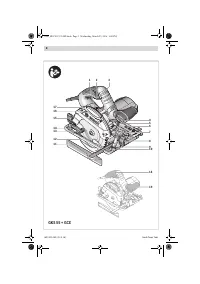
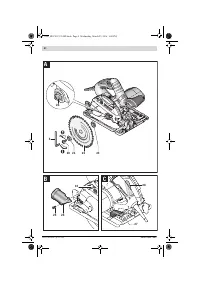
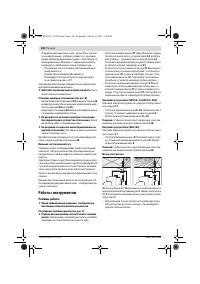
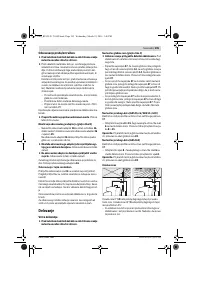
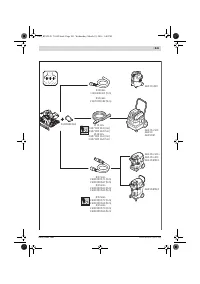
Adjusting the Cutting Depth (see figure C)
Adjust the cutting depth to the thickness of the work-
piece.
Less than a full tooth of the blade teeth should be
visible below the workpiece.
– Loosen the clamping lever
27
. For a smaller cutting depth,
pull the saw away from the base plate
14
; for a larger cut-
ting depth, push the saw toward the base plate
14
. Adjust
the desired cutting depth at the cutting-depth scale. Tight-
en the clamping lever
27
again.
– If the cutting depth cannot be fully adjusted after loosening
clamping lever
27
, pull clamping lever
27
away from the
saw and swivel it downward. Release the clamping lever
27
again. Repeat this procedure until the requested cut-
ting depth can be adjusted.
– If the cutting depth cannot be sufficiently locked after
tightening clamping lever
27
, pull clamping lever
27
away
from the saw and swivel it upward. Release the clamping
lever
27
again. Repeat this procedure until the cutting
depth is locked.
Adjusting the Cutting Angle (GKS 55+ G / GKS 55+ GCE)
It is best to place the machine on the face side of the blade
guard
17
.
– Loosen the wing bolts
8
and
15
. Tilt the saw sidewards.
Adjust the desired measure on the scale
6
. Tighten the
wing bolts
8
and
15
again.
Note:
For bevel cuts, the cutting depth is smaller than the set-
ting indicated on the cutting-depth scale
28
.
Adjusting the Cutting Angle (GKS 165)
It is best to place the machine on the face side of the blade
guard
17
.
– Loosen wing bolt
8
. Tilt the saw sidewards. Adjust the de-
sired setting at the scale
6
. Tighten wing bolt
8
again.
Note:
For bevel cuts, the cutting depth is smaller than the set-
ting indicated on the cutting-depth scale
28
.
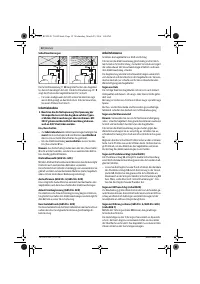
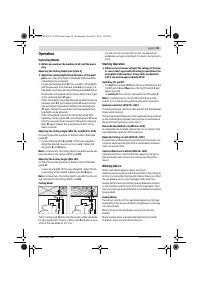
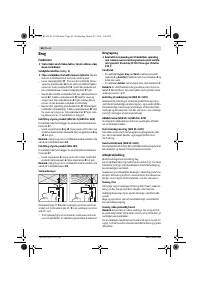
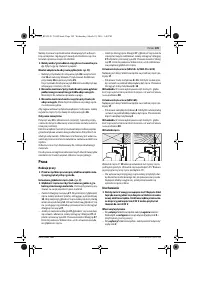
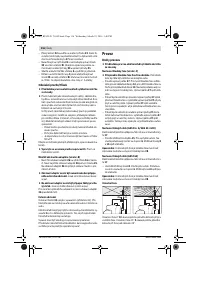
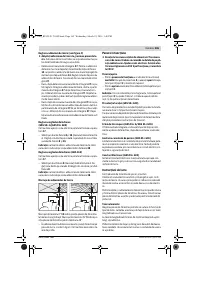
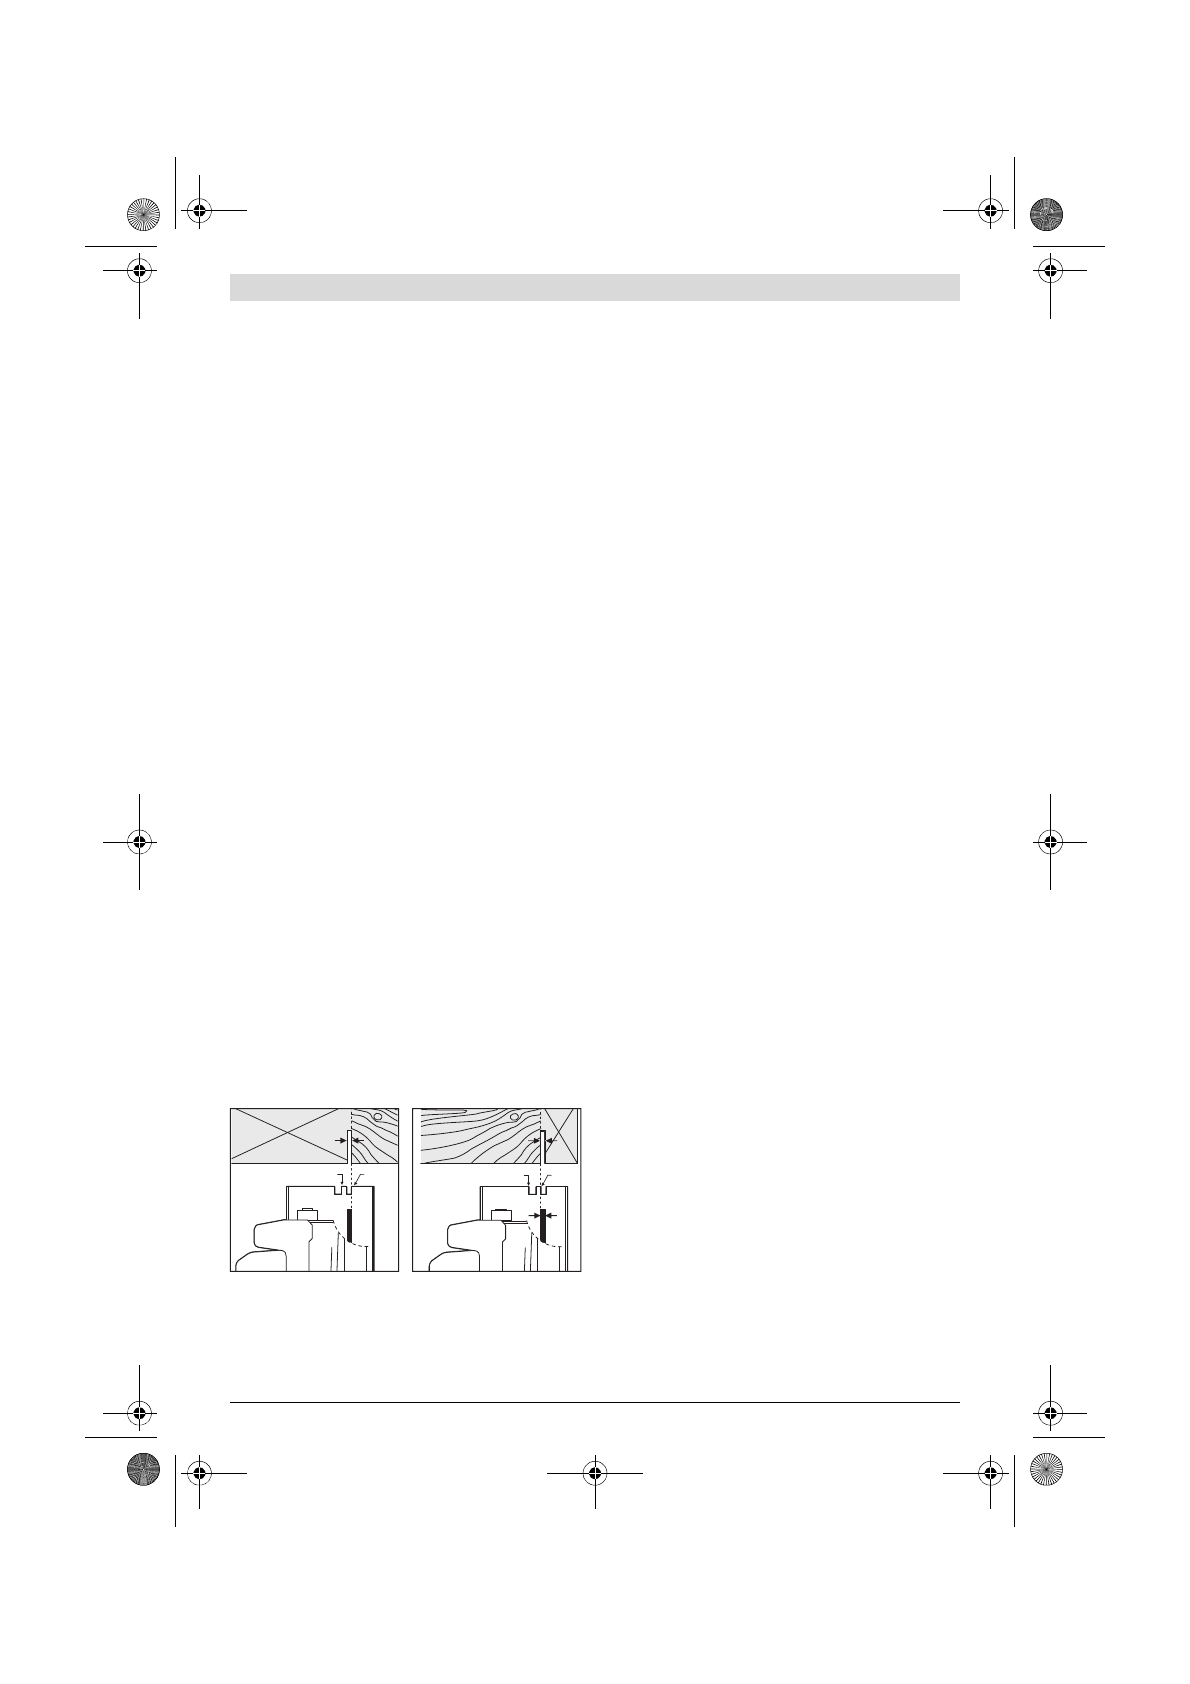
Cutting Marks
The 0 ° cutting mark
10
indicates the position of the saw blade
for right-angled cuts. The 45 ° cutting mark
9
indicates the po-
sition of the saw blade for 45 ° cuts.
– For precise cuts, position the circular saw against the
workpiece as shown in the figure. It is best to carry out a tri-
al cut.
Starting Operation
Observe correct mains voltage! The voltage of the pow-
er source must agree with the voltage specified on the
nameplate of the machine. Power tools marked with
230 V can also be operated with 220 V.
Switching On and Off
– To
start
the machine,
first
push the lock-off button for the
On/Off switch
3
and
then
press the On/Off switch
2
and
keep it pressed.
– To
switch off
the machine, release the On/Off switch
2
.
Note:
For safety reasons, the On/Off switch
2
cannot be
locked; it must remain pressed during the entire operation.
Speed preselection (GKS 55+ GCE)
The required speed can be preselected with the thumbwheel
1
(also while running).
The required speed depends on the saw blade being used and
on the material being worked (see overview of saw blades at
the end of these operating instructions).
Run-on Brake (GKS 55+ G / GKS 55+ GCE)
An integrated run-on brake reduces the run-on period of the
saw blade after switching off the machine.
Reduced starting current (GKS 55+ GCE)
The electronic reduced starting current limits the power con-
sumption when switching the tool on and enables operation
from a 13 ampere fuse.
Constant Electronic Control (GKS 55+ GCE)
Constant electronic control holds the speed constant at no-
load and under load, and ensures uniform working perfor-
mance.
Working Advice
Protect saw blades against impact and shock.
Guide the machine evenly and with light feed in the cutting di-
rection. Excessive feed significantly reduces the service life of
the saw blade and can cause damage to the power tool.
Sawing performance and cutting quality depend essentially
on the condition and the tooth form of the saw blade. There-
fore, use only sharp saw blades that are suited for the material
to be worked.
Sawing Wood
The correct selection of the saw blade depends on the type
and quality of the wood and whether lengthway or crossway
cuts are required.
When cutting spruce lengthways, long spiral chips are
formed.
Beech and oak dusts are especially detrimental to health.
Therefore, work only with dust extraction.
0
45
0
45
OBJ_BUCH-2175-002.book Page 19 Wednesday, March 23, 2016 1:40 PM
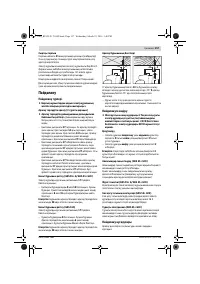
Содержание
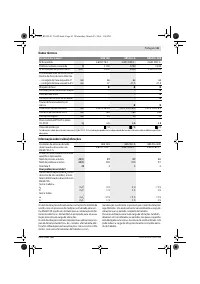
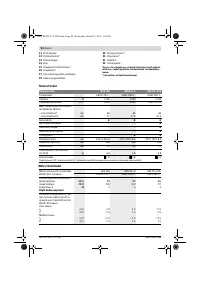
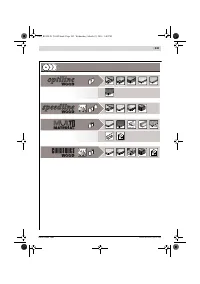
- 137 Описание продукта и услуг; Применение по назначению
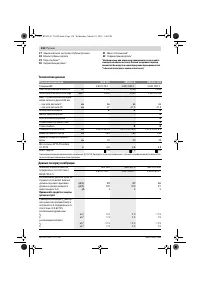
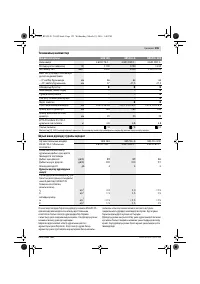
- 138 Технические данные
- 139 Заявление о соответствии; Сборка; Установка/смена пильного диска; Отсос пыли и стружки
- 140 Работа с инструментом; Режимы работы
- 141 Включение электроинструмента; Указания по применению
- 142 Техобслуживание и сервис; Техобслуживание и очистка; Утилизация
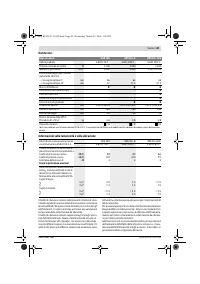
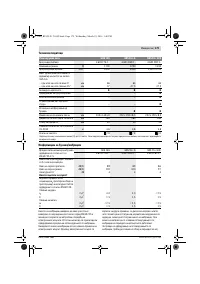
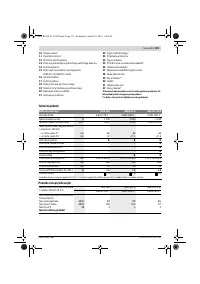
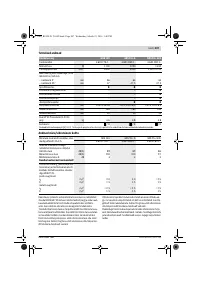
Характеристики

Остались вопросы?Не нашли свой ответ в руководстве или возникли другие проблемы? Задайте свой вопрос в форме ниже с подробным описанием вашей ситуации, чтобы другие люди и специалисты смогли дать на него ответ. Если вы знаете как решить проблему другого человека, пожалуйста, подскажите ему :)


