
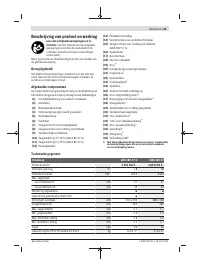
Пилы дисковые Bosch GKS 18V-57 - инструкция пользователя по применению, эксплуатации и установке на русском языке. Мы надеемся, она поможет вам решить возникшие у вас вопросы при эксплуатации техники.
Если остались вопросы, задайте их в комментариях после инструкции.
"Загружаем инструкцию", означает, что нужно подождать пока файл загрузится и можно будет его читать онлайн. Некоторые инструкции очень большие и время их появления зависит от вашей скорости интернета.


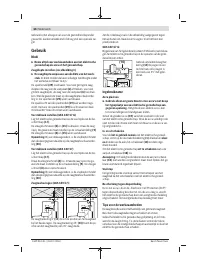


Loosen the wing bolts
(8)
and
(15)
. Swivel the saw to the
side. Set the required mitre angle on the scale
(9)
. Retighten
the wing bolts
(8)
and
(15)
.
Note:
When making mitre cuts, the cutting depth is less than
the value shown on the cutting depth scale
(30)
.
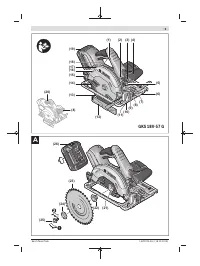
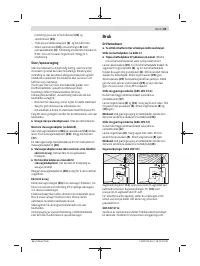
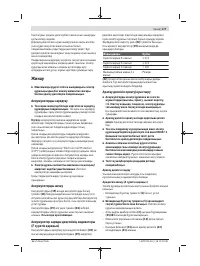
Setting the mitre/bevel angle (GKS 18V-57)
We recommend that you place the power tool down on the
front side of the protective guard
(17)
.
Loosen the wing bolt
(8)
. Swivel the saw to the side. Set the
required mitre angle on the scale
(9)
. Retighten the wing
bolt
(8)
.
Note:
When making mitre cuts, the cutting depth is less than
the value shown on the cutting depth scale
(30)
.
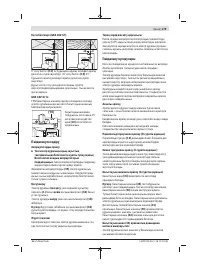
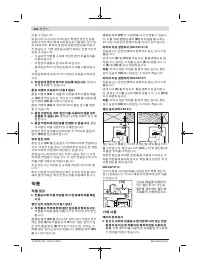
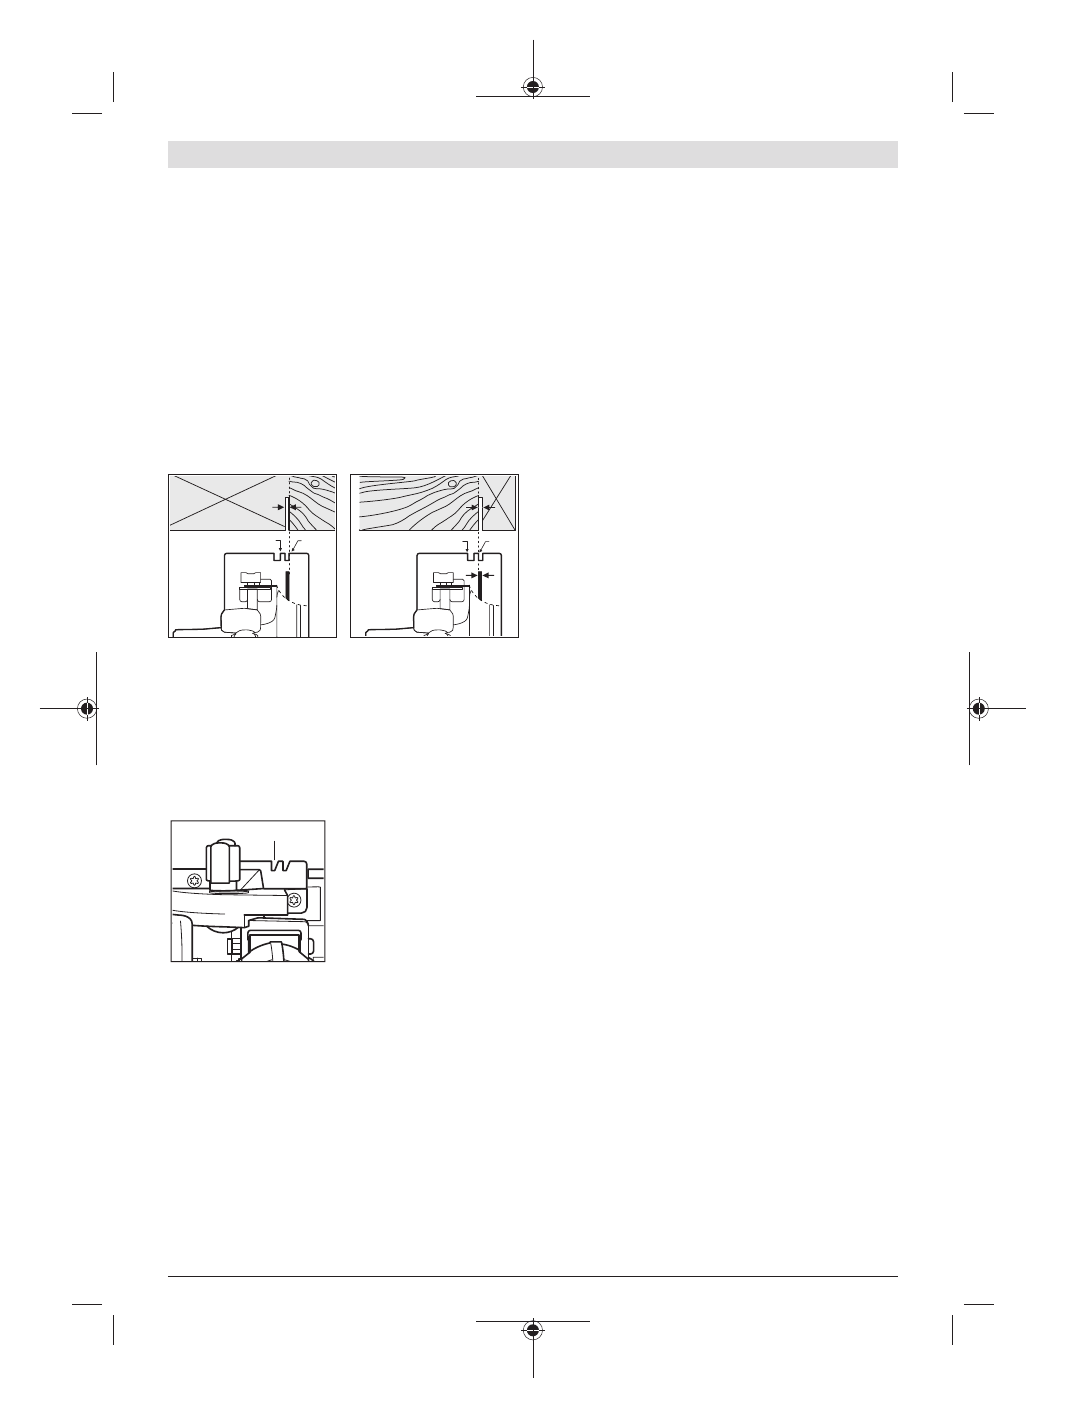
Cut marks (GKS 18V-57):
0
45
0
45
The 0° cut mark
(11)
indicates the position of the saw blade
when making a right-angled cut. The 45° cut mark
(10)
indic-
ates the position of the saw blade when making a 45° cut.
For a precise cut, place the circular saw against the work-
piece as shown in the figure. We recommend making a test
cut.
GKS 18V-57 G:
When using the FSN guide rail system, the power tool can
stay in the holder for the guide rail when making mitre cuts.
(10)
Use only cut marks
(10)
when making a right-angled
cut and a 45º cut with the
guide rail.
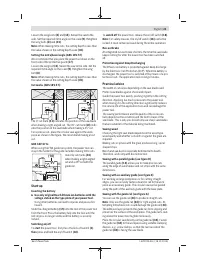
Start-up
Inserting the battery
u
Use only original Bosch lithium-ion batteries with the
voltage stated on the type plate of your power tool.
Using other batteries can lead to injuries and pose a fire
hazard.
Slide the charged battery
(19)
into the foot of the power tool
from the front. Press the battery fully into the foot until the
red stripe is no longer visible and the battery is securely
locked.
Switching on/off
To
start
the power tool, first press the lock-off switch
(1)
,
then
press and hold the on/off switch
(18)
.
To
switch off
the power tool, release the on/off switch
(18)
.
Note:
For safety reasons, the on/off switch
(18)
cannot be
locked; it must remain pressed during the entire operation.
Run-out brake
An integrated run-out brake shortens the time the saw blade
keeps running for after the power tool has been switched
off.
Protection Against Deep Discharging
The lithium-ion battery is protected against deep discharge
by the Electronic Cell Protection (ECP). When the battery is
discharged, the power tool is switched off by means of a pro-
tective circuit: The application tool no longer rotates.
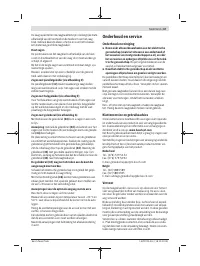
Practical advice
The width of cut varies depending on the saw blade used.
Protect saw blades against shock and impact.
Guide the power tool evenly, pushing it gently in the cutting
direction. Applying too much pressure to the power tool
when moving it in the cutting direction significantly reduces
the service life of the application tools and can damage the
power tool.
The sawing performance and the quality of the cut essen-
tially depend on the condition and the tooth shape of the
saw blade. This is why you should only use sharp saw blades
that are suitable for the material being machined.
Sawing wood
Choosing the right saw blade depends on the wood type,
wood quality and whether cuts with or against the grain are
required.
Making cuts in spruce with the grain produces long, spiral-
shaped chips.
Beech and oak dust is especially detrimental to health.
Therefore, work only with dust extraction.
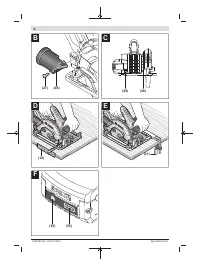
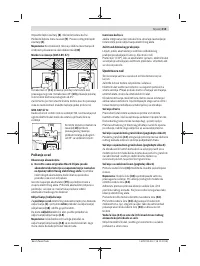
Sawing with a parallel guide (see figure D)
The parallel guide
(12)
allows you to make precise cuts
along the edge of a workpiece and cut strips with the same
dimensions.
Sawing with an auxiliary guide (see figure E)
For working on large workpieces or for cutting straight
edges, you can securely fasten a board or rail to the work-
piece as an auxiliary guide. The circular saw can be guided
along the path of this auxiliary guide with the base plate.
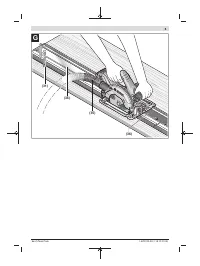
Sawing with the guide rail (see figure G)
You can use the guide rail
(34)
to produce straight cuts.
Note
: Only use the guide rail
(34)
for right-angled cuts. At-
tempting mitre/bevel cuts could damage the guide rail
(34)
.
The adhesive layer prevents the guide rail from slipping and
preserves the surface of the workpiece. The guide rail's coat-
ing allows the power tool to glide more easily.
Place the circular saw directly on the guide rail
(34)
. Fasten
the guide rail
(34)
to the workpiece using suitable clamping
devices, e.g. screw clamps, so that the narrow side of the
guide rail
(34)
is facing the saw blade.
English |
21
Bosch Power Tools
1 609 92A 4LL | (18.10.2018)
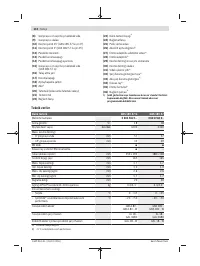
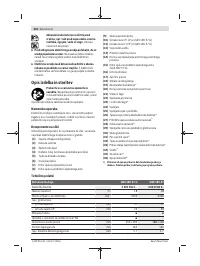
Содержание
- 154 Указания по технике безопасности для
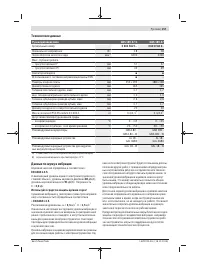
- 156 Описание продукта и услуг; Применение по назначению
- 157 Технические данные; Данные по шуму и вибрации
- 158 Сборка; Зарядка аккумулятора; Установка/смена пильного диска
- 159 Удаление пыли и стружки; Работа с инструментом; Режимы работы
- 160 Включение электроинструмента
- 161 Техобслуживание и сервис; Техобслуживание и очистка
- 162 Транспортировка; Українська; Вказівки з техніки безпеки; Загальні вказівки з техніки безпеки для; ДЖЕННЯ
Характеристики

Остались вопросы?Не нашли свой ответ в руководстве или возникли другие проблемы? Задайте свой вопрос в форме ниже с подробным описанием вашей ситуации, чтобы другие люди и специалисты смогли дать на него ответ. Если вы знаете как решить проблему другого человека, пожалуйста, подскажите ему :)


