
Холодильник Liebherr CN 3503 NoFrost - инструкция пользователя по применению, эксплуатации и установке на русском языке. Мы надеемся, она поможет вам решить возникшие у вас вопросы при эксплуатации техники.
Если остались вопросы, задайте их в комментариях после инструкции.
"Загружаем инструкцию", означает, что нужно подождать пока файл загрузится и можно будет его читать онлайн. Некоторые инструкции очень большие и время их появления зависит от вашей скорости интернета.


5.5.11 IceMaker*
The IceMaker and the water reservoir situated in the refrigerator
compartment can be used to produce ice cubes or to provide
chilled drinking water.
The IceMaker is in the top drawer of the freezer compartment.
The drawer is marked "IceMaker".
Make certain that the following conditions are met:
-
The appliance is level.
-
The appliance is connected.
-
The freezer compartment is switched on.
-
The water tank was cleaned with water and is filled.
Filling the water tank*
WARNING
Risk of poisoning!
u
The water quality has to comply with the drinking water ordi-
nance of the respective country (e.g. 98/83 EU) in which the
appliance is operated.
u
The IceMaker serves exclusively for making ice cubes in
household quantities and has to be operated with water suit-
able for the purpose.
ATTENTION
Risk of damage to the IceMaker!
Liquids containing sugar, such as soft drinks, fruit juices or sim-
ilar, gum up the pump and therefore lead to total pump failure
and, as a consequence, to damage to the IceMaker.
u
Fill the water reservoir with drinking water only! Do not use any
liquids containing sugar, such as soft drinks, fruit juices or
similar!
The IceMaker is supplied with water from a water tank in the re-
frigerator compartment (see description of appliance and equip-
ment).
Before initial operation:
u
clean the water tank thoroughly with water to remove any dust
etc.
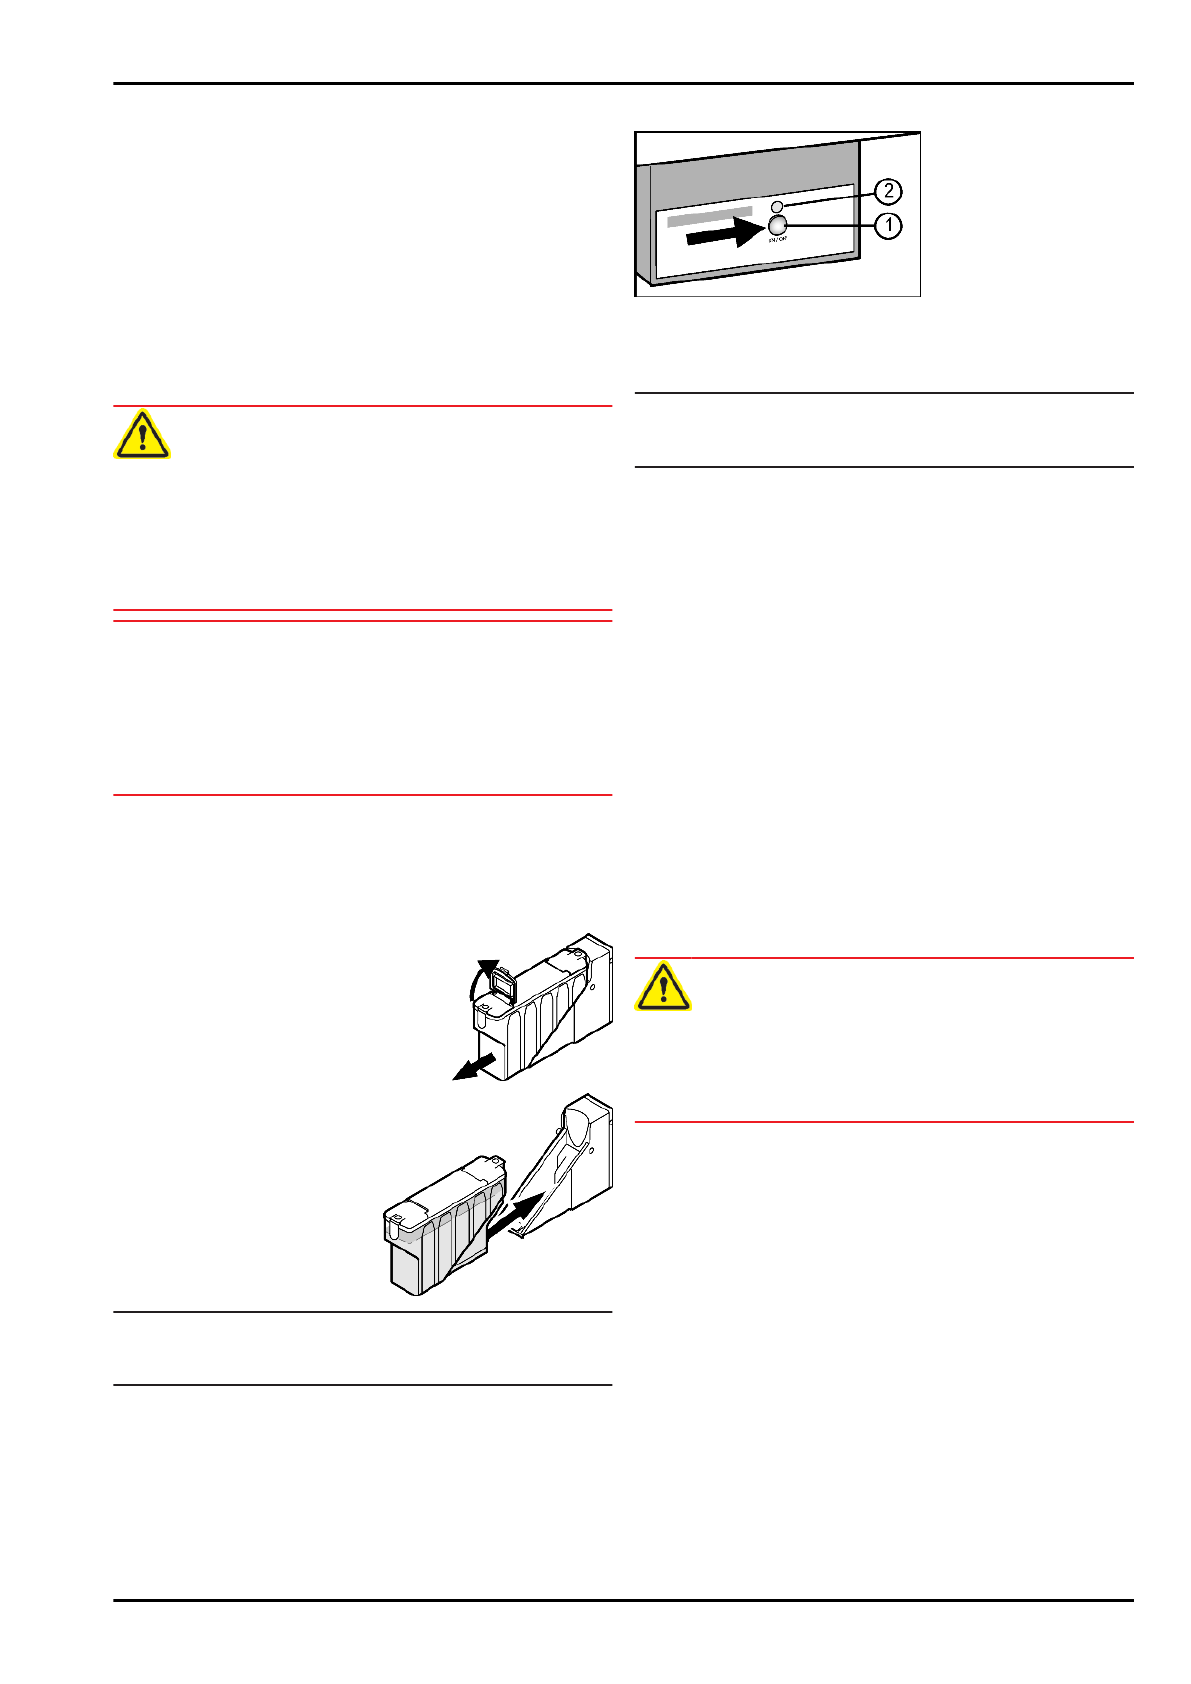
u
Pull the water tank forwards.
u
Open the front flap and fill the tank with
water.
u
Place the filled water tank in
the holder and slide it all the
way back.
Note
u
The water reservoir has to be slid all the way into the bracket
provided for the purpose in the refrigerator compartment!
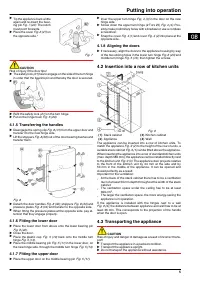
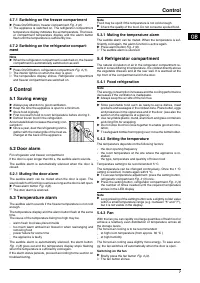
Switching on the IceMaker*
Fig. 12
u
Pull out the drawer.
u
Press the On/Off button
Fig. 12 (1)so that the LED
Fig. 12 (2) shines.
u
Push in the drawer.
Note
u
The IceMaker produces ice cubes only if the drawer is fully
closed.
Switching off the IceMaker*
If no ice cubes are needed, the IceMaker can be switched off
independently of the freezer compartment.
When the IceMaker is switched off, the IceMaker drawer can also
be used for freezing and storing food.
u
Press the On/Off button for about 1 second until the LED goes
out.
u
Clean the IceMaker.
w
This ensures that no water or ice remains in the IceMaker.
Producing ice cubes*
The production capacity depends on the freezer temperature.
The lower the temperature, the more ice cubes can be produced
in a specific period.
The ice cubes drop out of the IceMaker into the drawer. When a
certain filling level is reached, no more ice cubes are produced.
If large quantities of ice cubes are needed, the complete Ice-
Maker drawer can be exchanged for the adjacent drawer. When
the drawer is closed, the IceMaker automatically re-commences
production.
Once the IceMaker has been switched on for the first time, it may
take up to 24 hours until the first ice cubes are produced.
CAUTION
Risk of damage to health!
u
Do not consume or use the first three loads of ice cubes. This
applies if the appliance is used for the first time and if it has
been out of use for a long time. This ensures that the water
line is thoroughly rinsed.
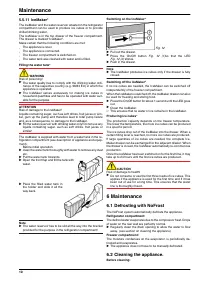
6 Maintenance
6.1 Defrosting with NoFrost
The NoFrost system automatically defrosts the appliance.
Refrigerator compartment:
The defrost water evaporates due to the compressor heat. Drops
of water on the rear wall are perfectly normal.
u
Regularly clean the drain opening to allow the water to flow
away. (see section on cleaning the appliance)
Freezer compartment:
The moisture condenses on the evaporator, is periodically de-
frosted and evaporates.
u
The appliance does not have to be manually defrosted.
6.2 Cleaning the appliance.
Before cleaning:
Maintenance
10
Характеристики

Остались вопросы?Не нашли свой ответ в руководстве или возникли другие проблемы? Задайте свой вопрос в форме ниже с подробным описанием вашей ситуации, чтобы другие люди и специалисты смогли дать на него ответ. Если вы знаете как решить проблему другого человека, пожалуйста, подскажите ему :)


