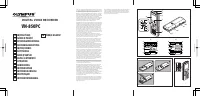
Диктофоны Olympus VN-850PC - инструкция пользователя по применению, эксплуатации и установке на русском языке. Мы надеемся, она поможет вам решить возникшие у вас вопросы при эксплуатации техники.
Если остались вопросы, задайте их в комментариях после инструкции.
"Загружаем инструкцию", означает, что нужно подождать пока файл загрузится и можно будет его читать онлайн. Некоторые инструкции очень большие и время их появления зависит от вашей скорости интернета.


8
EN
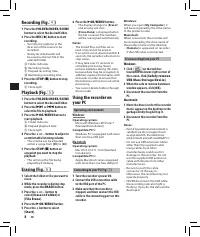
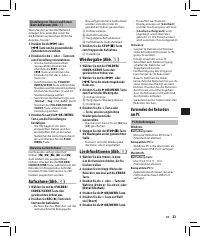
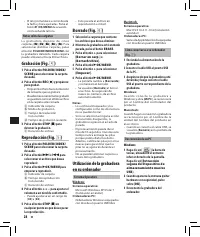
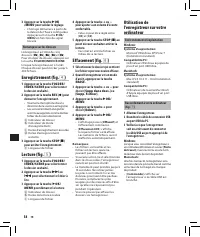
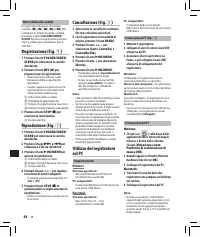
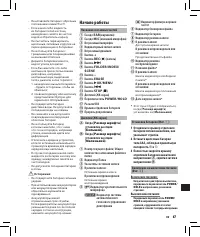
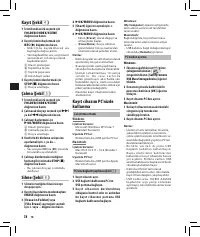
Recording (Fig.
4
)
1
Press the
FOLDER/INDEX /SCENE
button to select the desired folder.
2
Press the
REC
(
s
) button to start
recording.
• Turn the microphone in the
direction of the source to be
recorded.
• Newly recorded audio will
be saved as the last file in the
selected folder.
a
Folder indicator
b
Recording mode
c
Elapsed recording time
d
Remaining recording time
3
Press the
STOP
(
4
) button to stop
recording.
e
File length
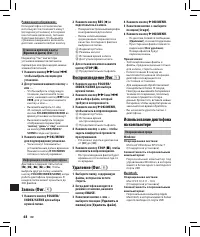
Playback (Fig.
5
)
1
Press the
FOLDER/INDEX /SCENE
button to select the desired folder.
2
Press the
9
or
0
button to
select the file to playback.
3
Press the
`
OK /MENU
button to
start playback.
a
Folder indicator
b
Elapsed playback time
c
File length
4
Press the
+
or
−
button to adjust to
a comfortable listening volume.
• The volume can be adjusted
within a range from [
00
] to [
30
].
5
Press the
STOP
(
4
) button at
any point you want to stop the
playback.
• This will stop the file being
played back midway.
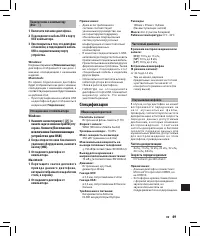
Erasing (Fig.
6
)
1
Select the folder or file you want to
erase.
2
While the recorder is during stop
mode, press the
ERASE
button.
3
Press the
+
or
−
button to
select [
Erase in Folder
] or
[
File Erase
].
4
Press the
`
OK /MENU
button.
5
Press the
+
button to select
[
Start
].
6
Press the
`
OK /MENU
button.
• The display changes to [
Erase!
]
and erasing will start.
• [
Erase Done
] is displayed when
the file is erased. File numbers
will be reassigned automatically.
Notes:
• The locked i les and i les set as
read-only cannot be erased.
• If an action is not selected within 8
seconds, the recorder will return to
stop status.
• It may take over 10 seconds to
complete processing. Never
remove batteries during this time
because data may be corrupted. In
addition, replace the batteries with
new ones in order to ensure that
the batteries will not run out while
processing.
• You cannot delete folders through
the recorder.
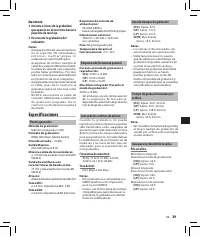
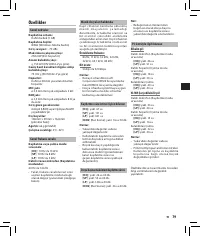
Using the recorder on
your PC
Operating environment
Windows:
Operating system:
Microsoft Windows XP/ Vista/7
(Standard Installation)
Compatible PC’s:
Windows PC’s equipped with more
than one free USB port
Macintosh:
Operating system:
Mac OS X 10.4.11 -10.6 (Standard
Installation)
Compatible PC’s:
Apple Macintosh series equipped
with more than one free USB port
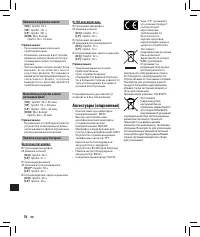
Connecting to your PC (Fig.
7
)
1
Turn the recorder’s power ON.
2
Connect the USB connection cable
to the USB port of the PC.
3
Make sure that the recorder is
stopped, and then connect the USB
cable to the connecting port on this
recorder.
Windows:
When you open [
My Computer
], it
will be recognized by the drive name
of the product name.
Macintosh:
When connected, the recorder will
be recognized by the drive name of
the product name on the desktop.
• [
Remote
] is appeared on recorder
if the USB cable is connected.
Disconnecting from your PC
Windows:
1
Click [
] on the task bar
located at the lower-right corner of
the screen. Click [
Safely remove
USB Mass Storage Device
].
2
When the safe to remove hardware
window appears, click [
OK
].
3
Disconnect the recorder from the
PC.
Macintosh:
1
Move the drive icon for this recorder
that is appear on the desktop to the
garbage bin by Drag & Drop it.
2
Disconnect the recorder from the
PC.
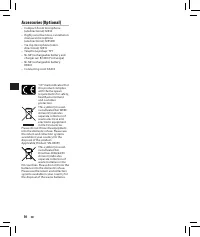
Notes:
• Even if operational environment is
satisi ed, we do not support such
as upgraded OS, the multi-boot
environment and self-modii ed PC’s.
• Do not use USB extension cables
other than the supplied cable.
Using cables from other
manufacturers could result in
damage to the recorder. Do not
use the supplied USB extension
cable with devices from other
manufacturers.
• Be sure to push the cable
connector all the way in.
Otherwise, the recorder may not
operate properly.
• NEVER disconnect the USB while
the recording indicator light is
l ashing. If you do, the data will be
destroyed.

