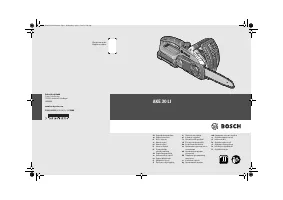
Бензопилы Bosch AKE 30 LI (0600837100) - инструкция пользователя по применению, эксплуатации и установке на русском языке. Мы надеемся, она поможет вам решить возникшие у вас вопросы при эксплуатации техники.
Если остались вопросы, задайте их в комментариях после инструкции.
"Загружаем инструкцию", означает, что нужно подождать пока файл загрузится и можно будет его читать онлайн. Некоторые инструкции очень большие и время их появления зависит от вашей скорости интернета.


English |
29
Bosch Power Tools
F 016 L81 531 | (4.4.16)
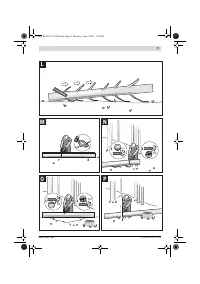
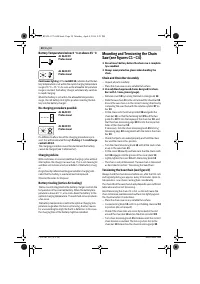
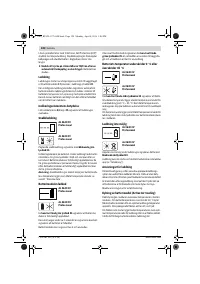
Assembly
For Your Safety
Warning: Switch off and remove battery from power
tool before adjusting or cleaning.
Do not use 4.5 Ah battery with this power tool.
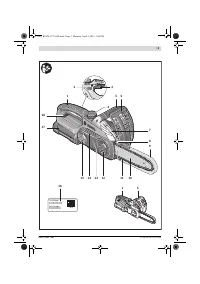
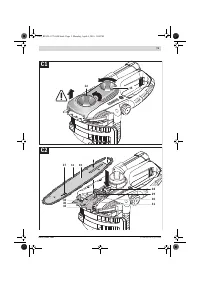
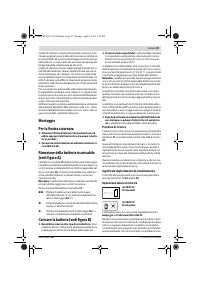
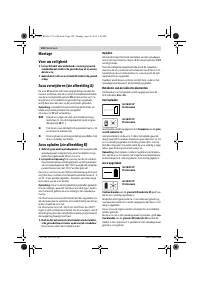
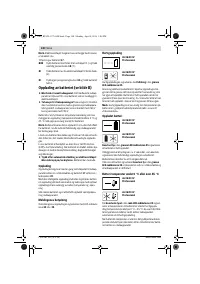
Removing the battery (see figure A)
The battery
17
is equipped with two locking levels that should
prevent the battery from falling out when pushing the battery
unlocking button
18
unintentionally. As long as the battery is
inserted in the power tool, it is held in position by means of a
spring.
Note:
The power tool will not operate unless both locking lev-
els are engaged.
To remove the battery
17
:
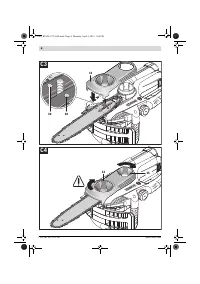
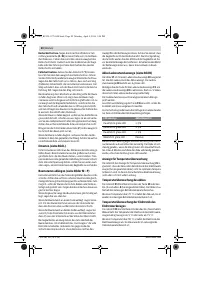
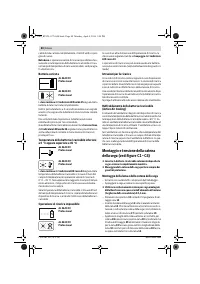
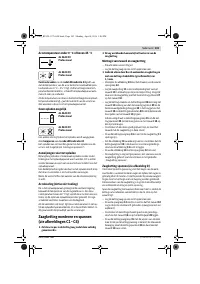
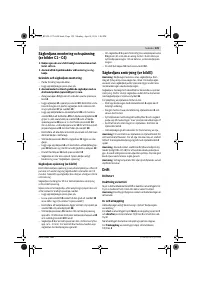
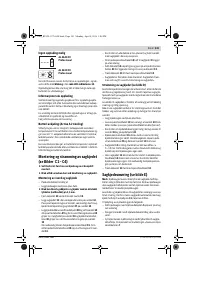
Battery Charging (see figure B)
Do not use other battery chargers.
The supplied battery
charger is designed for the Lithium-Ion battery in your ma-
chine.
Observe the mains voltage!
The voltage of the power
supply must correspond with the data given on the name-
plate of the battery charger. Battery chargers marked with
230 V can also be operated with 220 V.
The battery is equipped with temperature monitoring that al-
lows charging only in the temperature range between 0 ° C
and 45 ° C. In this manner, a high battery service life is
achieved.
Note:
The battery supplied is partially charged. To ensure full
capacity of the battery, completely charge the battery in the
battery charger before using your power tool for the first time.
The lithium-ion battery can be charged at any time without re-
ducing its service life. Interrupting the charging procedure
does not damage the battery.
The “Electronic Cell Protection (ECP)” protects the lithium-
ion battery against deep discharging. When the battery is run
down or discharged, the chain saw is shut off by means of a
protective circuit: The saw chain no longer moves.
Do not continue to press the On/Off switch after the
machine has been automatically switched off.
The bat-
tery can be damaged.
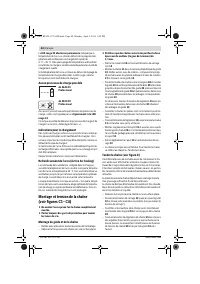
Charging Procedure
The charging procedure starts as soon as the mains plug of
the battery charger is plugged into the socket outlet and the
battery
17
is inserted into the charging compartment
22
.
Due to the intelligent charging method, the charging condi-
tion of the battery is automatically detected and the battery is
charged with the optimum charging current, depending on
battery temperature and voltage.
This gives longer life to the battery and always leaves it fully
charged when kept in the charger for storage.
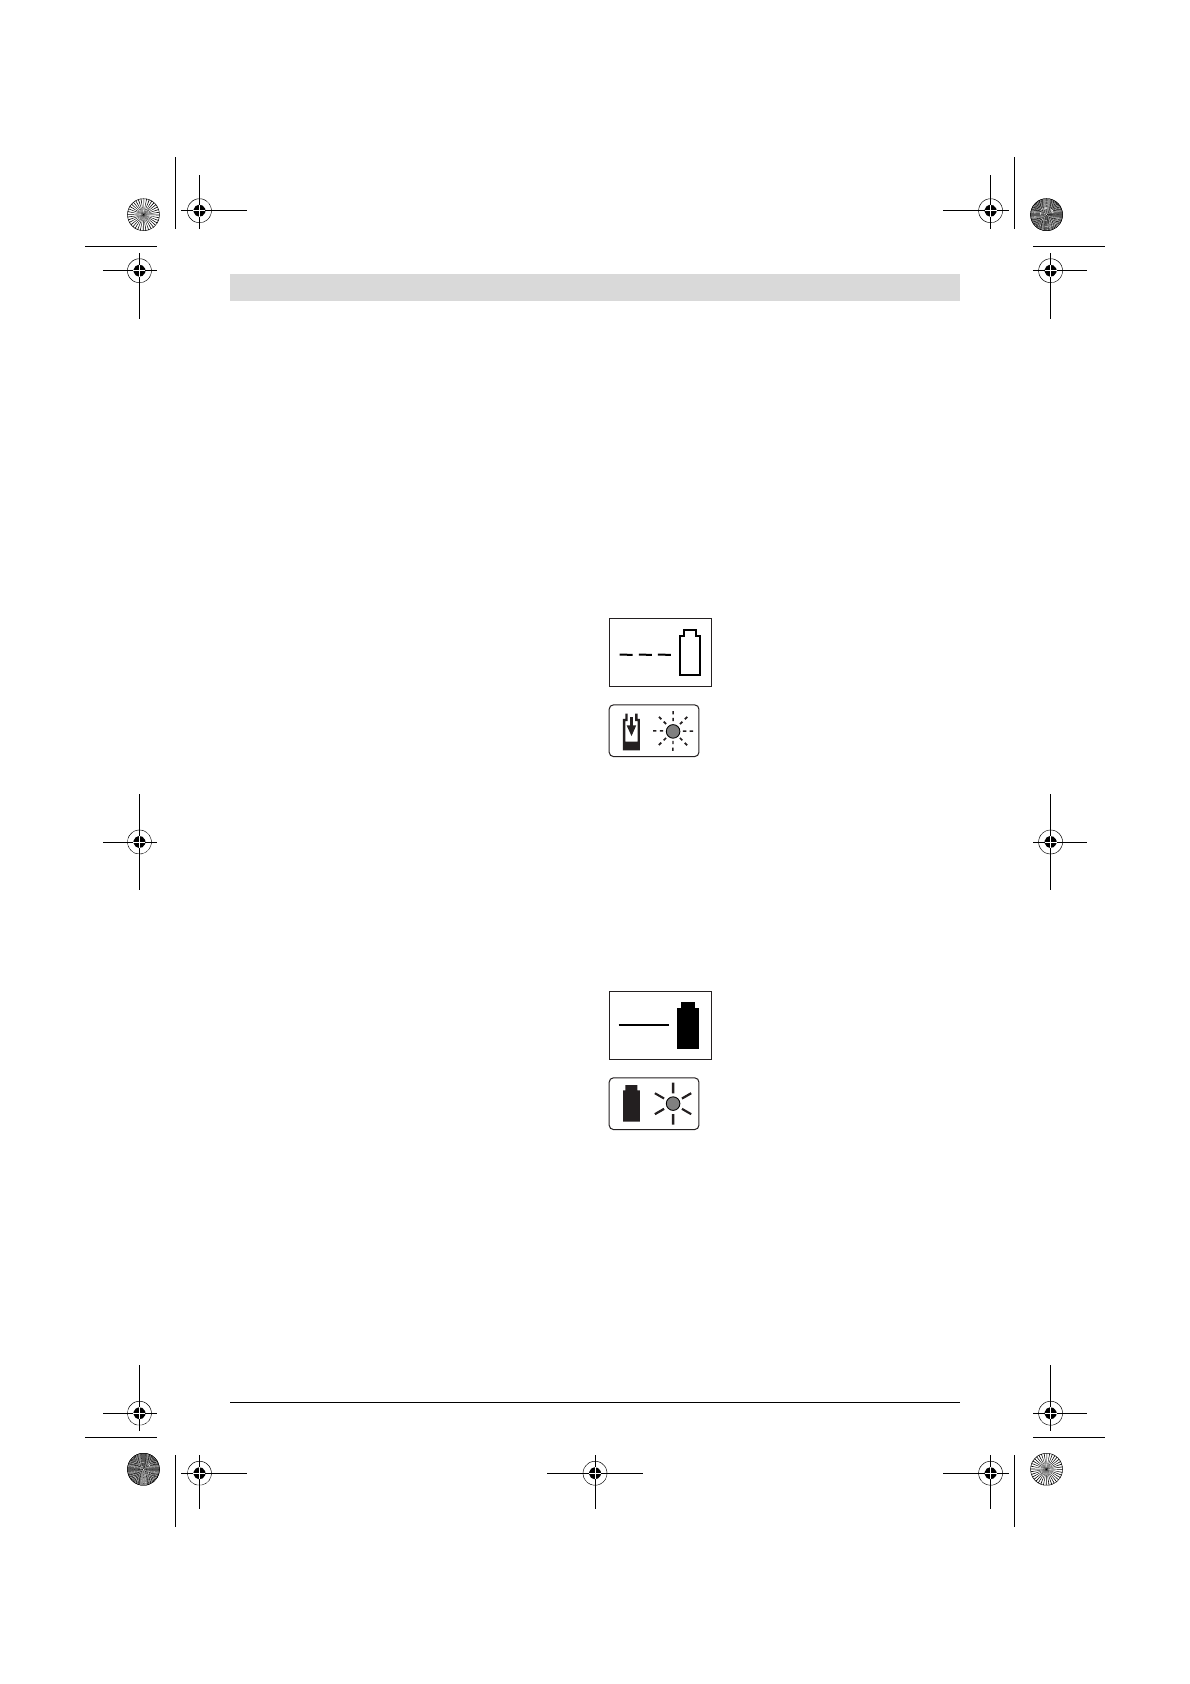
Meaning of the Indication Elements
Control of the charging procedure is indicated via the charge
control LEDs
24
and
25
:
Rapid-charging Procedure
The rapid-charging procedure is indicated by
flashing
of the
green charge control LED
25
.
Indication element of the battery: During the charging proce-
dure, the three green LEDs light up one after the other and
briefly go out. The battery is fully charged when the three
green LEDs light up continuously. The three LEDs go out again
approx. 5 minutes after the battery has been fully charged.
Note:
The rapid-charging procedure is only possible when the
battery temperature is within the allowable charging temper-
ature range, see section “Technical Data”.
Battery Charged
Continuous lighting
of the
green charge control LED
25
signals that the battery is fully charged.
Additionally, a signal tone sounds for approx. 2 seconds,
which acoustically indicates that the battery is fully charged.
Afterwards, the battery can be removed for immediate use.
With no battery inserted,
continuous lighting
of the
green
charge control LED
25
indicates that the mains plug is
plugged into the socket and that the battery charger is ready
for operation.
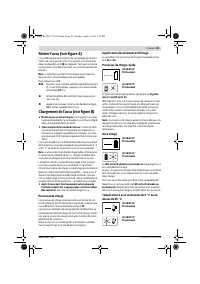
Push the battery against the base of the power tool
(1.) and at the same time press the battery unlock-
ing button
18
(2.).
Pull the battery out of the power tool to the first
locking level (3).
Press the battery unlocking button
18
again and
pull out the battery completely.
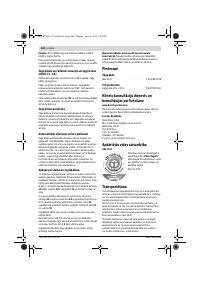
AL 3640 CV
Professional
AL 3620 CV
Professional
AL 3640 CV
Professional
AL 3620 CV
Professional
OBJ_BUCH-1275-004.book Page 29 Monday, April 4, 2016 1:04 PM
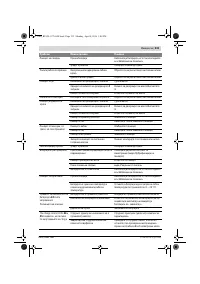
Содержание
- 244 Указания по безопасности; Пояснение пиктограмм; Безопасность людей
- 245 Сервис
- 247 Упущения в
- 248 Иначе; Смотрите за детьми при; Дети; Заряжайте только литиево-; Иначе существует; Применение по назначению
- 249 Технические данные
- 250 Данные по шуму и вибрации
- 252 Монтаж пильного аппарата и пильной цепи
- 253 Работа с инструментом; Эксплуатация; Работа с цепной пилой; Перед пилением
- 256 Индикатор контроля температуры; Поиск неисправностей
- 258 Техобслуживание и очистка; Затачивание пильной цепи; Принадлежности; Пильная цепь
- 259 Охрана окружающей среды; Транспортировка
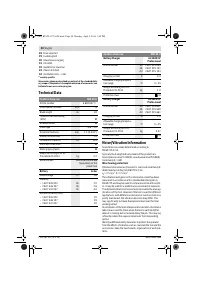
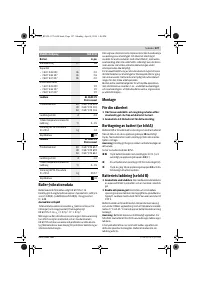
Характеристики

Остались вопросы?Не нашли свой ответ в руководстве или возникли другие проблемы? Задайте свой вопрос в форме ниже с подробным описанием вашей ситуации, чтобы другие люди и специалисты смогли дать на него ответ. Если вы знаете как решить проблему другого человека, пожалуйста, подскажите ему :)


