Бензопилы Bosch AKE 30 LI (0600837100) - инструкция пользователя по применению, эксплуатации и установке на русском языке. Мы надеемся, она поможет вам решить возникшие у вас вопросы при эксплуатации техники.
Если остались вопросы, задайте их в комментариях после инструкции.
"Загружаем инструкцию", означает, что нужно подождать пока файл загрузится и можно будет его читать онлайн. Некоторые инструкции очень большие и время их появления зависит от вашей скорости интернета.


English |
33
Bosch Power Tools
F 016 L81 531 | (4.4.16)
pinching either the saw chain or the guide bar when the sec-
ond notch is being made.
Felling back-cut:
Make the felling back-cut (
Y
) at least
50 mm higher than the horizontal notching cut. Carry out the
felling back-cut parallel to the horizontal notching cut. Make
the felling back-cut so that enough wood is left to act as a
hinge. The hinge-wood keeps the tree from twisting and fall-
ing in the wrong direction. Do not cut through the hinge.
As the felling gets close to the hinge, the tree should begin to
fall. If there is any chance that the tree may not fall in the de-
sired direction or may rock back and bind the saw chain, stop
cutting before the felling back-cut is complete and use wedg-
es of wood, plastic or aluminium to open the cut and drop the
tree along the desired line of fall.
When the tree begins to fall, remove the chain saw from the
cut, stop the motor, put the chain saw down, then use the re-
treat path planned. Be alert for overhead limbs falling and
watch your footing.
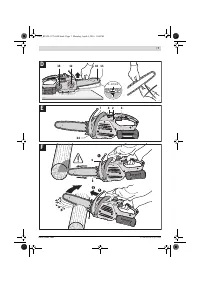
Drive a wedge (
Z
) into the horizontal cut to make the tree fall.
When the tree begins to fall, leave the danger area via the re-
treat path planned. Be alert for overhead limbs falling and
watch your footing.
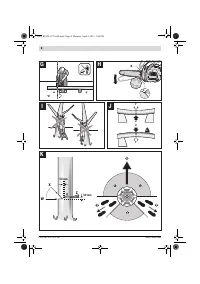
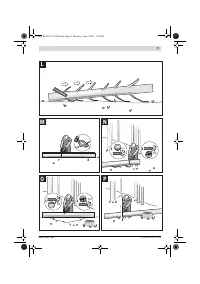
Limbing a Tree (see figure L)
Limbing is removing the branches from a fallen tree. When
limbing, leave larger lower limbs to support the log off the
ground. Remove the small limbs in one cut as illustrated in the
figure. Branches under tension should be cut from the bottom
up to avoid binding the chain saw.
Bucking a Log (see figures M – P)
Bucking is cutting a log into lengths. It is important to make
sure your footing is firm and your weight is evenly distributed
on both feet. When possible, the log should be raised and sup-
ported by the use of limbs, logs or chocks. Follow the simple
directions for easy cutting.
When the log is supported along its entire length, it is cut from
the top (overbuck).
When the log is supported on one end, cut 1/3 the diameter
from the underside (underbuck). Then make the finished cut
by overbucking to meet the first cut.
When the log is supported on both ends, cut 1/3 the diameter
from the top overbuck. Then make the finished cut by under-
bucking the lower 2/3 to meet the first cut.
When bucking on a slope, always stand on the uphill side of
the log. When “cutting through”, release the cutting pressure
near the end of the cut without relaxing your grip on the chain
saw handles in order to maintain complete control. Don’t let
the chain contact the ground. After completing the cut, wait
for the saw chain to stop before you move the chain saw. Al-
ways stop the chain saw motor before moving from tree to
tree.
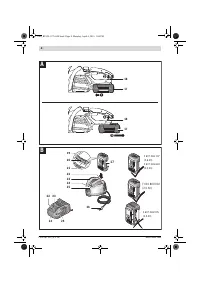
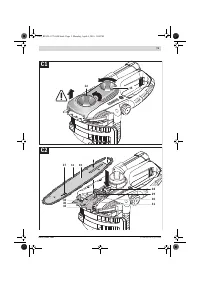
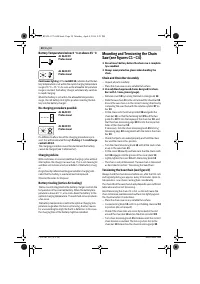
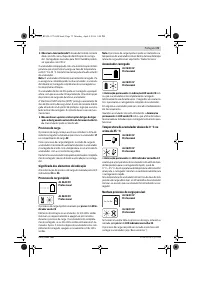
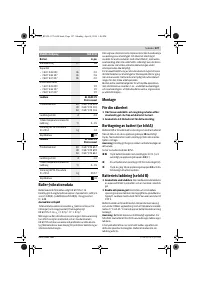
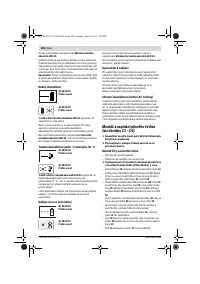
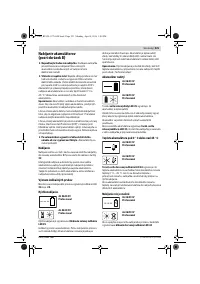
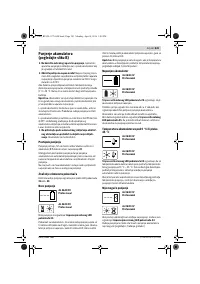
Battery Charge-control Indication (see figure B)
The battery
17
is equipped with a charge-control indicator
20
which indicates its charge condition. The charge-control indi-
cator
20
consists of 3 green LEDs.
Press the button
19
to actuate the charge-control indicator
20
. After approx. 5 seconds, the charge-control indicator
goes out automatically.
The charge condition can also be checked when the battery is
removed.
When no LED lights up after actuating the button
19
, the bat-
tery is defective and must be replaced.
For safety reasons, the charge condition of the battery can
only be checked when the power tool is at a standstill.
During the charging procedure, the three green LEDs light up
one after the other and briefly go out. The battery is fully
charged when the three green LEDs light up continuously. The
three LEDs go out again approx. 5 minutes after the battery
has been fully charged.
Temperature Control Indicator
The red LED of the temperature control indicator
21
signals
that the battery or the electronics of the power tool (when the
battery is inserted) are not within the optimum temperature
range. In this case, the power tool will not operate at full ca-
pacity.
Temperature Control of the Battery
The red LED
21
flashes when you press the
19
button or the
On/Off switch
3
(with battery inserted): The battery is outside
of the permitted operating temperature range.
The battery switches off at a temperature above 70 ° C until
the optimum temperature range is reached again.
Temperature control of the power tool
electronics:
The red LED
21
lights up continuously when pressing the
On/Off switch
3
: The temperature of the machine’s electron-
ics is below 5 ° C or above 75 ° C.
At a temperature above 90 ° C , the electronics of the power
tool switch off until the temperature is within the allowable
temperature range again.
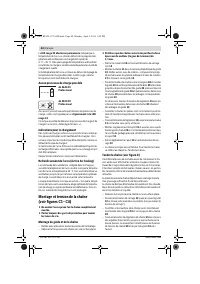
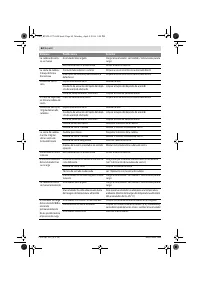
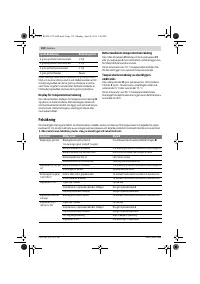
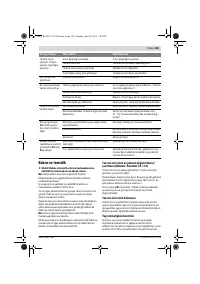
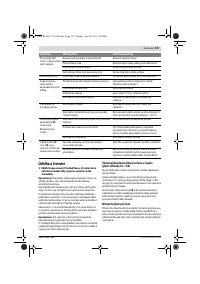
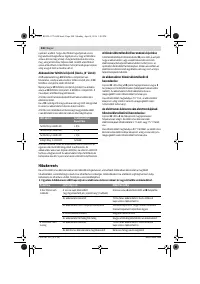
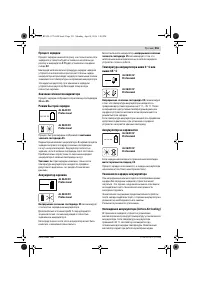
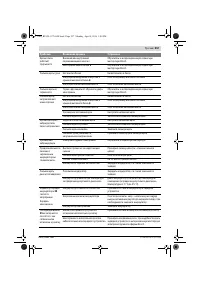
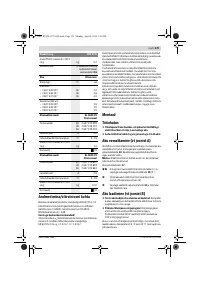
LED Indicators
Battery Capacity
Continuous lighting of 3 green LEDs
≥ 2/3
Continuous lighting of 2 green LEDs
≥ 1/3
Continuous lighting of 1 green LED
≤ 1/3
Flashing of 1 green LED
Reserve
OBJ_BUCH-1275-004.book Page 33 Monday, April 4, 2016 2:26 PM
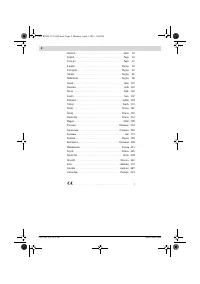
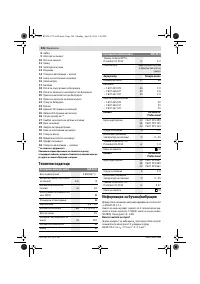
Содержание
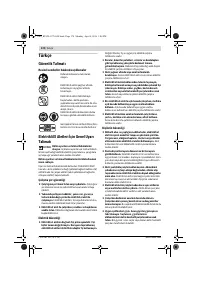
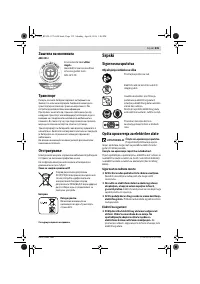
- 244 Указания по безопасности; Пояснение пиктограмм; Безопасность людей
- 245 Сервис
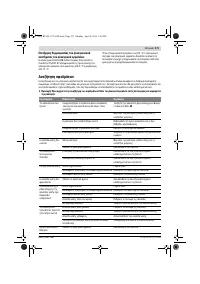
- 247 Упущения в
- 248 Иначе; Смотрите за детьми при; Дети; Заряжайте только литиево-; Иначе существует; Применение по назначению
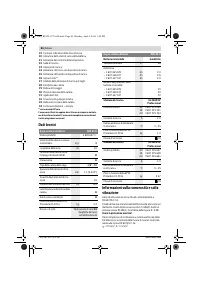
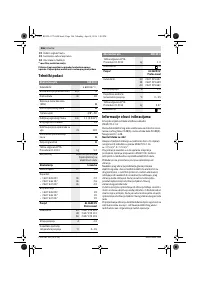
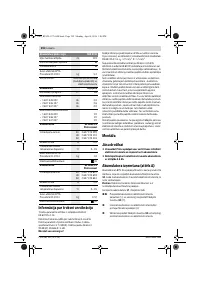
- 249 Технические данные
- 250 Данные по шуму и вибрации
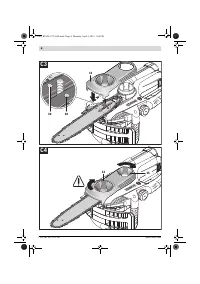
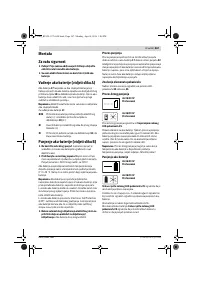
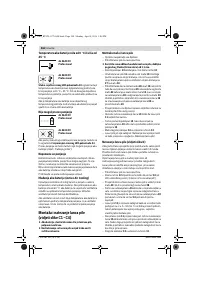
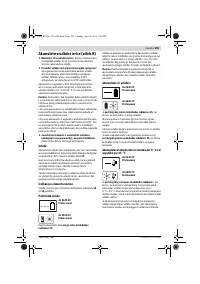
- 252 Монтаж пильного аппарата и пильной цепи
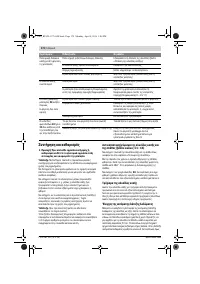
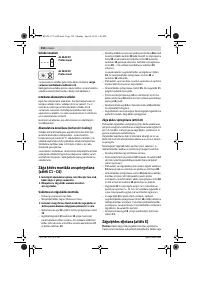
- 253 Работа с инструментом; Эксплуатация; Работа с цепной пилой; Перед пилением
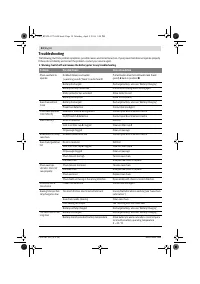
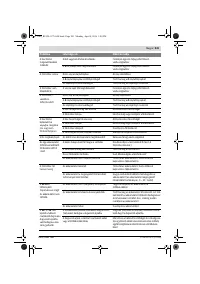
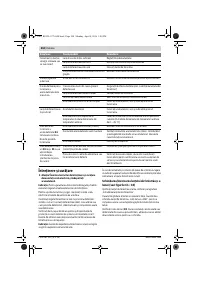
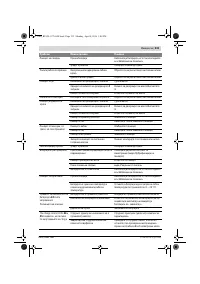
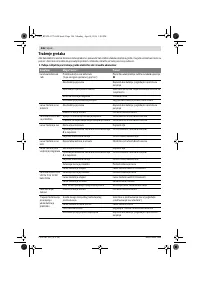
- 256 Индикатор контроля температуры; Поиск неисправностей
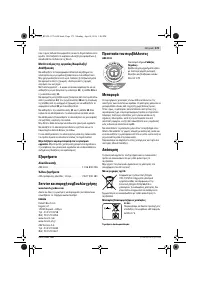
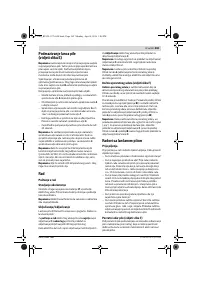
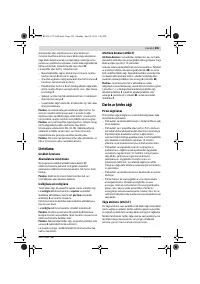
- 258 Техобслуживание и очистка; Затачивание пильной цепи; Принадлежности; Пильная цепь
- 259 Охрана окружающей среды; Транспортировка
Характеристики

Остались вопросы?Не нашли свой ответ в руководстве или возникли другие проблемы? Задайте свой вопрос в форме ниже с подробным описанием вашей ситуации, чтобы другие люди и специалисты смогли дать на него ответ. Если вы знаете как решить проблему другого человека, пожалуйста, подскажите ему :)


