
Вытяжки Kaiser EA 641 N - инструкция пользователя по применению, эксплуатации и установке на русском языке. Мы надеемся, она поможет вам решить возникшие у вас вопросы при эксплуатации техники.
Если остались вопросы, задайте их в комментариях после инструкции.
"Загружаем инструкцию", означает, что нужно подождать пока файл загрузится и можно будет его читать онлайн. Некоторые инструкции очень большие и время их появления зависит от вашей скорости интернета.


3
1
4
496
2
516
60
60
194
194
6
5
5
10
4
5
1
8
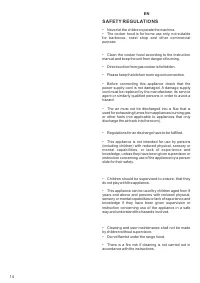
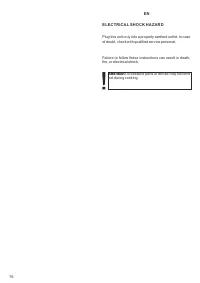
EN
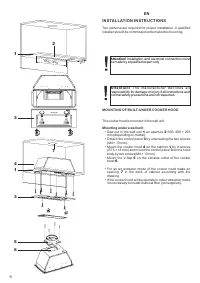
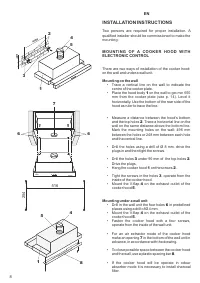
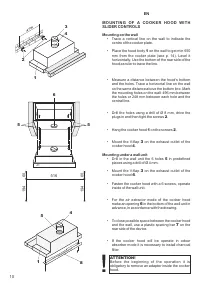
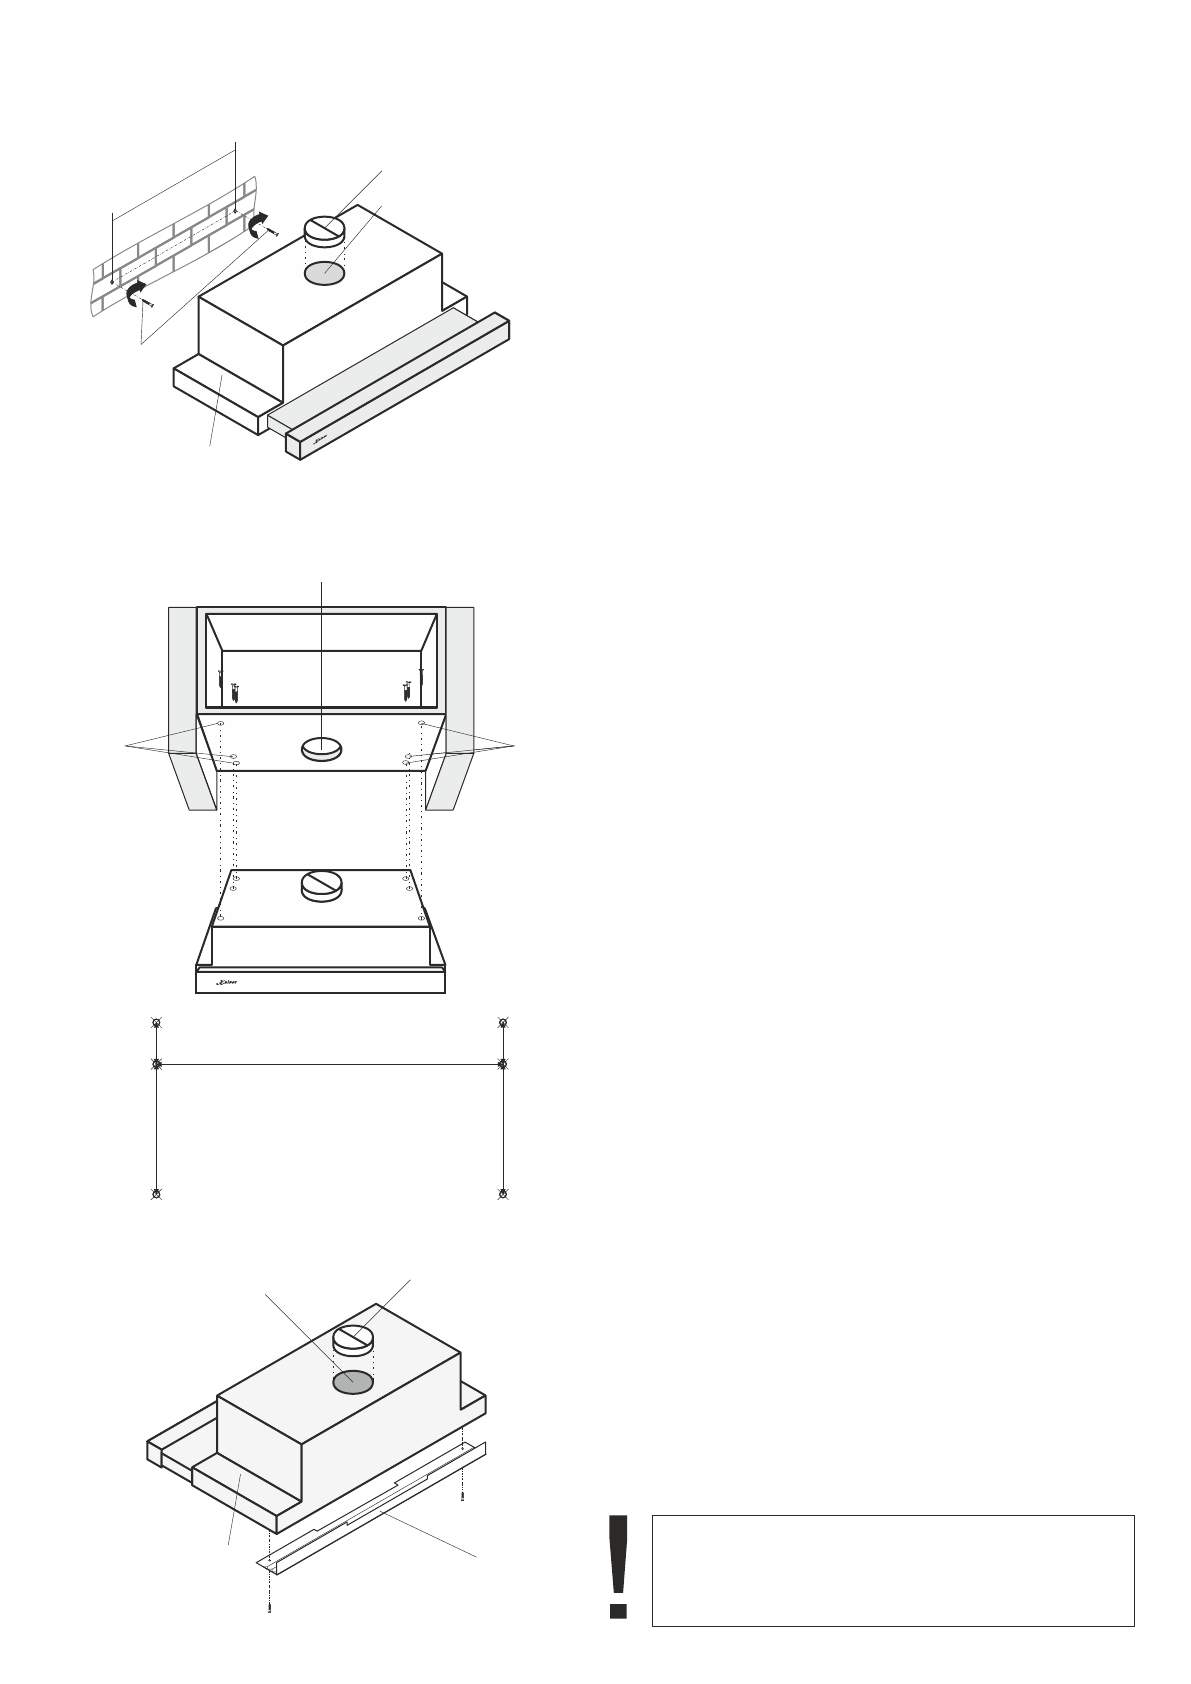
M O U N T I N G O F A C O O K E R H O O D W I T H
SLIDER CONTROLS
Mounting on the wall
• Trace a vertical line on the wall to indicate the
centre of the cooker plate.
• Place the hood body
1
on the wall to get min 650
mm from the cooker plate (see p. 14). Level it
horizontally. Use the bottom of the rear side of the
hood as ruler to trace the line.
• Measure a distance between the hood’s bottom
and the holes. Trace a horizontal line on the wall
on the same distance above the bottom line. Mark
the mounting holes on the wall: 496 mm between
the holes or 248 mm between each hole and the
central line.
• Drill the holes using a drill of Ø 8 mm, drive the
plugs in and then tight the screws
2
.
• Hang the cooker hood
1
on the screws
2
.
• Mount the V-flap
3
on the exhaust outlet of the
cooker hood
4
.
Mounting under a wall unit
• Drill in the wall unit the 6 holes
5
in predefined
places using a drill of Ø 4 mm.
• Mount the V-flap
3
on the exhaust outlet of the
cooker hood
4
.
• Fasten the cooker hood with a 6 screws, operate
inside of the wall unit.
• For the air extractor mode of the cooker hood
make an opening
6
in the bottom of the wall unit in
advance, in accordance with the drawing.
• To close possible space between the cooker hood
and the wall, use a plastic spacing bar
7
on the
rear side of the device.
•
f the cooker hood will be operate in odour
I
absorber mode it is necessary to install charcoal
filter.
ATTENTION!
Before the beginning of the operation it is
obligatory to remove an adapter inside the cooker
hood.
Содержание
- 7 ИНСТРУКЦИЯ ПО МОНТАЖУ; Монтаж в навесном шкафу; FÜR DEN INSTALLATEUR; MONTAGE DER UNTERBAUABZUGSHAUBE
- 9 Монтаж на стене; Wandmontage
- 13 STROMNETZANSCHLUSS; ie Eigenschaften des Stromnetzes mit den; ПОДКЛЮЧЕНИЕ К ЭЛЕКТРОСЕТИ; П о с л е п о д к л ю ч е н и я к э л е к т р о с е т и
- 15 ТЕХНИКА БЕЗОПАСНОСТИ; . В о и з б е ж а н и и; SICHERHEITSHINWEISE; Die Luft muss nicht in den Rauchabzug geleitet
- 17 STROMSCHLAGGEFAHR; äß; Внимание; ри риготовлени пищи оступные; Achtung; Beim Kochen können die zugänglichen
- 19 КРАТКОЕ ОПИСАНИЕ; ВНЕШНИЙ ВИД; KURZBESCHREIBUNG; GESAMTANSICHT
- 21 устройство работает в виде поглотителя запахов).
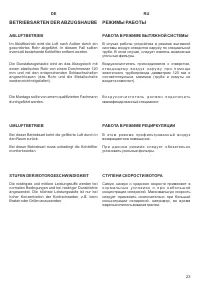
- 23 РЕЖИМЫ РАБОТЫ; РАБОТА В РЕЖИМЕ ВЫТЯЖНОЙ СИСТЕМЫ; мм и; РАБОТА В РЕЖИМЕ РЕЦИРКУЛЯЦИИ; BETRIEBSARTEN DER ABZUGSHAUBE; ABLUFTBETRIEB; Bei dieser Betriebsart kehrt die gefilterte Luft durch; STUFEN DER MOTORGESCHWINDIGKEIT
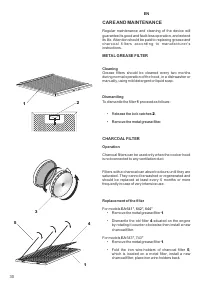
- 25 BENUTZUNG; BENUTZUNGSSICHERHEIT; ИСПОЛЬЗОВАНИЕ; БЕЗОПАСНОСТЬ ЭКСПЛУАТАЦИИ; Жироулавливающие фильтры
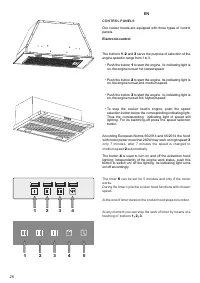
- 29 Управление слайдерного типа; Schiebeknöpfe Bedienblende
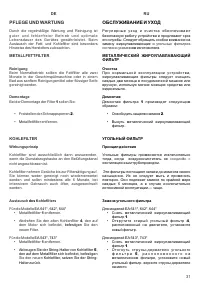
- 31 ОБСЛУЖИВАНИЕ И УХОД; угольных фильтров; Очистка; УГОЛЬНЫЙ ФИЛЬТР; Принцип действия; соедин н с; Замена угольного фильтра; PFLEGE UND WARTUNG; METALLFETTFILTER; Reinigung; KOHLEFILTER; Wirkungsprinzip
- 35 ОЧИСТКА; Во время нормальной очистки воздухоочистителя; ПЕРИОДИЧЕСКИЙ ОСМОТР; следует; П р и м е ч а н и е !; В с е р е м о н т ы и о п е р а ц и и п о; REINIGUNG; Bei normaler Reinigung der Dunstabzugshaube; PERIODISCHE BESICHTIGUNG; ist
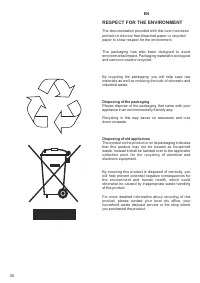
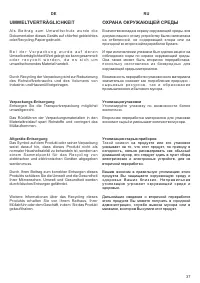
- 37 ОХРАНА ОКРУЖАЮЩЕЙ СРЕДЫ; Утилизация упаковки; Та к о й с и м вол н; UMWELTVERTRÄGLICHKEIT; Verpackungs-Entsorgung
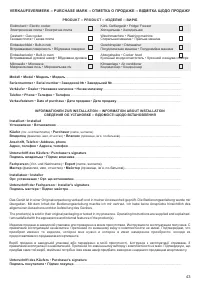
- 40 Центр Кайзер; УСЛОВИЯ ГАРАНТИИ; ГАРАНТИЯ НЕ РАСПРОСТРАНЯЕТСЯ:; обственности если
- 42 ГАРАНТИЙНЫЙ ТАЛОН; Вітаємо Вас з придбанням побутової техніки відмінної якості!


