
Варочная панель Faber GALILEO SMART BK F600 + KIT LL H80 - инструкция пользователя по применению, эксплуатации и установке на русском языке. Мы надеемся, она поможет вам решить возникшие у вас вопросы при эксплуатации техники.
Если остались вопросы, задайте их в комментариях после инструкции.
"Загружаем инструкцию", означает, что нужно подождать пока файл загрузится и можно будет его читать онлайн. Некоторые инструкции очень большие и время их появления зависит от вашей скорости интернета.
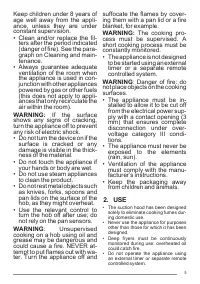


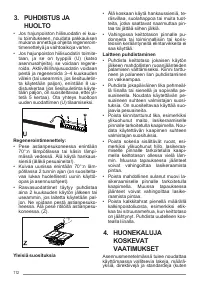


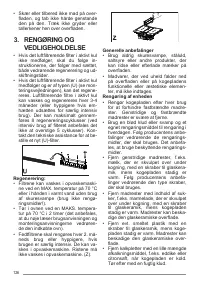


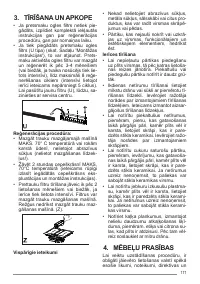


• Remove any melted plastic using a
scraper pad suitable for vitreous
ceramic, while the cooker hob is still
hot. If you do not, the residue may
damage the vitreous ceramic surface.
• Remove limescale using a small
amount of limescale remover solu-
tion, for example vinegar or lemon
juice, once the cooker hob has cooled
down. Then, clean again with a damp
cloth.
4. INSTALLATION
REQUIREMENTS
The installation process must comply
with the laws, ordinances, directives
and standards (electrical safety rules
and regulations, proper recycling in ac-
cordance with the regulations, etc.) in
force in the country of use!
• Do not use silicon sealant between
the appliance and the worktop. The
cooker hob is designed to be fitted
flush with the kitchen worktop, on a
kitchen unit with a width of 600 mm or
more.
• If the appliance is mounted on flam-
mable materials, the guidelines and
regulations relating to low voltage in-
stallations and fire prevention must
be followed strictly.
• For built-in units, the components
(plastic materials and veneered
wood) must be mounted with heat-
resistant adhesives (min.100°C): the
use of unsuitable materials and ad-
hesives can cause deformation and
detachment.
• The kitchen unit must have sufficient
space to allow for electrical connec-
tion of the device. Wall-mounted units
above the device must be installed at
a sufficient distance to leave the
space required to work in comfort.
• The use of decorative hardwood bor-
ders around the worktop behind the
device is allowed, provided the min-
imum distance always complies with
the indications provided in the install-
ation drawings.
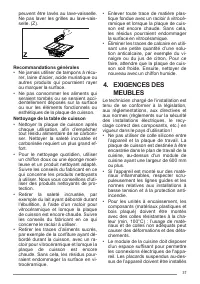
• The minimum distance between the
fitted device and the rear wall is indic-
ated in the installation drawing for the
flush-fitted device (150 mm for the
side wall, 40 mm for the rear wall and
500 mm for any wall-mounted units
above it).
• To prevent infiltration of liquids
between the edge of the cooker hob
and the worktop, fit the adhesive seal
supplied along the whole outer edge
of the cooker hob prior to installation.
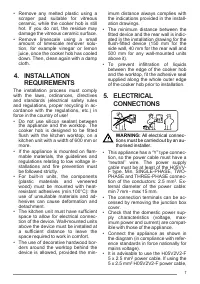
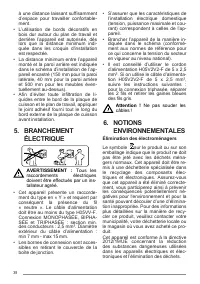
5. ELECTRICAL
CONNECTIONS
WARNING:
All electrical connec-
tions must be carried out by an au-
thorised installer.
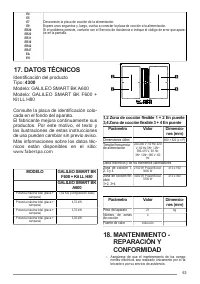
• This appliance has a “Y” type connec-
tion, so the power cable must have a
“neutral” wire. The power supply
cable must be at least of the H05VV-
F type. Min. SINGLE-PHASE, TWO-
PHASE and THREE-PHASE connec-
tion of the conductors: 2.5 mm². Ex-
ternal diameter of the power cable:
min 7 mm - max 15 mm.
• The connection terminals can be ac-
cessed by removing the junction box
cover.
• Check that the domestic power sup-
ply characteristics (voltage, max-
imum power and current) are compat-
ible with those of the appliance.
• Connect the appliance as shown in
the diagram (in compliance with refer-
ence standards in force nationally for
mains voltage).
• It is advisable to use the H05V2V2-F
5 x 2.5 mm² power cable. If using the
5 x 2.5 mm² H05V2V2-F power cable,
7
Характеристики

Остались вопросы?Не нашли свой ответ в руководстве или возникли другие проблемы? Задайте свой вопрос в форме ниже с подробным описанием вашей ситуации, чтобы другие люди и специалисты смогли дать на него ответ. Если вы знаете как решить проблему другого человека, пожалуйста, подскажите ему :)


