
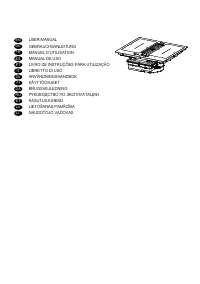
Варочная панель Faber GALILEO SMART BK F600 + KIT LL H80 - инструкция пользователя по применению, эксплуатации и установке на русском языке. Мы надеемся, она поможет вам решить возникшие у вас вопросы при эксплуатации техники.
Если остались вопросы, задайте их в комментариях после инструкции.
"Загружаем инструкцию", означает, что нужно подождать пока файл загрузится и можно будет его читать онлайн. Некоторые инструкции очень большие и время их появления зависит от вашей скорости интернета.

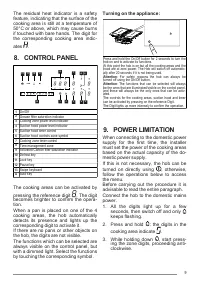
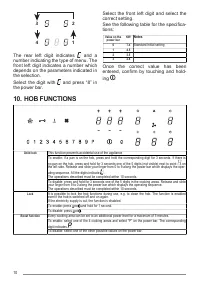


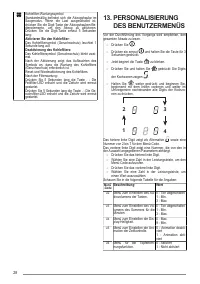
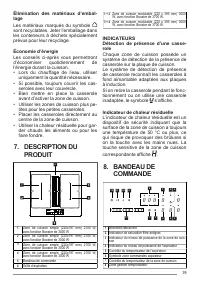

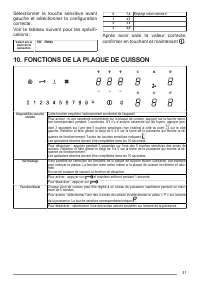

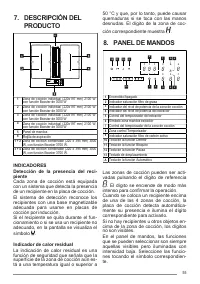
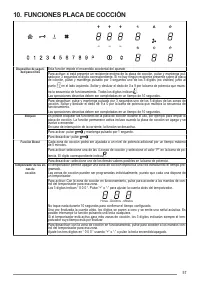


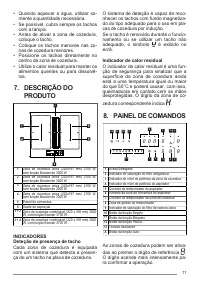


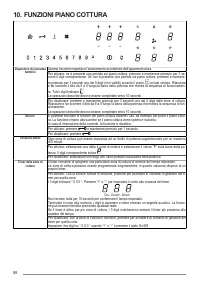


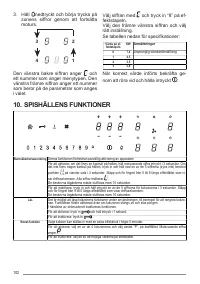


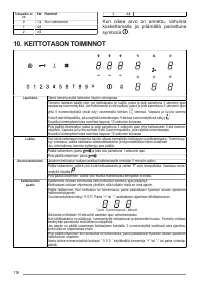


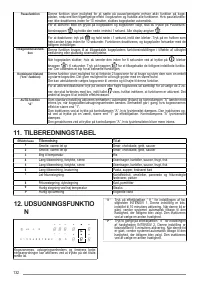

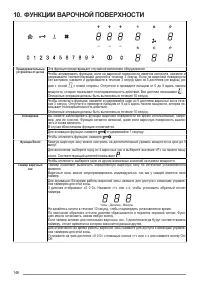
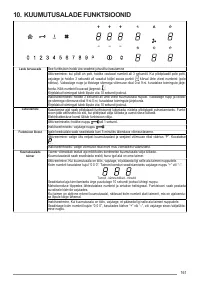


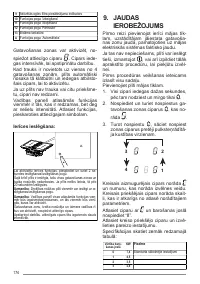

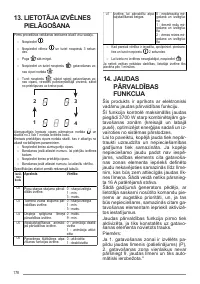


Cooking zone
timer
The timer allows a specific cooking area to be switched off when the set time expires.
The cooking areas can be programmed individually because each one has its own timer.
To enable: With the cooking area in operation, press to access the timer management controls for
that zone.
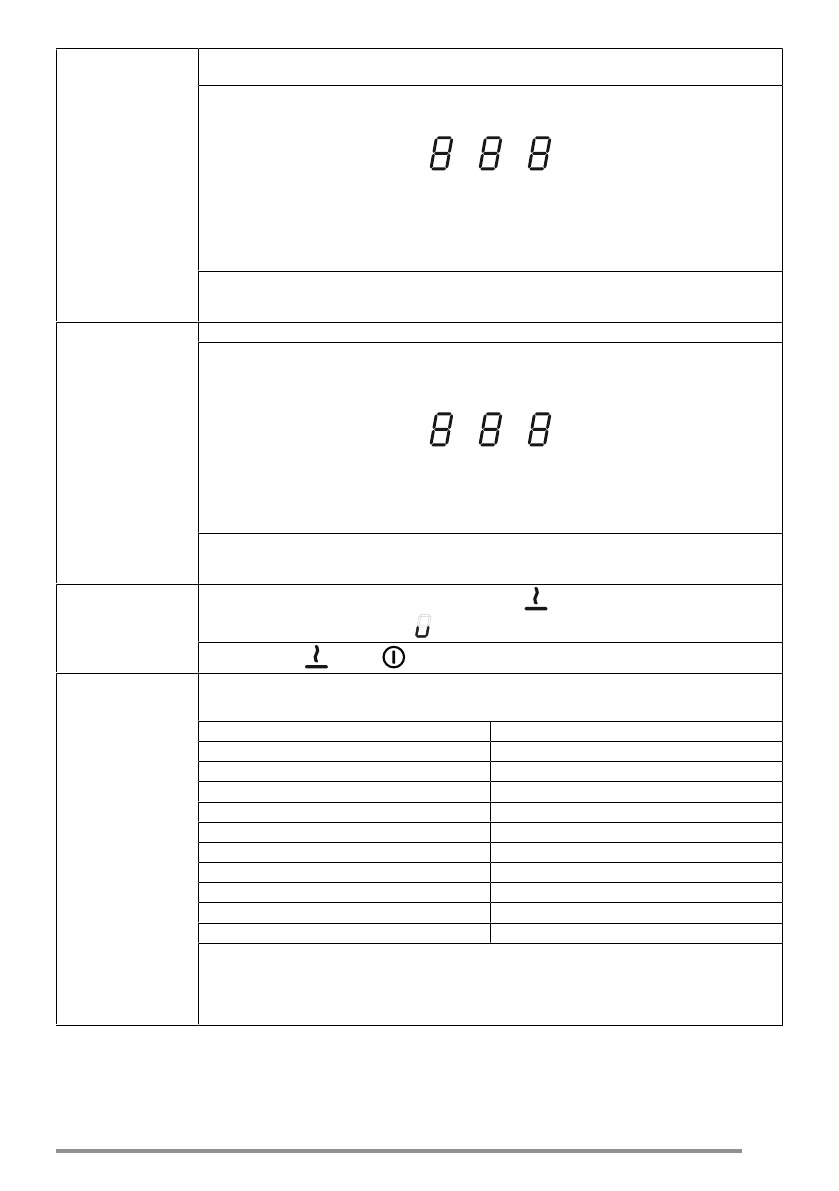
The 3 digits indicate “0 0 0”. Press “+” or “-” to set the timer countdown.
Hours - Tenths - Minutes
To confirm the set time, do not touch anything for 10 seconds.
When the countdown has finished, the digits are reset and an audible signal is emitted. The func-
tion can be interrupted by pressing any key.
If the timer is enabled for more than one cooking area, the 3 digits will always show whichever timer
is about to finish first.
To deactivate: with the cooking area in operation, press to access the timer management controls
for that zone.
Set the three digits to “0 0 0“ using “+” or “-” or press the On/Off key.
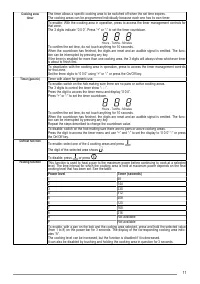
Timer (generic)
Timer with alarm for generic use.
To enable: switch on the hob making sure there are no pans or active cooking areas.
The 3 digits to control the timer show “- - -”.
Press the digit to access the timer menu and display “0 0 0”.
Press “+” or “-” to set the timer countdown.
Hours - Tenths - Minutes
To confirm the set time, do not touch anything for 10 seconds.
When the countdown has finished, the digits are reset and an audible signal is emitted. The func-
tion can be interrupted by pressing any key.
Repeat the steps described to change the countdown value.
To disable: switch on the hob making sure there are no pans or active cooking areas.
Press the digit to access the timer menu and use “+” and “-” to set the display to “0 0 0“ “-” or press
the On/Off key.
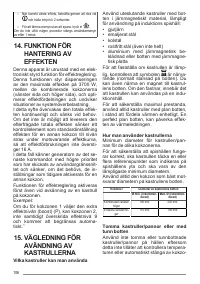
Defrost function
To enable: select one of the 4 cooking areas and press
.
The digit of the selected area shows
.
To disable: press
or press
.
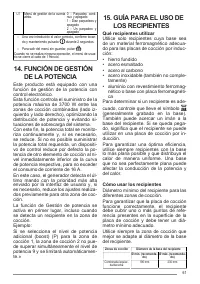
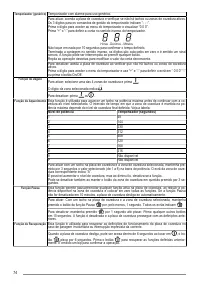
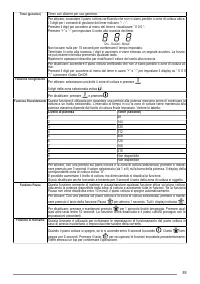
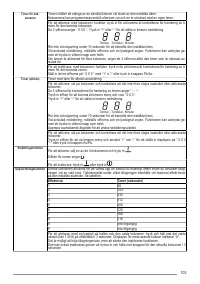
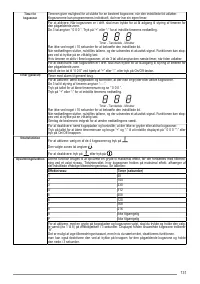
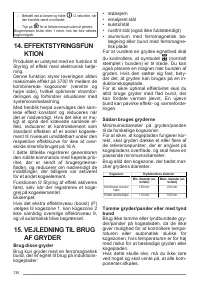
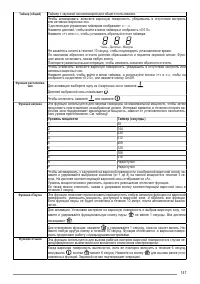
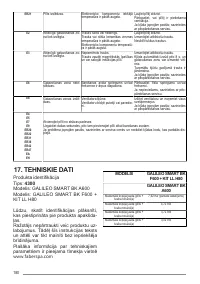
Heating function
This function is used to heat a pan to the maximum power before continuing to cook at a selected
level. The time interval for which the cooking area is held at maximum power depends on the final
cooking level that has been set. See the table:
Power level
Timer (seconds)
1
48
2
144
3
230
4
312
5
408
6
120
7
168
8
216
9
Not available
P
Not available
To enable, with a pan on the bob and the cooking area selected, press and hold the selected value
(from 1 to 8) on the power bar for 3 seconds. The display of the corresponding cooking area indic-
ates “A”.
The cooking level can be increased, but the function is disabled if it is decreased.
It can also be disabled by touching and holding the cooking area in question for 3 seconds.
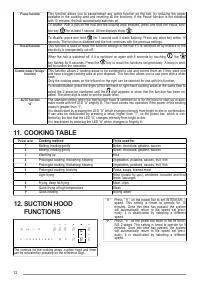
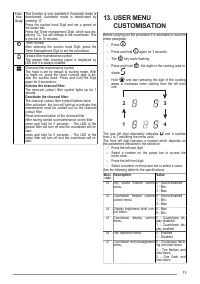
11
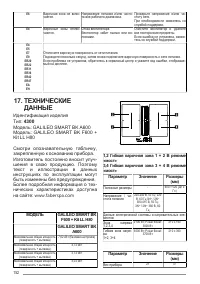
Характеристики

Остались вопросы?Не нашли свой ответ в руководстве или возникли другие проблемы? Задайте свой вопрос в форме ниже с подробным описанием вашей ситуации, чтобы другие люди и специалисты смогли дать на него ответ. Если вы знаете как решить проблему другого человека, пожалуйста, подскажите ему :)


