
Триммеры Ryobi RBC47SEO 5133002542 - инструкция пользователя по применению, эксплуатации и установке на русском языке. Мы надеемся, она поможет вам решить возникшие у вас вопросы при эксплуатации техники.
Если остались вопросы, задайте их в комментариях после инструкции.
"Загружаем инструкцию", означает, что нужно подождать пока файл загрузится и можно будет его читать онлайн. Некоторые инструкции очень большие и время их появления зависит от вашей скорости интернета.


20
English (Original instructions)
hole in the upper
fl
ange washer and the hole in the
gear head. Using the wrench, turn the drive connector
counterclockwise to tighten securely.
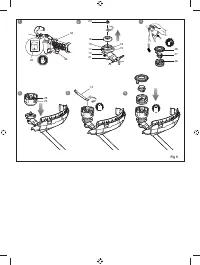
2. Reinstall the spring and spool. Make sure the symbol
for “straight shaft” is visible.
3. Replace the bump knob by inserting it into the centre
of the line spool.
4. Replace the string head cover, aligning latches with
openings in the string trimmer head. Press cover and
string trimmer head together until both latches snap
securely into the openings.
5. Install the cutting line. Refer to "String replacement"
later in the manual for additional information.
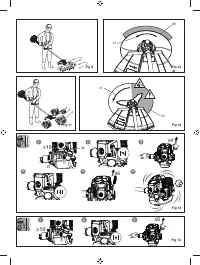
WARNING
When using the ReelEasy™ grass trimmer head, the
grass de
fl
ector must be attached to the blade guard.
See
fi
gure 21
.
OPERATION
FUEL AND REFUELING
Handling the fuel safely
■
Always handle fuel with care. It is highly flammable.
■
Always refuel outdoors where there are no sparks and
flames. Do not inhale fuel vapour. Do not smoke.
■
Do not let petrol or lubricant come in contact with your
skin.
■
Keep petrol and lubricant away from the eyes. If petrol
or lubricant comes in contact with the eyes, wash
them immediately with clean water. If irritation is still
present, see a physician immediately.
■
Clean up spilled petrol immediately.
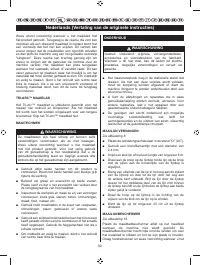
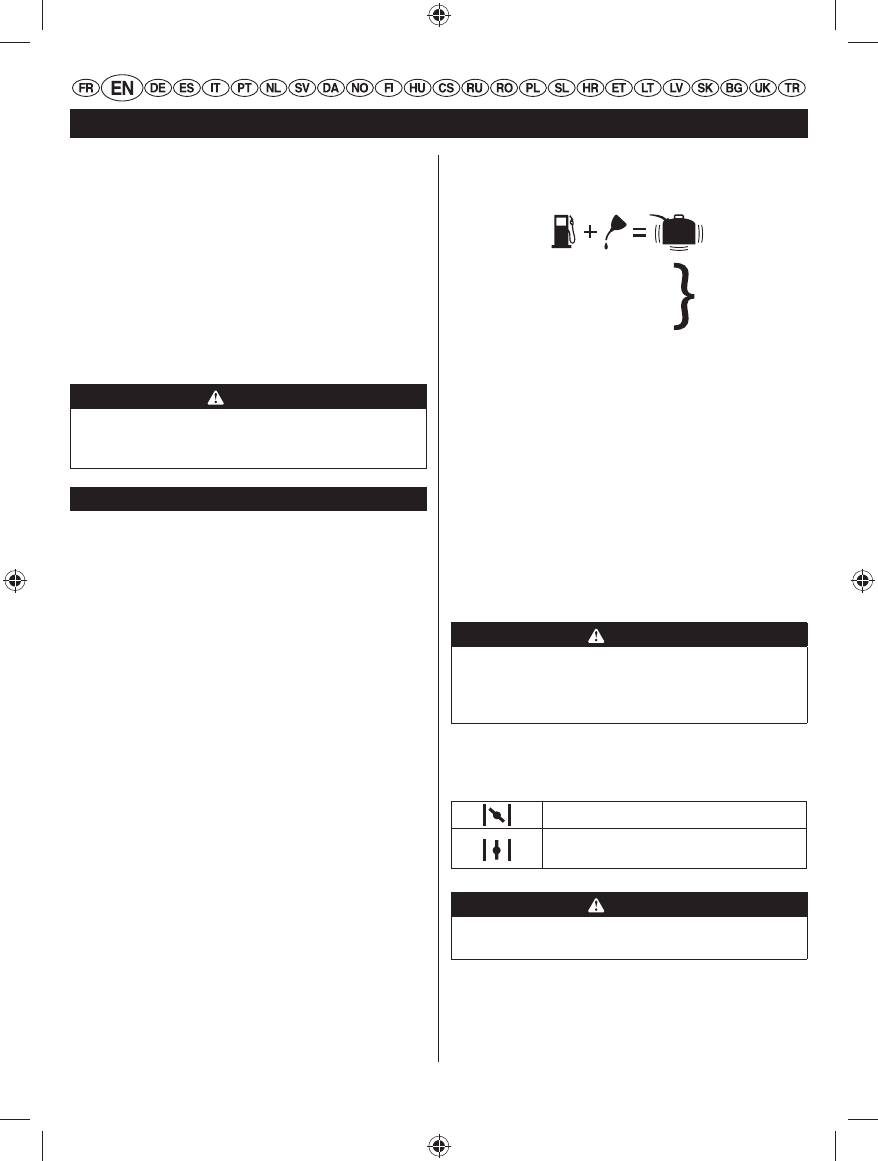
MIXING THE FUEL
■
This product is powered by a 2-stroke engine and
requires pre-mixing petrol and 2-stroke lubricant.
Premix unleaded petrol and 2-stroke engine lubricant
in a clean container approved for petrol.
■
This engine is certi
fi
ed to operate on unleaded petrol
intended for motor vehicle use with an octane rating of
91 ([R + M]/2) or higher.
■
Do not use any type of pre-mixed petrol/lubricant from
fuel service stations.
■
Use synthetic 2-stroke lubricant only. Do not use
automotive lubricant or 2-cycle outboard lubricant.
■
Mix 2.5% synthetic 2-stroke lubricant into the petrol.
This is a 40:1 ratio.
■
Mix the fuel thoroughly and also each time before
refueling.
■
Mix in small quantities. Do not mix quantities larger
than usable in a 30-day period. A synthetic 2-stroke
lubricant containing a fuel stabiliser is recommended.
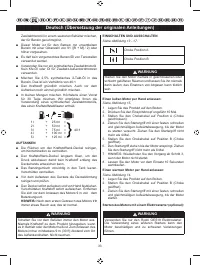
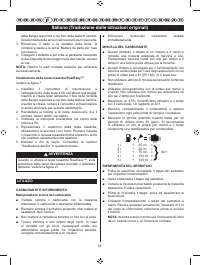
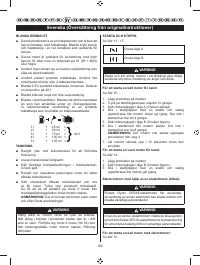
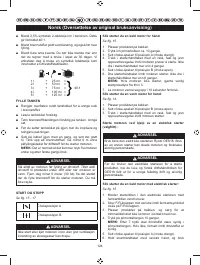
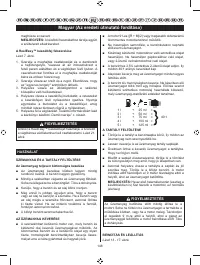
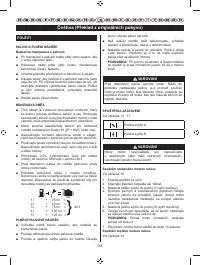
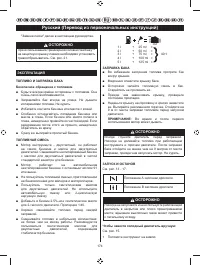
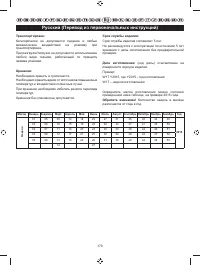
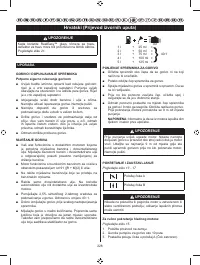
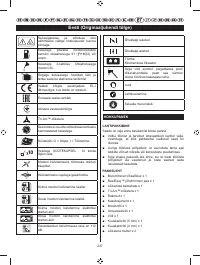
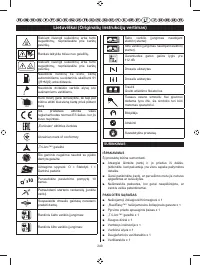
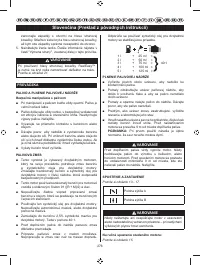
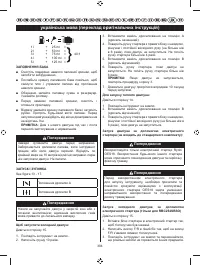
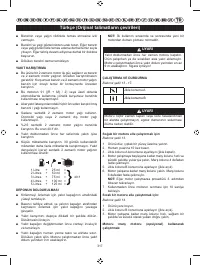
1 Litre
+
25 ml =
2 Litres +
50 ml =
3 Litres + 75 ml =
40:1
4 Litres + 100 ml =
5 Litres + 125 ml =
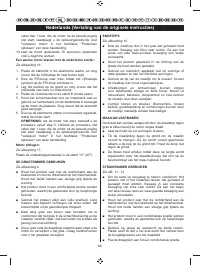
FILLING THE TANK
■
Clean the surface around fuel cap to prevent
contamination.
■
Loosen fuel cap slowly to release pressure and to
keep the fuel from escaping around the cap.
■
Carefully pour the fuel mixture into the tank. Avoid
spillage.
■
Prior to replacing the fuel cap, clean and inspect the
gasket.
■
Immediately replace the fuel cap and hand-tighten.
Wipe up any fuel spillage. Move 9 m away from the
refueling site before starting the engine.
NOTE
: It is normal for smoke to be emitted from a new
engine during and after first use.
WARNING
Always shut off engine before fuelling. Never add fuel
to the product when it is running or when the engine is
hot. Move at least 9 m (30 ft) from refueling site before
starting the engine. Do not smoke.
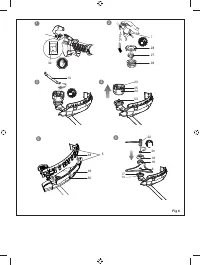
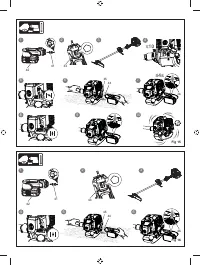
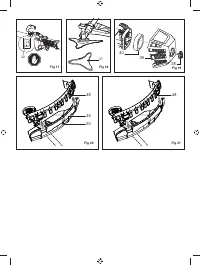
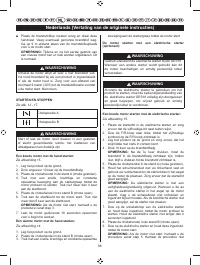
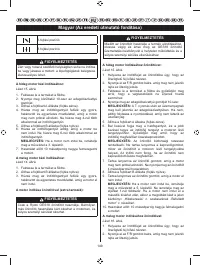
STARTING AND STOPPING
See
fi
gure 13-17.
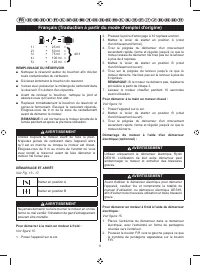
Choke position A
Choke position B
WARNING
Never start or run the engine inside a closed or poorly
ventilated area; breathing exhaust fumes can kill.
To start a cold engine by hand:
See
fi
gure 13.
1. Lay the product on a
fl
at, bare surface.
2. Push the primer bulb approximately 10 times.
English (Original Instruction)


