
Триммеры Makita DUR190LZX3 - инструкция пользователя по применению, эксплуатации и установке на русском языке. Мы надеемся, она поможет вам решить возникшие у вас вопросы при эксплуатации техники.
Если остались вопросы, задайте их в комментариях после инструкции.
"Загружаем инструкцию", означает, что нужно подождать пока файл загрузится и можно будет его читать онлайн. Некоторые инструкции очень большие и время их появления зависит от вашей скорости интернета.


22 ENGLISH
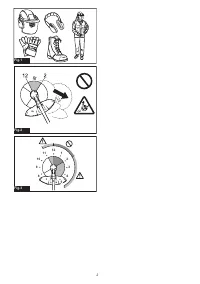
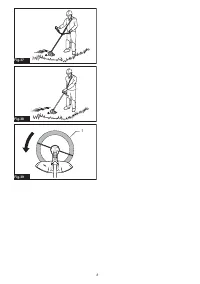
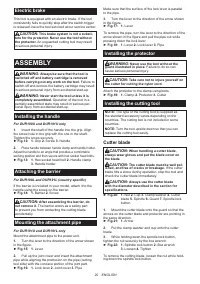
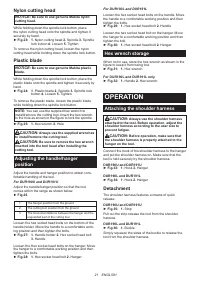
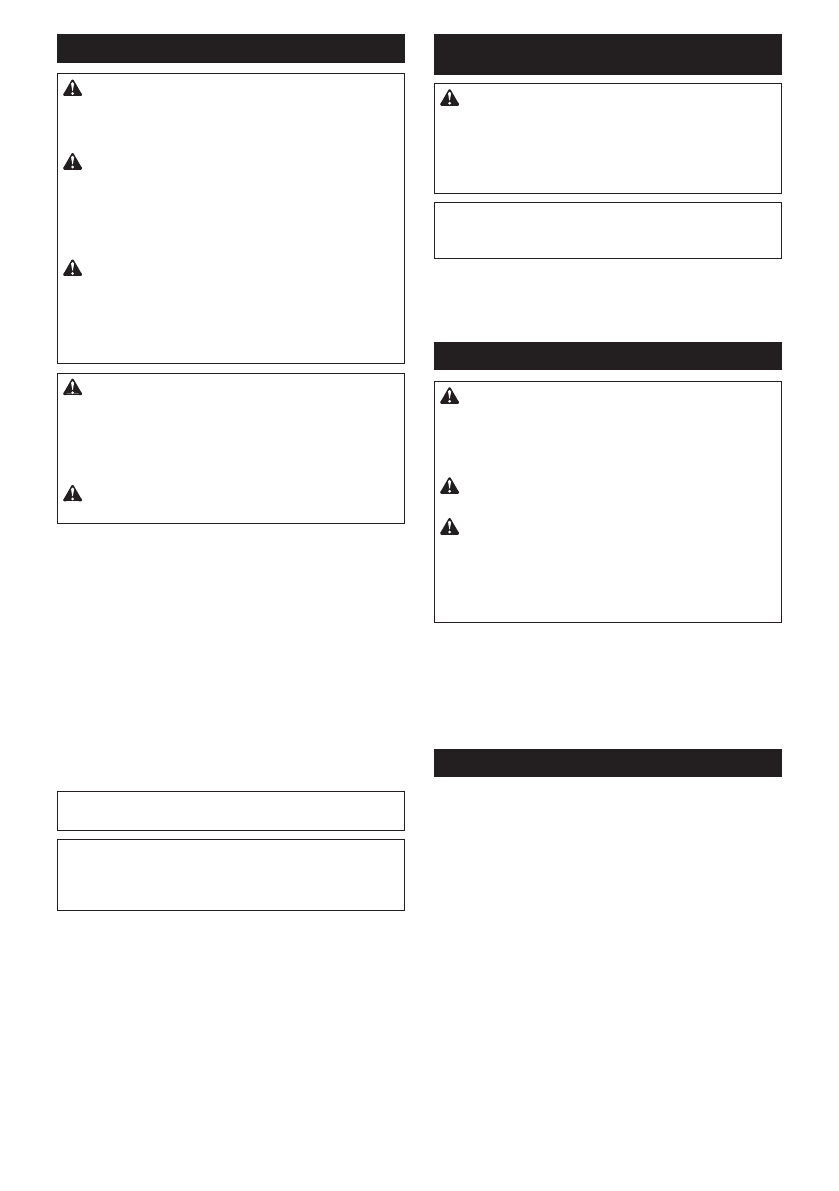
Correct handling of the tool
WARNING:
Always position the tool on your
right-hand side.
Correct positioning of the tool allows
for maximum control and will reduce the risk of seri-
ous personal injury caused by kickback.
WARNING:
Be extremely careful to maintain
control of the tool at all times. Do not allow the
tool to be deflected toward you or anyone in the
work vicinity.
Failure to keep control of the tool
could result in serious injury to the bystander and the
operator.
WARNING:
To avoid accident, leave more
than 15m (50 ft) distance between operators when
two or more operators work in one area. Also,
arrange a person to observe the distance between
operators. If someone or an animal enters the
working area, immediately stop the operation.
CAUTION:
If the cutting tool accidentally
impacts a rock or hard object during operation,
stop the tool and inspect for any damage. If the
cutting tool is damaged, replace it immediately.
Use of a damaged cutting tool may result in serious
personal injury.
CAUTION:
Remove the blade cover from the
cutter blade when cutting the grass.
Correct positioning and handling allow optimum control
and reduce the risk of injury caused by kickback.
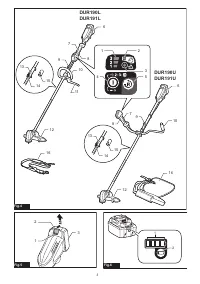
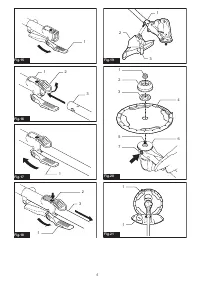
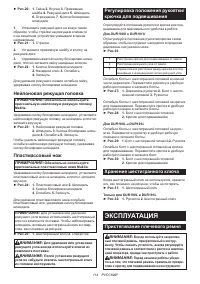
DUR190U and DUR191U
►
Fig.37
DUR190L and DUR191L
►
Fig.38
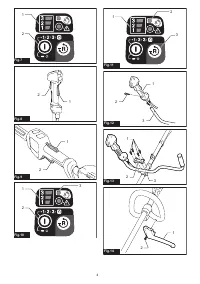
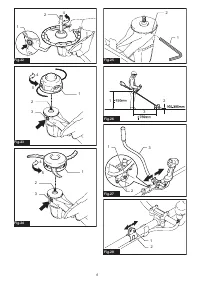
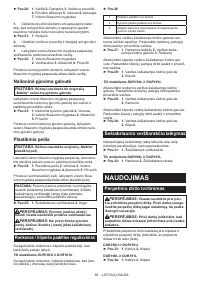
When using a nylon cutting head (bump & feed
type)
The nylon cutting head is a dual string trimmer head
provided with a bump & feed mechanism.
To feed out the nylon cord, tap the cutting head against
the ground while rotating.
►
Fig.39:
1.
Most effective cutting area
NOTICE:
The bump feed will not operate prop-
erly if the nylon cutting head is not rotating.
NOTE:
If the nylon cord does not feed out while
tapping the head, rewind/replace the nylon cord
by following the procedures in the section for the
maintenance.
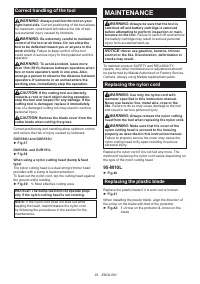
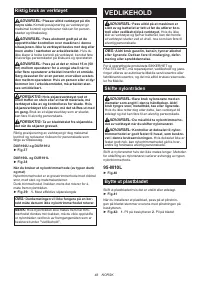
MAINTENANCE
WARNING:
Always be sure that the tool is
switched off and battery cartridge is removed
before attempting to perform inspection or main-
tenance on the tool.
Failure to switch off and remove
the battery cartridge may result in serious personal
injury from accidental start-up.
NOTICE:
Never use gasoline, benzine, thinner,
alcohol or the like. Discoloration, deformation or
cracks may result.
To maintain product SAFETY and RELIABILITY,
repairs, any other maintenance or adjustment should
be performed by Makita Authorized or Factory Service
Centers, always using Makita replacement parts.
Replacing the nylon cord
WARNING:
Use only the nylon cord with
diameter specified in this instruction manual.
Never use heavier line, metal wire, rope or the
like.
Failure to do so may cause damage to the tool
and result in serious personal injury.
WARNING:
Always remove the nylon cutting
head from the tool when replacing the nylon cord.
WARNING:
Make sure that the cover of the
nylon cutting head is secured to the housing
properly as described in this instruction manual.
Failure to properly secure the cover may cause the
nylon cutting head to fly apart resulting in serious
personal injury.
Replace the nylon cord if it is not fed any more. The
method of replacing the nylon cord varies depending on
the type of the nylon cutting head.
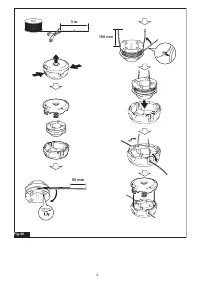
95-M10L
►
Fig.40
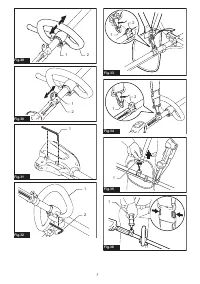
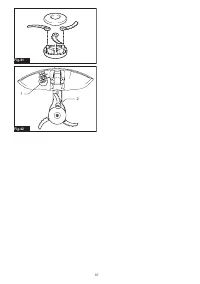
Replacing the plastic blade
Replace the plastic blade if it is worn out or broken.
►
Fig.41
When installing the plastic blade, align the direction of
the arrow on the blade with that of the protector.
►
Fig.42:
1.
Arrow on the protector
2.
Arrow on the
blade
Содержание
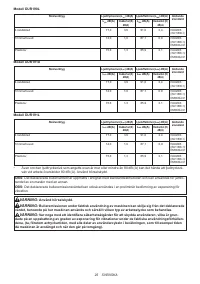
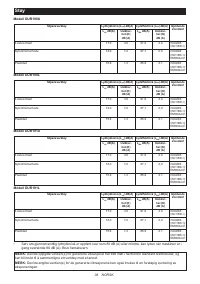
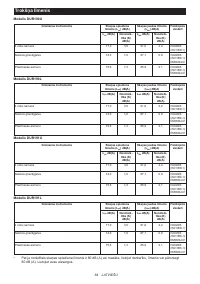
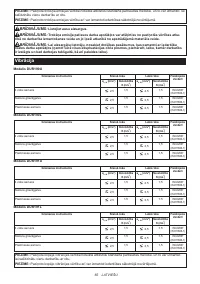
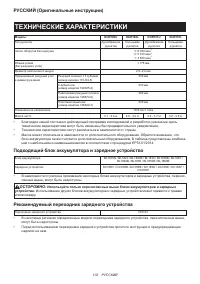
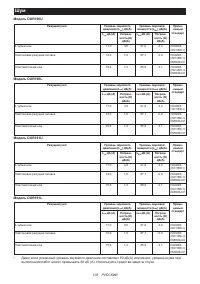
- 103 Шум
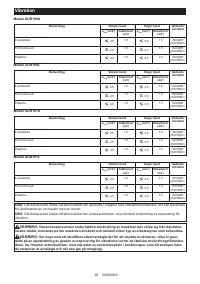
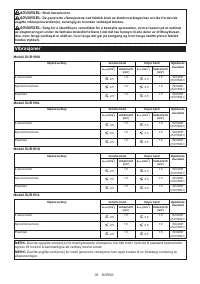
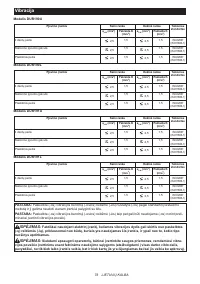
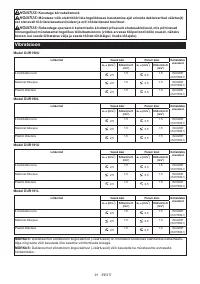
- 104 Вибрация
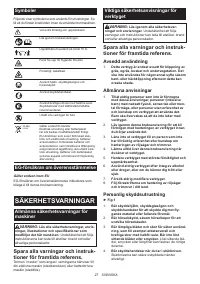
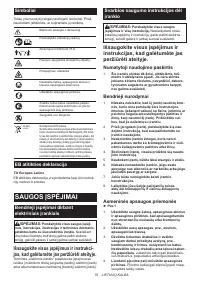
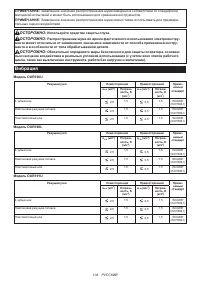
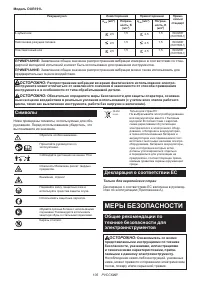
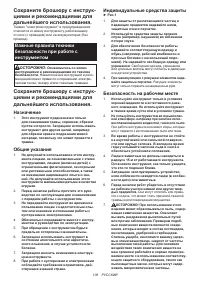
- 105 Символы; Декларация о соответствии ЕС; МЕРЫ БЕЗОПАСНОСТИ; Общие рекомендации по
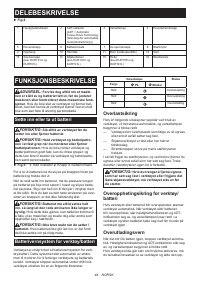
- 110 ОПИСАНИЕ ДЕТАЛЕЙ
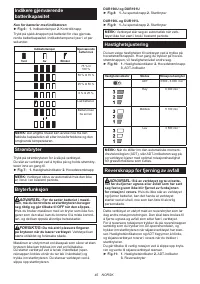
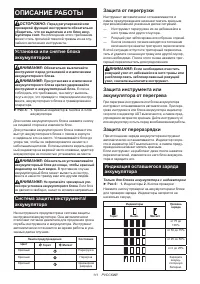
- 111 ОПИСАНИЕ РАБОТЫ; Защита от перегрузки
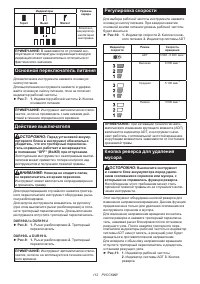
- 112 Основной переключатель питания; Кнопка реверса для удаления
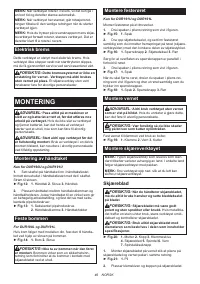
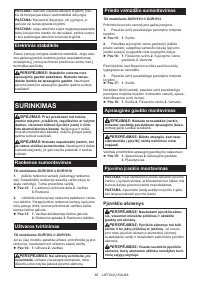
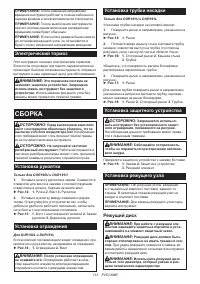
- 113 СБОРКА; Режущий диск
- 114 Хранение шестигранного ключа; ЭКСПЛУАТАЦИЯ; Пристегивание плечевого ремня
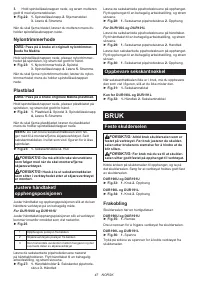
- 115 ОБСЛУЖИВАНИЕ; Замена нейлонового шнура
- 116 Замените пластмассовый нож; ПОИСК И УСТРАНЕНИЕ НЕИСПРАВНОСТЕЙ
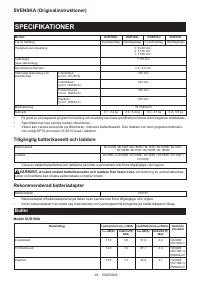
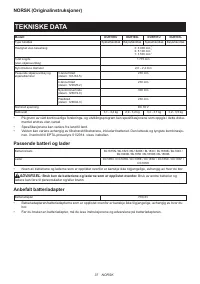
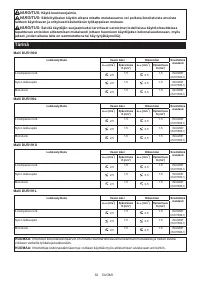
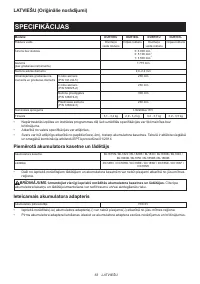
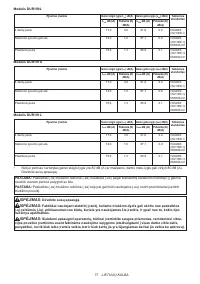
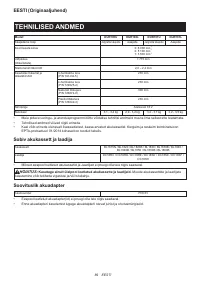
Характеристики

Остались вопросы?Не нашли свой ответ в руководстве или возникли другие проблемы? Задайте свой вопрос в форме ниже с подробным описанием вашей ситуации, чтобы другие люди и специалисты смогли дать на него ответ. Если вы знаете как решить проблему другого человека, пожалуйста, подскажите ему :)


