
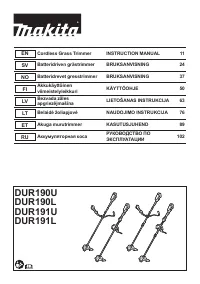
Триммеры Makita DUR190LZX3 - инструкция пользователя по применению, эксплуатации и установке на русском языке. Мы надеемся, она поможет вам решить возникшие у вас вопросы при эксплуатации техники.
Если остались вопросы, задайте их в комментариях после инструкции.
"Загружаем инструкцию", означает, что нужно подождать пока файл загрузится и можно будет его читать онлайн. Некоторые инструкции очень большие и время их появления зависит от вашей скорости интернета.

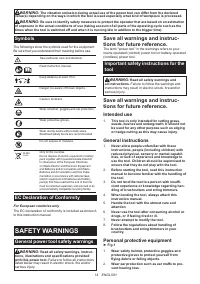


21 ENGLISH
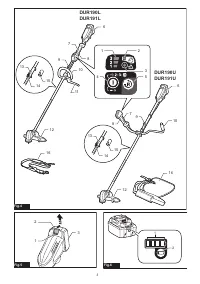
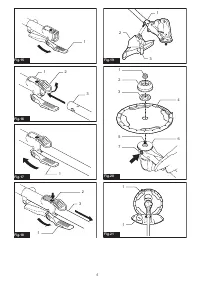
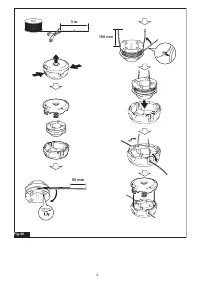
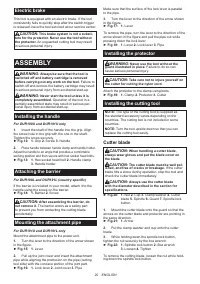
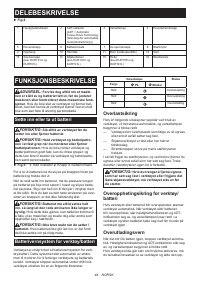
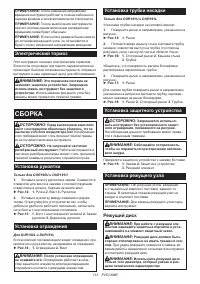
Nylon cutting head
NOTICE:
Be sure to use genuine Makita nylon
cutting head.
While holding down the spindle lock button, place
the nylon cutting head onto the spindle and tighten it
securely by hand.
►
Fig.23:
1.
Nylon cutting head
2.
Spindle
3.
Spindle
lock button
4.
Loosen
5.
Tighten
To remove the nylon cutting head, loosen the nylon
cutting head while holding down the spindle lock button.
Plastic blade
NOTICE:
Be sure to use genuine Makita plastic
blade.
While holding down the spindle lock button, place the
plastic blade onto the spindle and tighten it securely by
hand.
►
Fig.24:
1.
Plastic blade
2.
Spindle
3.
Spindle lock
button
4.
Loosen
5.
Tighten
To remove the plastic blade, loosen the plastic blade
while holding down the spindle lock button.
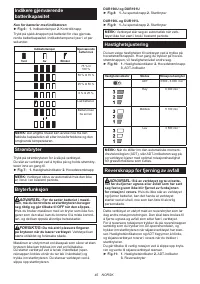
NOTE:
You can use the supplied hex wrench to
install/remove the cutting tool. Insert the hex wrench
to the hole as shown in the figure to lock the spindle.
►
Fig.25:
1.
Hex wrench
2.
Hole
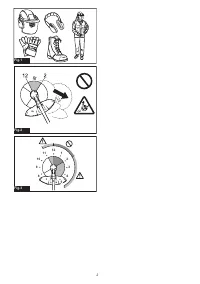
CAUTION:
Always use the supplied wrenches
to install/remove the cutting tool.
CAUTION:
Be sure to remove the hex wrench
inserted into the tool head after installing the
cutting tool.
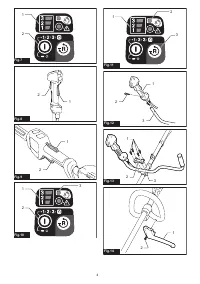
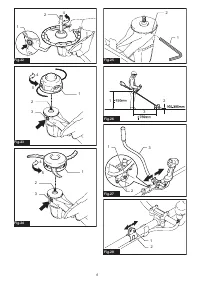
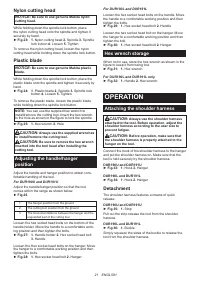
Adjusting the handle/hanger
position
Adjust the handle and hanger position to obtain com
-
fortable handling of the tool.
For DUR190U and DUR191U
Adjust the handle/hanger position so that the tool
comes within the range as shown below.
►
Fig.26
1
The hanger position from the ground
2
The cutting tool position from the ground
3
The horizontal distance between the hanger and the
unguarded part of the cutting tool
Loosen the hex socket head bolts on the bottom of the
handle holder. Move the handle to a comfortable work-
ing position and then tighten the bolts.
►
Fig.27:
1.
Handle holder
2.
Hex socket head bolt
3.
Handle
Loosen the Hex socket head bolts on the hanger. Move
the hanger to a comfortable working position and then
tighten the bolts.
►
Fig.28:
1.
Hex socket head bolt
2.
Hanger
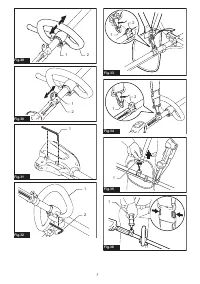
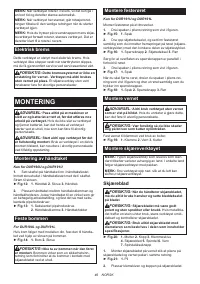
For DUR190L and DUR191L
Loosen the hex socket head bolts on the handle. Move
the handle to a comfortable working position and then
tighten the bolts.
►
Fig.29:
1.
Hex socket head bolt
2.
Handle
Loosen the hex socket head bolt on the hanger. Move
the hanger to a comfortable working position and then
tighten the bolt.
►
Fig.30:
1.
Hex socket head bolt
2.
Hanger
Hex wrench storage
When not in use, store the hex wrench as shown in the
figure to keep it from being lost.
►
Fig.31:
1.
Hex wrench
For DUR190L and DUR191L only
►
Fig.32:
1.
Handle
2.
Hex wrench
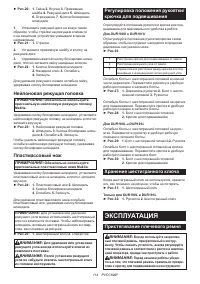
OPERATION
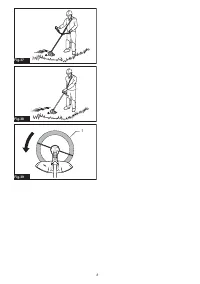
Attaching the shoulder harness
CAUTION:
Always use the shoulder harness
attached to the tool. Before operation, adjust the
shoulder harness according to the user size to
prevent fatigue.
CAUTION:
Before operation, make sure that
the shoulder harness is properly attached to the
hanger on the tool.
Connect the hook of the shoulder harness to the hanger
and put the shoulder harness on. Make sure that the
tool is held securely by the shoulder harness.
DUR190U and DUR191U
►
Fig.33:
1.
Hook
2.
Hanger
DUR190L and DUR191L
►
Fig.34:
1.
Hook
2.
Hanger
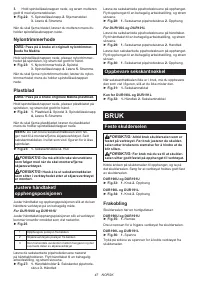
Detachment
The shoulder harness features a means of quick
release.
DUR190U and DUR191U
►
Fig.35:
1.
Strip
Pull out the strip release the tool from the shoulder
harness.
DUR190L and DUR191L
►
Fig.36:
1.
Buckle
Simply squeeze the sides of the buckle to release the
tool from the shoulder harness.
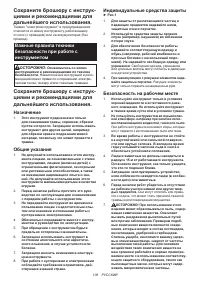
Содержание
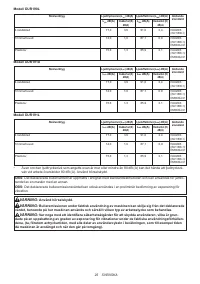
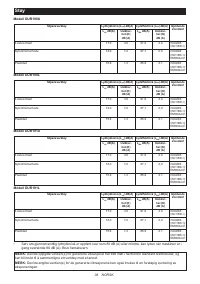
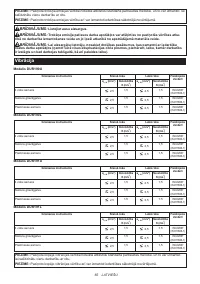
- 103 Шум
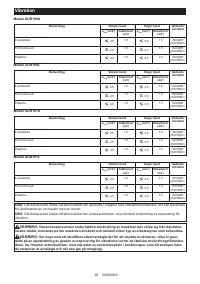
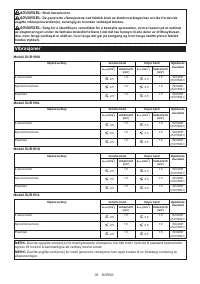
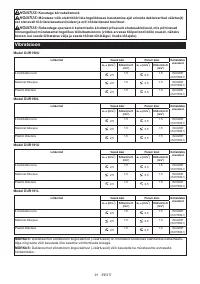
- 104 Вибрация
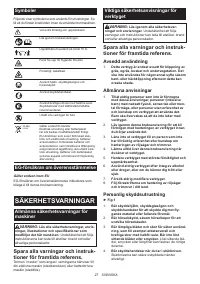
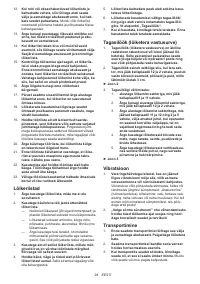
- 105 Символы; Декларация о соответствии ЕС; МЕРЫ БЕЗОПАСНОСТИ; Общие рекомендации по
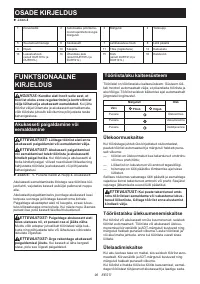
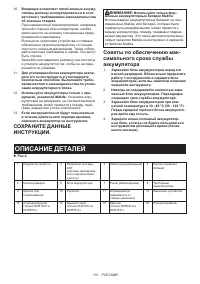
- 110 ОПИСАНИЕ ДЕТАЛЕЙ
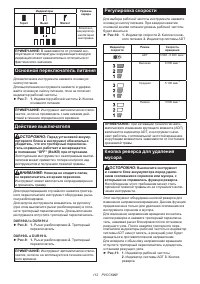
- 111 ОПИСАНИЕ РАБОТЫ; Защита от перегрузки
- 112 Основной переключатель питания; Кнопка реверса для удаления
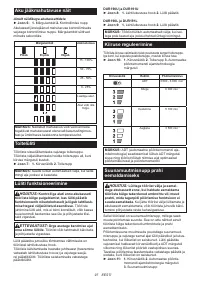
- 113 СБОРКА; Режущий диск
- 114 Хранение шестигранного ключа; ЭКСПЛУАТАЦИЯ; Пристегивание плечевого ремня
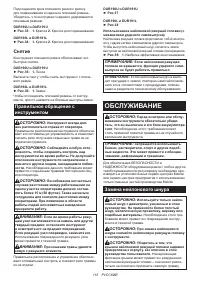
- 115 ОБСЛУЖИВАНИЕ; Замена нейлонового шнура
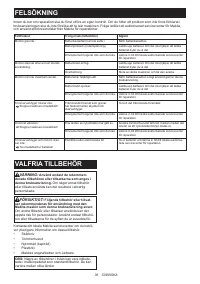
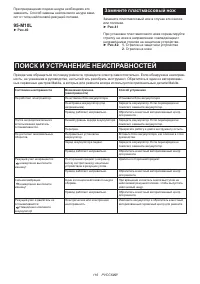
- 116 Замените пластмассовый нож; ПОИСК И УСТРАНЕНИЕ НЕИСПРАВНОСТЕЙ
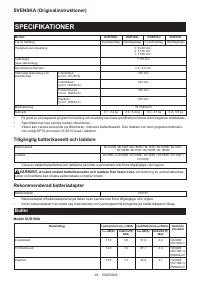
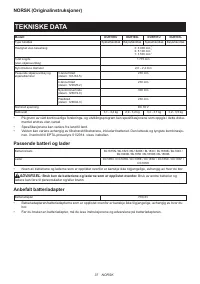
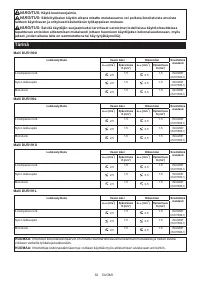
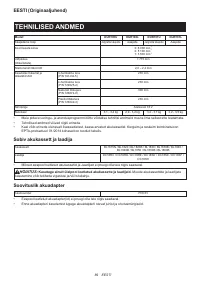
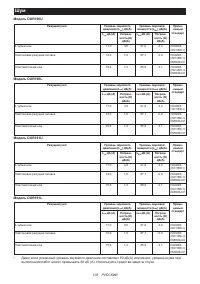
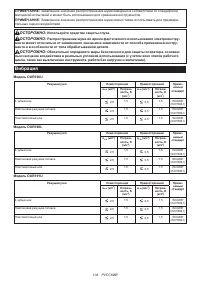
Характеристики

Остались вопросы?Не нашли свой ответ в руководстве или возникли другие проблемы? Задайте свой вопрос в форме ниже с подробным описанием вашей ситуации, чтобы другие люди и специалисты смогли дать на него ответ. Если вы знаете как решить проблему другого человека, пожалуйста, подскажите ему :)


