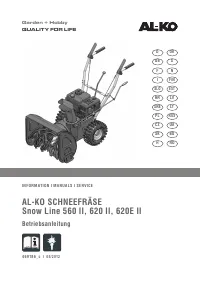
Снегоуборщики AL-KO SNOWLINE 560 II - инструкция пользователя по применению, эксплуатации и установке на русском языке. Мы надеемся, она поможет вам решить возникшие у вас вопросы при эксплуатации техники.
Если остались вопросы, задайте их в комментариях после инструкции.
"Загружаем инструкцию", означает, что нужно подождать пока файл загрузится и можно будет его читать онлайн. Некоторые инструкции очень большие и время их появления зависит от вашей скорости интернета.


GB
Translation of original user instructions
26
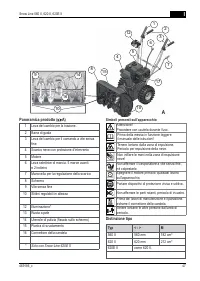
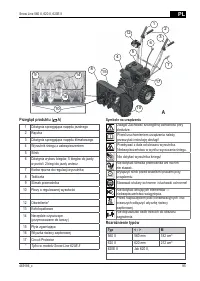
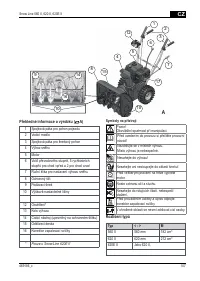
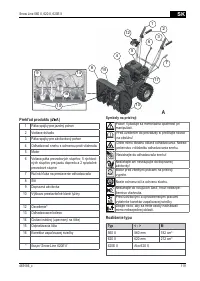
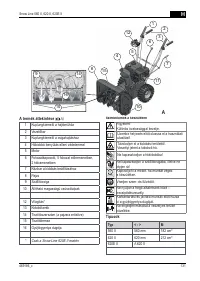
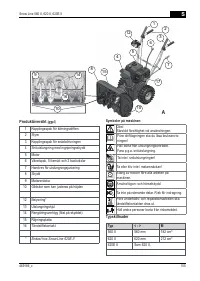
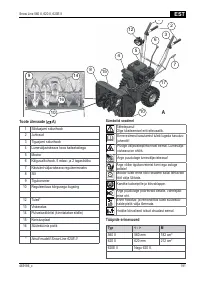
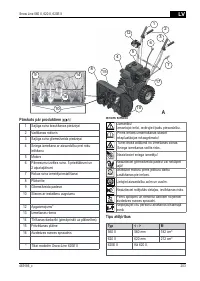
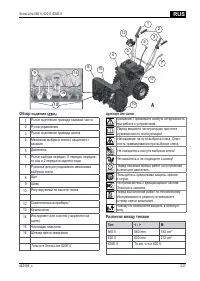
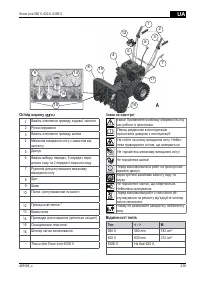
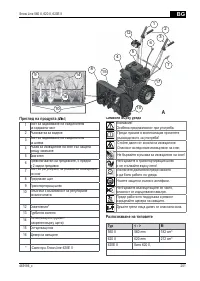
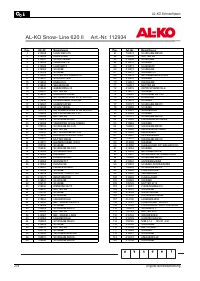
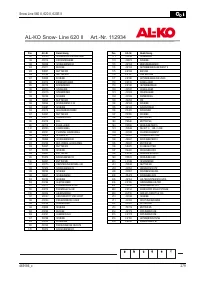
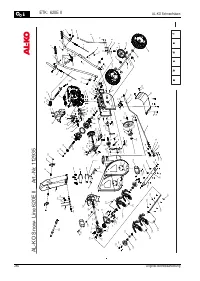
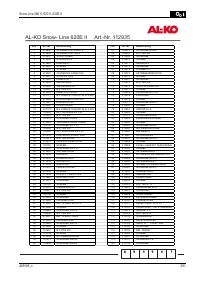
AL-KO snow blower
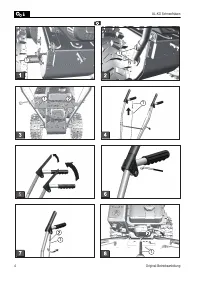
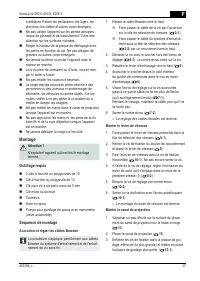
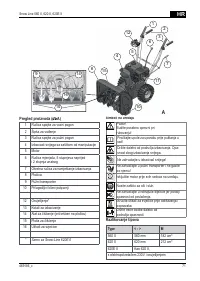
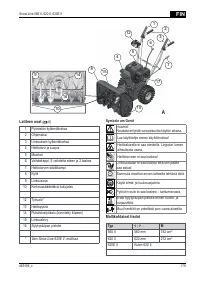
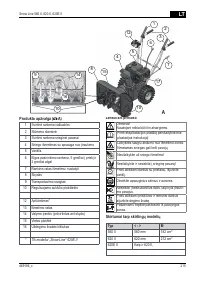
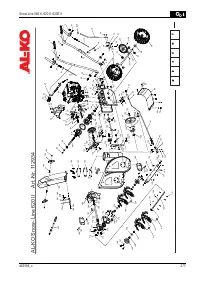
4. Insert the guide plates into the discharge chute
from beneath and tighten with the self-locking nuts
(
12-1
).
5. Repeat the procedure for the other two guides
x
The snow discharge chute is attached.
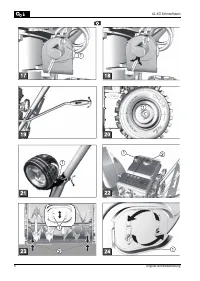
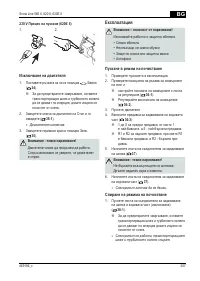
Attaching snow discharge chute hand crank
1.
Remove the handle from the crank by removing
the mounting screw
(
13
).
2.
Insert the hand crank from the handle side from
below into the guide on the guide handle (
14
).
3.
Remove the safety split pin and washer underneath
using pliers (
15
).
4. Insert the hand crank into the lower guide on the
snow discharge chute. The snow discharge chute
must be positioned such that the spiral of the hand
crank fits into the grooves of the chute
(
16-1
).
If it is difficult or impossible to move the hand crank
to the lower guide, it may be necessary to adjust
the upper guide. To do this, loosen the screws
slightly and re-tighten after adjusting (
14-1
).
5. Attach the washer and insert the safety split pin
using pliers (
17-1
).
6. Bend the ends of the safety split pin (
18
).
7. Screw the handle onto the crank (
19
).
x
The hand crank is attached.
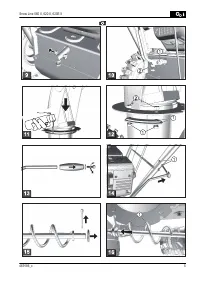
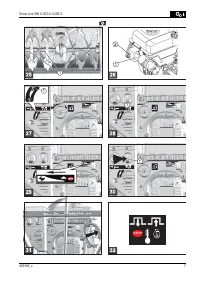
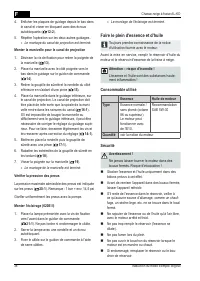
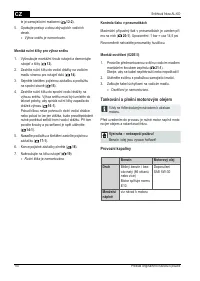
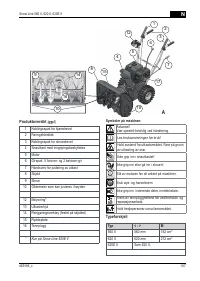
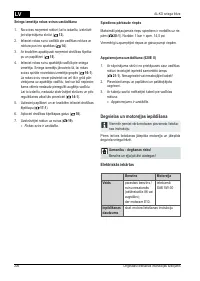
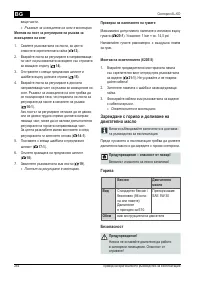
Checking the tyre pressure
The maximum allowed tyre pressure is indicated on
the tyres (
20-1
)
. Note: 1 bar = approximately 14.5 psi
Pump up both tyres to the same pressure level using the
tyre pump.
Attaching the headlight (620E II)
1.
Insert the pre-assembled headlight from the front
through the guide handle using the mounting screw
(
21-1
)
. Do not twist or damage the cable!
2. Fasten the headlight using the washer and self-
locking nut.
3. Fasten the cable to the guide handle using cable
clips.
x
The headlight is attached.
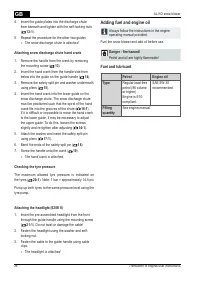
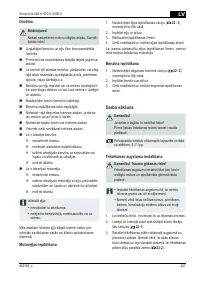
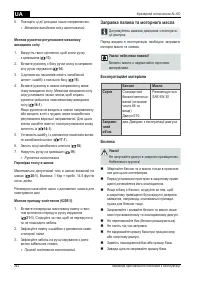
Adding fuel and engine oil
Always follow the instructions in the engine
operating manual provided.
Fuel the snow blower and add oil before use.
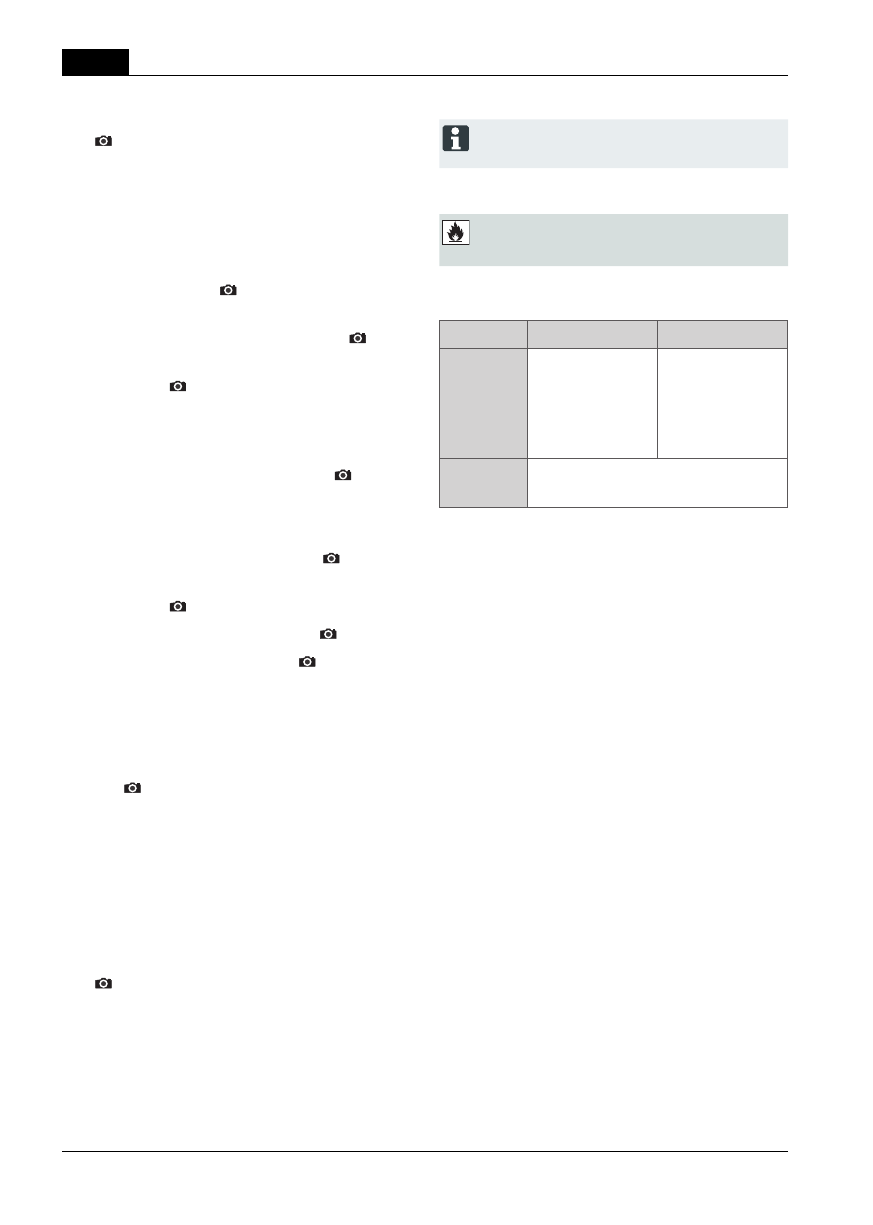
Danger - fire hazard!
Petrol and oil are highly flammable!
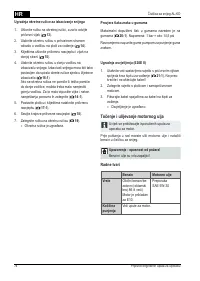
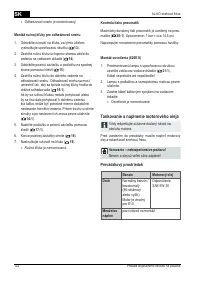
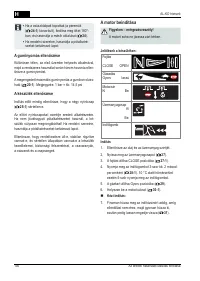
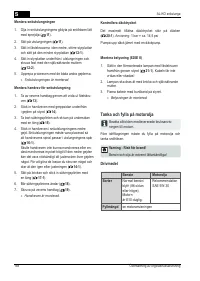
Fuel and lubricant
Petrol
Engine oil
Type
Regular lead-free
petrol (86 octane
or higher)
Engine is E10-
compliant.
SAE 5W-30
recommended
Filling
quantity
See engine manual


