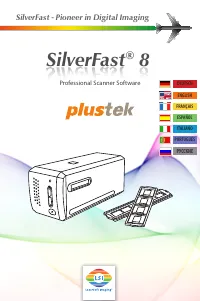
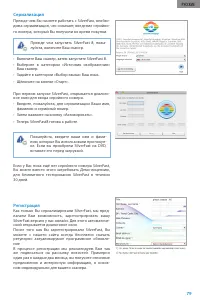
Сканеры Plustek 8100 - инструкция пользователя по применению, эксплуатации и установке на русском языке. Мы надеемся, она поможет вам решить возникшие у вас вопросы при эксплуатации техники.
Если остались вопросы, задайте их в комментариях после инструкции.
"Загружаем инструкцию", означает, что нужно подождать пока файл загрузится и можно будет его читать онлайн. Некоторые инструкции очень большие и время их появления зависит от вашей скорости интернета.


23
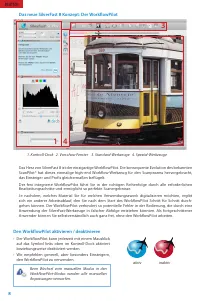
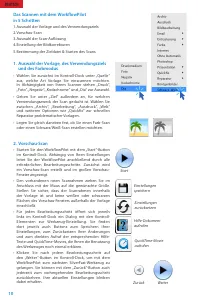
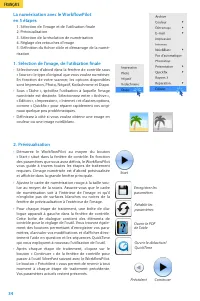
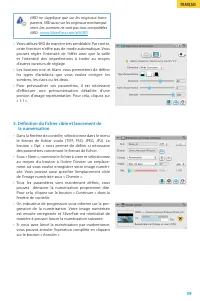
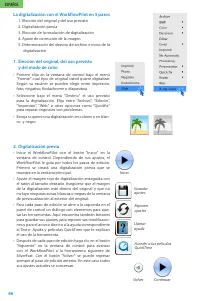
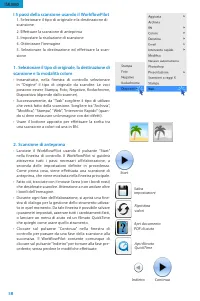
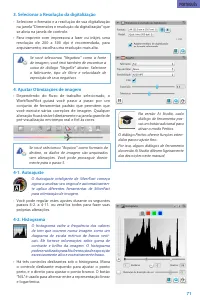
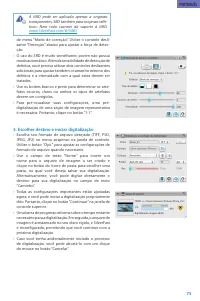
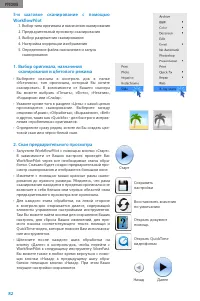
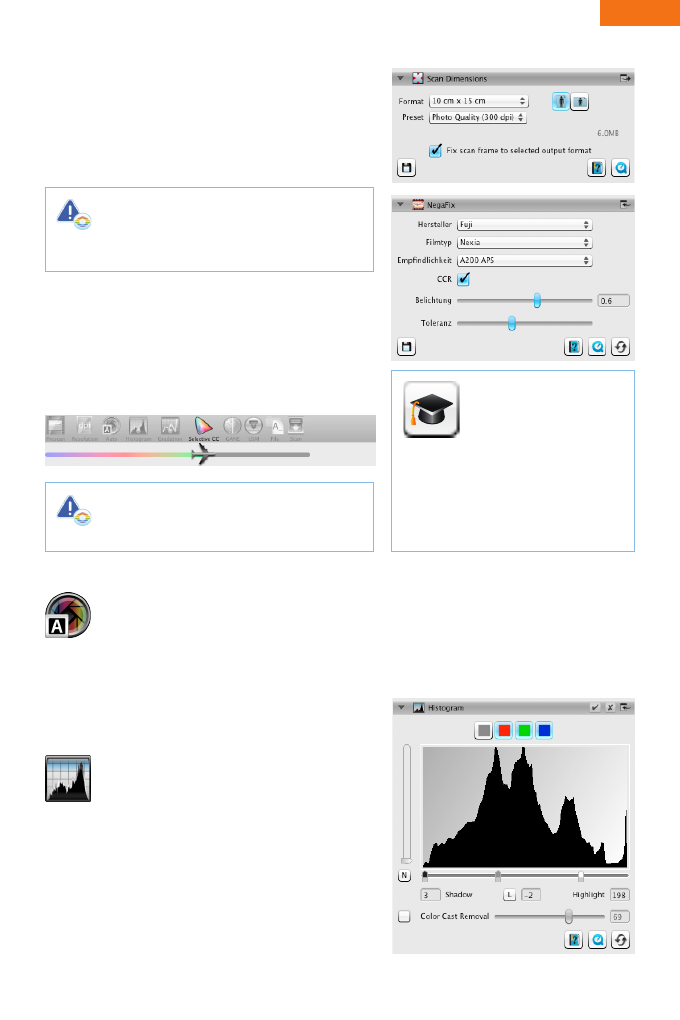
3. Select Resolution for Scanning
• Select format and resolution of your scan in the
window “Scan dimensions“ that has opened in the
controls dock.
• For printing with inkjet or laser printer a resolution of
200 to 300 dpi is recommended, for archiving, choose
a higher resolution respectively.
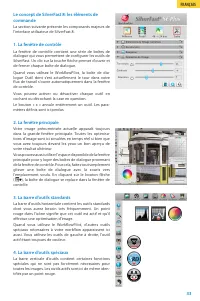
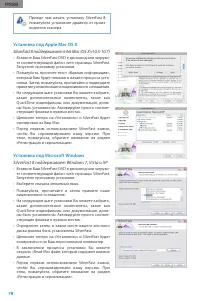
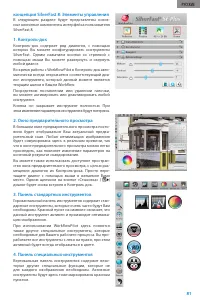
4. Adjust Image Optimizations
• Depending on the selected workflow the WorkflowPilot
will guide you step by step through a set of standard
tools that allow you to perform various image correc-
tions. Any change is directly visible in the large preview
window in real time and true to color.
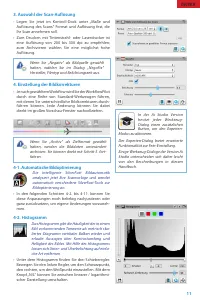
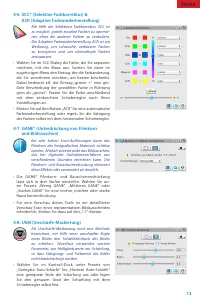
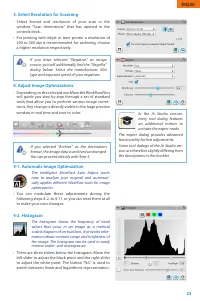
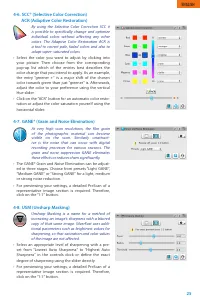
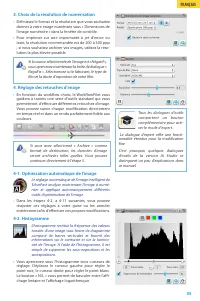
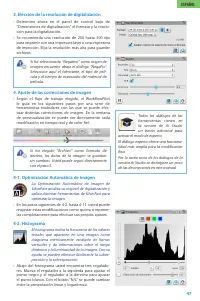
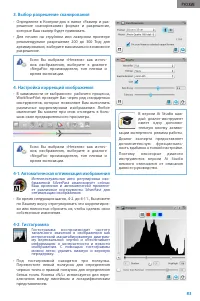
4-1. Automatic Image Optimization
The intelligent SilverFast Auto Adjust starts
now to analyze your original and automati-
cally applies different SilverFast tools for image
optimization.
• You can modulate these adjustments during the
following steps 4-2. to 4-11. or you can reset them at all
to make your own changes.
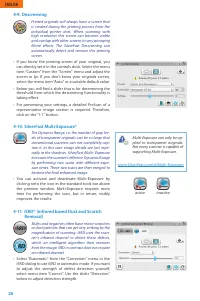
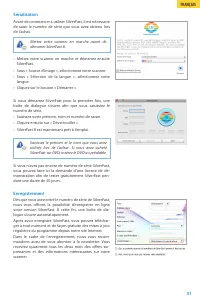
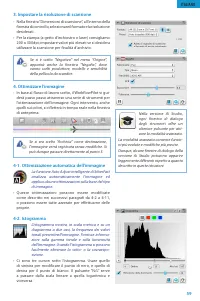
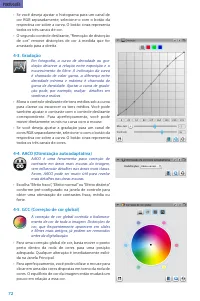
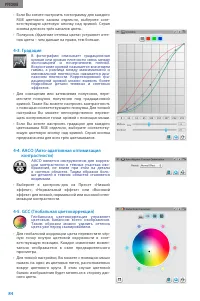
4-2. Histogram
The histogram shows the frequency of tonal
values that occur in an image as a metrical
scaled diagram of vertical bars. It provides infor-
mation about contrast range and brightness of
the image. The histogram can be used to easily
remove under- and overexposure.
• There are three sliders below the histogram. Move the
left slider to adjust the black point and the right slider
to adjust the white point. The button “N/L“ is used to
switch between linear and logarithmic representation.
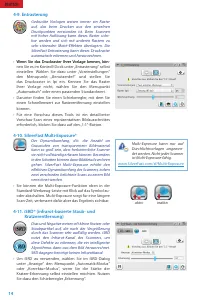
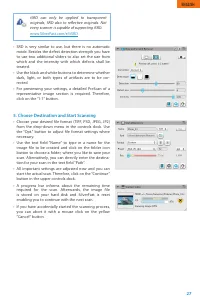
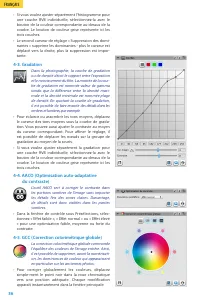
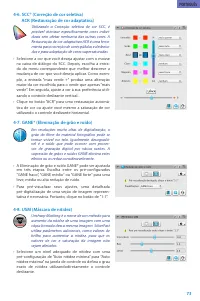
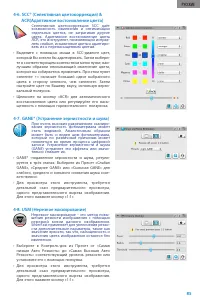
If you have selected “Negative“ as image
source, you will additionally find the “NegaFix“
dialog below. Select the manufacturer, film
type and exposure speed of your negatives.
If you selected “Archive“ as the destination
format, the image data is archived unchanged.
You can proceed directly with Step 5.
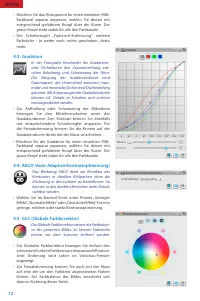
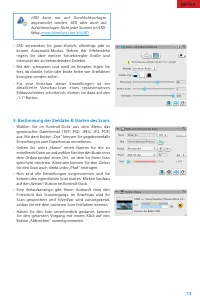
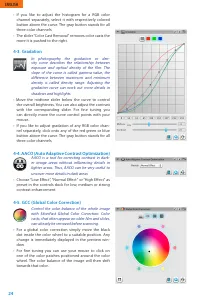
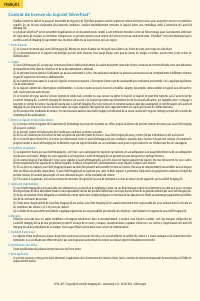
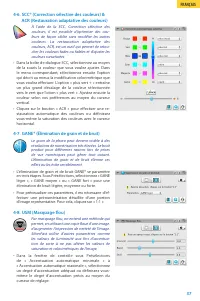
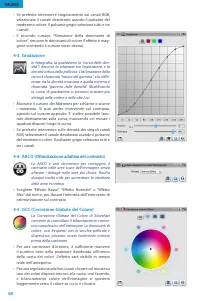
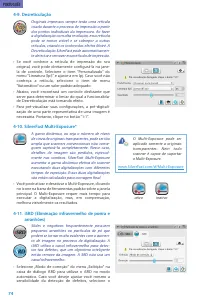
In the Ai Studio version,
every tool dialog features
an additional button to
activate the expert mode.
The expert dialog provides advanced
functionality for fine adjustments.
Some tool dialogs of the Ai Studio ver-
sion are therefore slightly differing from
the descriptions in this booklet.
ENGLISH
Характеристики

Остались вопросы?Не нашли свой ответ в руководстве или возникли другие проблемы? Задайте свой вопрос в форме ниже с подробным описанием вашей ситуации, чтобы другие люди и специалисты смогли дать на него ответ. Если вы знаете как решить проблему другого человека, пожалуйста, подскажите ему :)


