Сканеры Plustek 8100 - инструкция пользователя по применению, эксплуатации и установке на русском языке. Мы надеемся, она поможет вам решить возникшие у вас вопросы при эксплуатации техники.
Если остались вопросы, задайте их в комментариях после инструкции.
"Загружаем инструкцию", означает, что нужно подождать пока файл загрузится и можно будет его читать онлайн. Некоторые инструкции очень большие и время их появления зависит от вашей скорости интернета.


22
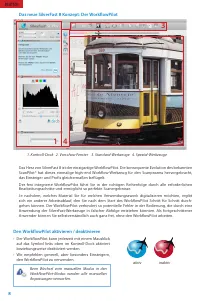
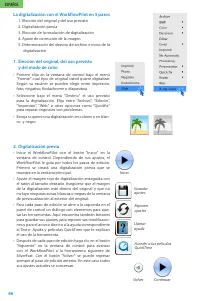
The 5 steps of Scanning using the WorkflowPilot
1. Select type of original and scanning purpose
2. Preview Scan
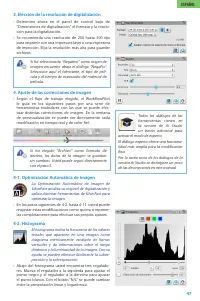
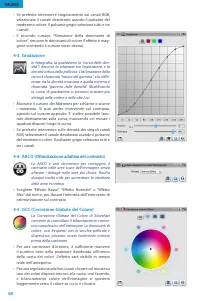
3. Select Resolution for Scanning
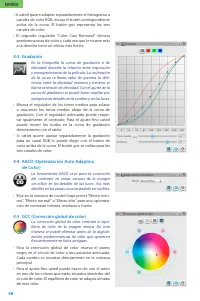
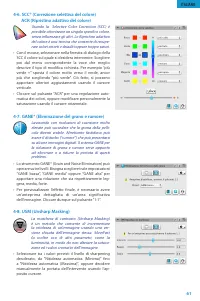
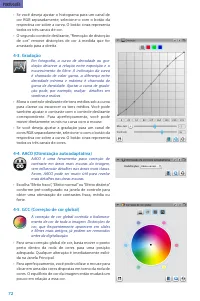
4. Adjust Image Optimizations
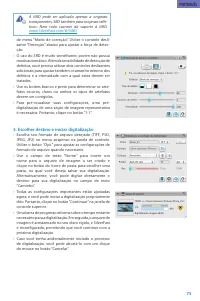
5. Choose Destination and Start Scanning
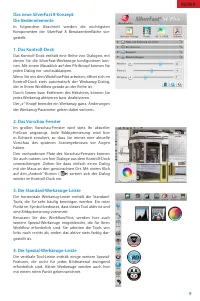
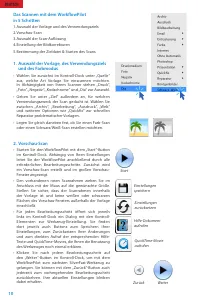
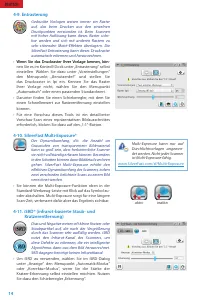
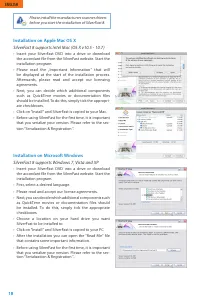
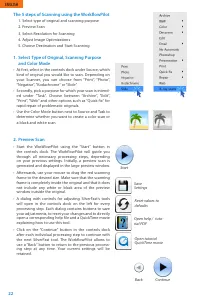
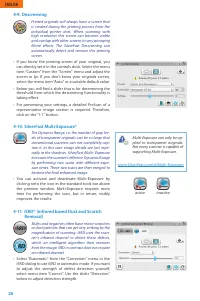
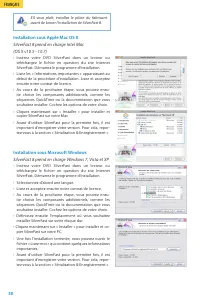
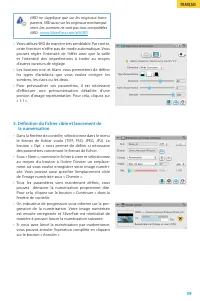
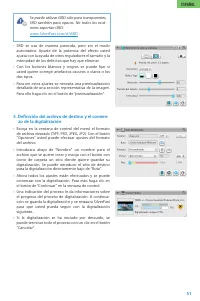
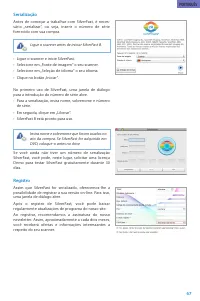
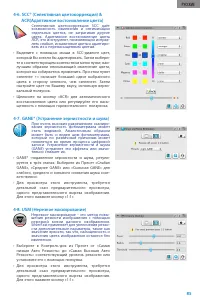
1. Select Type of Original, Scanning Purpose
and Color Mode
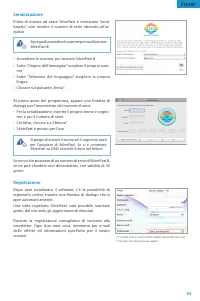
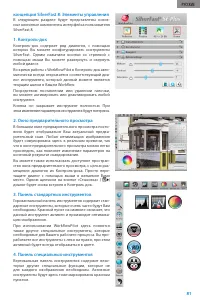
• At first, select in the controls dock under Source, which
kind of original you would like to scan. Depending on
your Scanner, you can choose from “Print“, “Photo“,
“Negative“, “Kodachrome“ or “Slide“.
• Secondly, pick a purpose for which your scan is intend-
ed under “Task“. Choose between “Archive“, “Edit“,
“Print“, “Web“ and other options such as “Quick fix“ for
rapid repair of problematic originals.
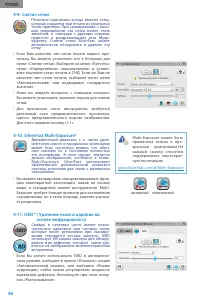
• Use the Color Mode button next to Source and Task to
determine whether you want to create a color scan or
a black and white scan.
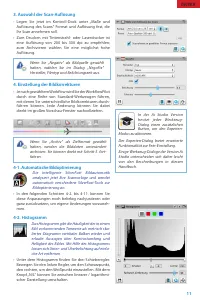
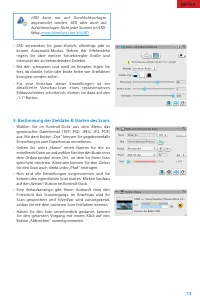
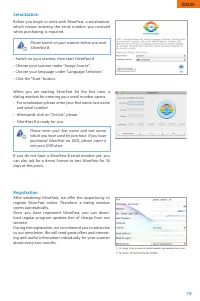
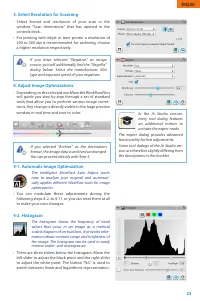
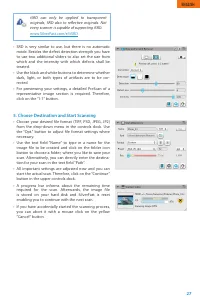
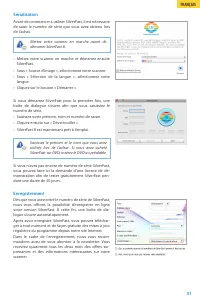
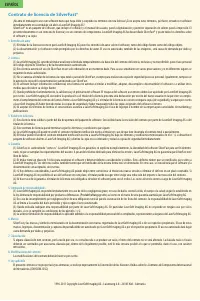
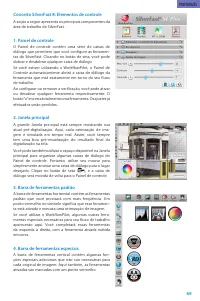
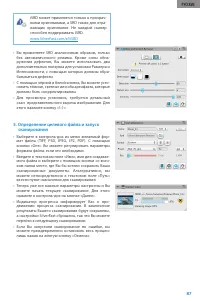
2. Preview Scan
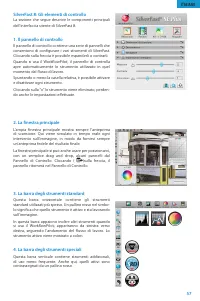
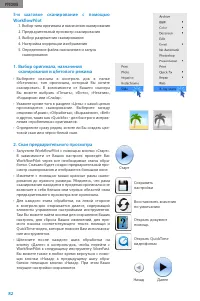
• Start the WorkflowPilot using the “Start“ button in
the controls dock. The WorkflowPilot will guide you
through all necessary processing steps, depending
on your previous settings. Initially, a preview scan is
generated and displayed in the large preview window.
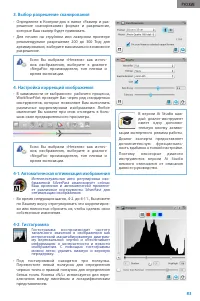
• Afterwards, use your mouse to drag the red scanning
frame to the desired size. Make sure that the scanning
frame is completely inside the original and that it does
not include any white or black area of the preview
window outside the original.
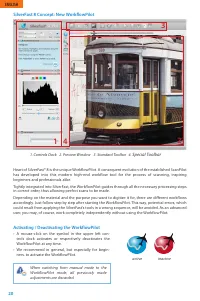
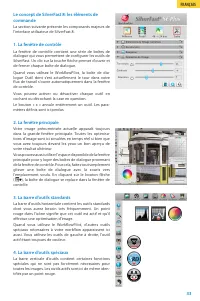
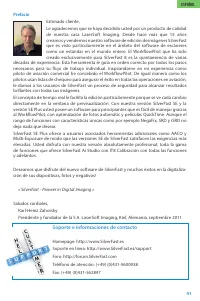
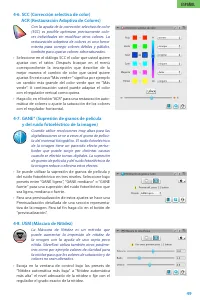
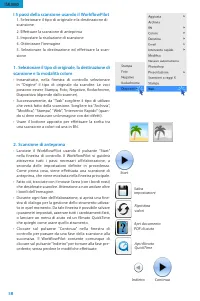
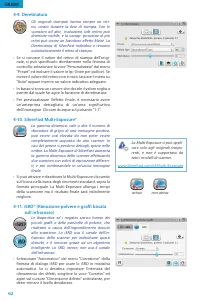
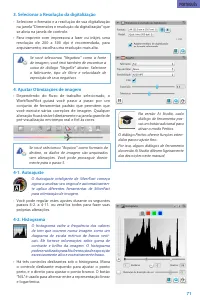
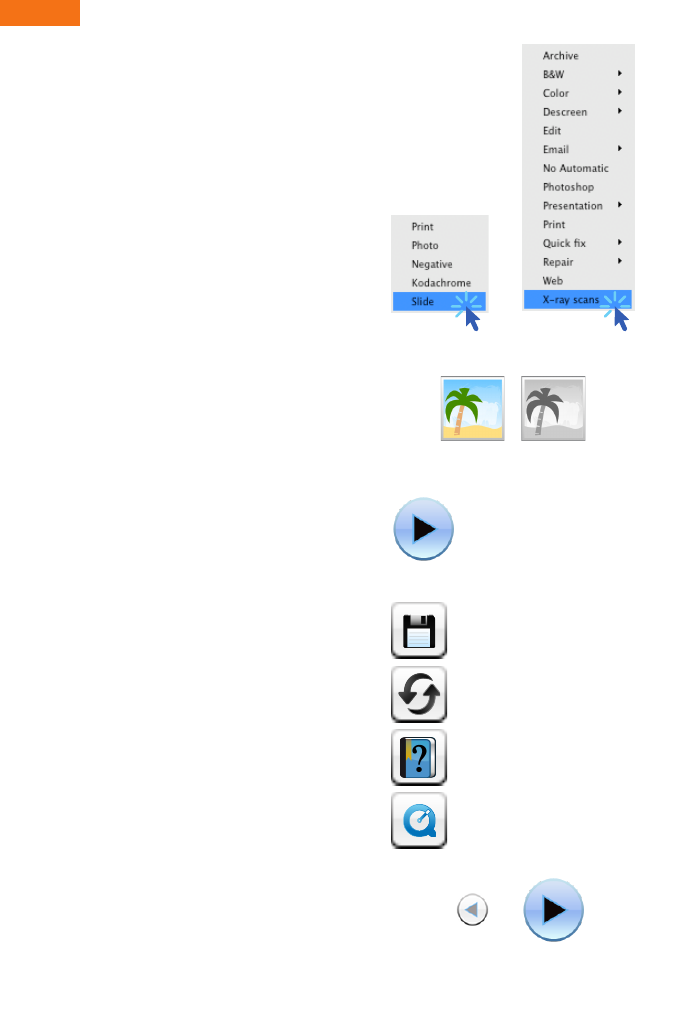
• A dialog with controls for adjusting SilverFast‘s tools
will open in the controls dock on the left for every
processing step. Each dialog contains buttons to save
your adjustments, to reset your changes and to directly
open a corresponding help file and a QuickTime movie
explaining how to use this tool.
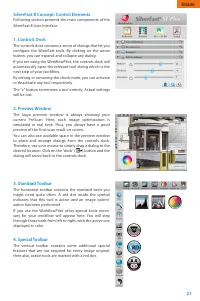
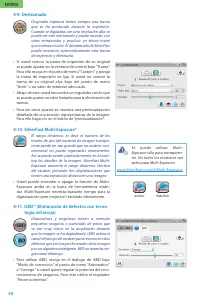
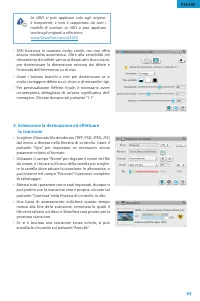
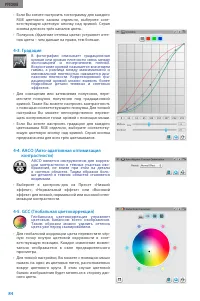
• Click on the “Continue“ button in the controls dock
after each individual processing step to continue with
the next SilverFast tool. The WorkflowPilot allows to
use a “Back“ button to return to the previous process-
ing step at any time. Your current settings will be
retained.
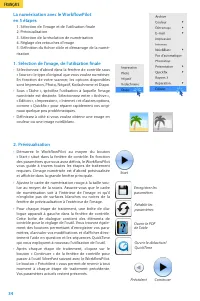
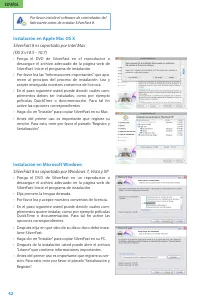
Save
Settings
Reset values to
defaults
Open help / tuto-
rial PDF
Open tutorial
QuickTime movie
Back
Continue
Start
ENGLISH
Характеристики

Остались вопросы?Не нашли свой ответ в руководстве или возникли другие проблемы? Задайте свой вопрос в форме ниже с подробным описанием вашей ситуации, чтобы другие люди и специалисты смогли дать на него ответ. Если вы знаете как решить проблему другого человека, пожалуйста, подскажите ему :)


