
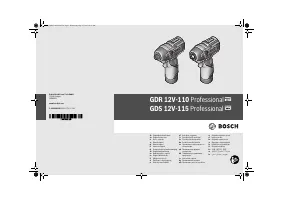
Шуруповерты Bosch GDR 12V-110 0.601.9E0.005 - инструкция пользователя по применению, эксплуатации и установке на русском языке. Мы надеемся, она поможет вам решить возникшие у вас вопросы при эксплуатации техники.
Если остались вопросы, задайте их в комментариях после инструкции.
"Загружаем инструкцию", означает, что нужно подождать пока файл загрузится и можно будет его читать онлайн. Некоторые инструкции очень большие и время их появления зависит от вашей скорости интернета.


English |
15
Bosch Power Tools
1 609 92A 29D | (20.7.16)
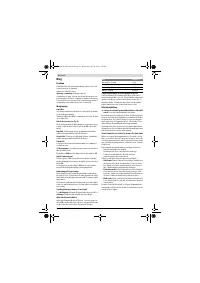
Changing the Tool
Before any work on the machine itself (e. g. mainte-
nance, tool change, etc.) as well as during transport
and storage, remove the battery from the power tool.
There is danger of injury when unintentionally actuating
the On/Off switch.
Regularly clean the power tool’s air vents.
The motor’s
fan will draw the dust inside the housing and excessive ac-
cumulation of powdered metal may cause electrical haz-
ards.
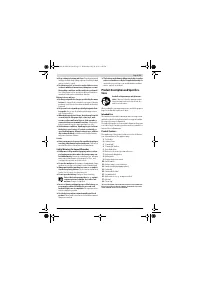
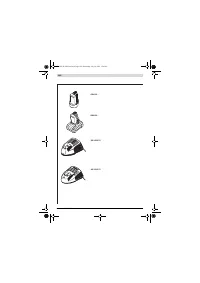
GDR 12V-110:
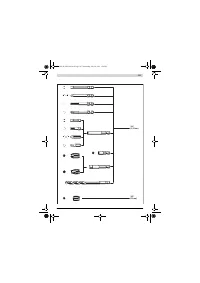
Inserting (see figure B)
Pull the locking sleeve
2
forward, push the insert tool to the
stop into the tool holder
1
and release the locking sleeve
2
to
lock the insert tool.
Screwdriver bits
15
can be inserted using a universal bit hold-
er with ball lock
14
.
Removing
Pull the locking sleeve
2
forward and remove the insert tool.
GDS 12V-115: (see figure C)
When working with an application tool, pay attention
that the application tool is connected securely on the
tool holder.
When the application tool is not securely con-
nected with the tool holder, it can come off during applica-
tion.
Slide the application tool
16
onto the square drive of the tool
holder
1
.
With this system, there will be a slight amount of play around
the application tool
16
after connecting securely to the tool
holder
1
; this has no influence on the function/safety.
Operation
Method of Operation
The tool holder
1
with the tool is driven by an electric motor
via a gear and impact mechanism.
The working procedure is divided into two phases:
Screwing in
and
tightening
(impact mechanism in action).
The impact mechanism is activated as soon as the screwed
connection runs tight and thus load is put on the motor. In this
instance, the impact mechanism converts the power of the
motor to steady rotary impacts. When loosening screws or
nuts, the process is reversed.
Starting Operation
Inserting the battery
Set the rotational direction switch
9
to the centre position to
protect the power tool against accidental starting.
Insert the charged battery
8
from the front into the base of the
power tool until the battery is securely locked.
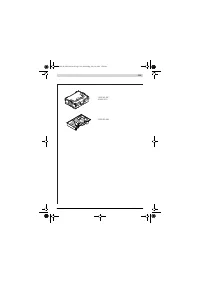
Reversing the rotational direction (see figure D)
The rotational direction switch
9
is used to reverse the rota-
tional direction of the machine. However, this is not possible
with the On/Off switch
10
actuated.
Right rotation:
For driving in screws and tightening nuts,
press the rotational direction switch
9
through to the left
stop.
Left Rotation:
For loosening and unscrewing screws and
nuts, press the rotational direction switch
9
through to the
right stop.
Switching On and Off
To save energy, only switch the power tool on when using it.
To
start
the machine, press the On/Off switch
10
and keep it
pressed.
To
switch off
the machine, release the On/Off switch
10
.
Adjusting the Speed
The speed of the switched-on power tool can be variably ad-
justed, depending on how far the On/Off switch
10
is
pressed.
Light pressure on the On/Off switch
10
results in a low rota-
tional speed. Further pressure on the switch results in an in-
crease in speed.
Preselecting the Speed/Impact Rate
With the button
6
you can preselect the required speed/im-
pact rate in 2 stages. Press the button
6
repeatedly until the
desired setting appears in the speed indicator
5
. The selected
setting will be saved.
The required speed/impact rate depends on the material and
the working conditions, and can be determined through prac-
tical testing.
Switching the “PowerLight” On/Off
To switch the “PowerLight”
3
on
, press button
4
. To switch
the “PowerLight”
3
off
, press button
4
again.
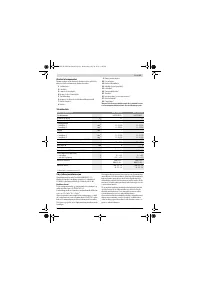
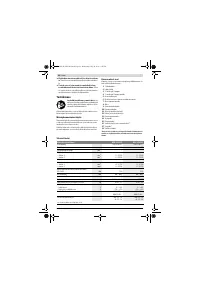
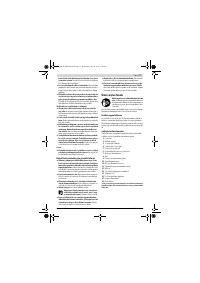
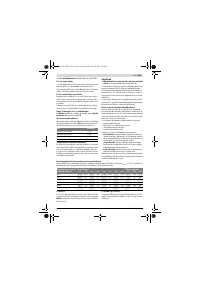
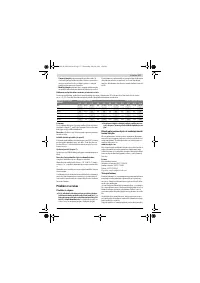
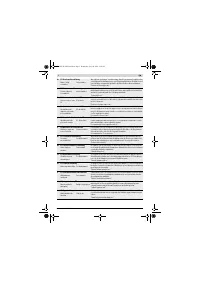
Battery Charge-control Indication
The battery charge-control indicator
11
consists of three
green LEDs, and indicates the charge condition of the battery
for a few seconds when the On/Off switch
10
is pressed half-
way or fully.
Temperature Dependent Overload Protection
In normal conditions of use, the power tool cannot be over-
loaded. If the power tool is overloaded or not kept within the
permitted battery temperature range, the power output is re-
duced or the power tool is switched off. The power tool will
not run at full power output again until the permitted battery
temperature has been reached.
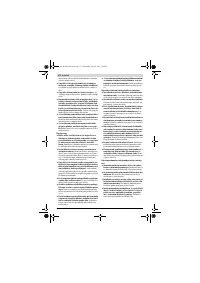
Working Advice
Apply the power tool to the screw/nut only when it is
switched off.
Rotating tool inserts can slip off.
The torque depends on the impact duration. The maximum
achieved torque results from the sum of all individual torques
achieved through impact. The maximum torque is achieved
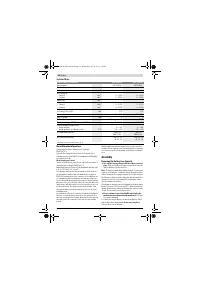
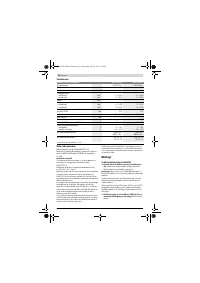
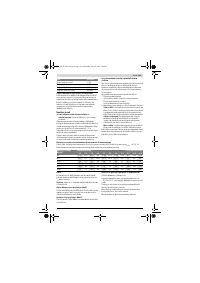
LED
Capacity
Continuous lighting 3 x green
≥ 2/3
Continuous lighting 2 x green
≥ 1/3
Continuous lighting 1 x green
< 1/3
Flashing light 1 x green
Reserve
OBJ_BUCH-2928-001.book Page 15 Wednesday, July 20, 2016 1:58 PM
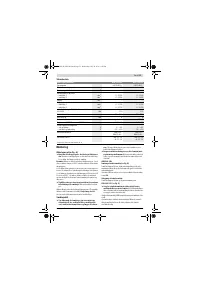
Содержание
- 108 Описание продукта и услуг; Применение по назначению
- 109 Технические данные; Сборка
- 110 Замена рабочего инструмента; Работа с инструментом; Принцип действия
- 111 Указания по применению
- 112 Техобслуживание и сервис; Техобслуживание и очистка; Транспортировка
- 113 Утилизация; Українська; Вказівки з техніки безпеки; Загальні застереження для електроприладів


