Пылесос Philips HR6836 - инструкция пользователя по применению, эксплуатации и установке на русском языке. Мы надеемся, она поможет вам решить возникшие у вас вопросы при эксплуатации техники.
Если остались вопросы, задайте их в комментариях после инструкции.
"Загружаем инструкцию", означает, что нужно подождать пока файл загрузится и можно будет его читать онлайн. Некоторые инструкции очень большие и время их появления зависит от вашей скорости интернета.


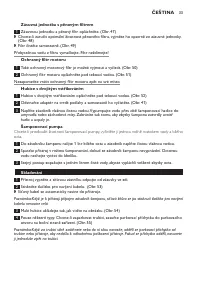


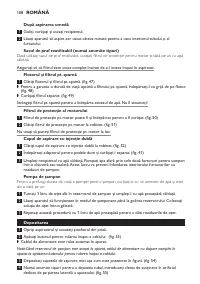


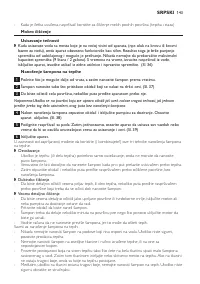


Make sure that the room is well-aired during and after shampooing to allow better and quicker
dr ying.
Allow the carpet to dr y well before walking on it again: freshened-up areas normally require
30 minutes to dr y, whereas deep-cleaned sections require approximately 2 hours to dr y. Of
course, the dr ying times also depend upon the amount of shampoo applied, temperature, air
humidity and ventilation.
The transparent nozzles (the double-injection nozzle and the upholster y nozzle) let
you determine if the carpet or hard floor is clean. Simply look at the colour of the extracted
solution.
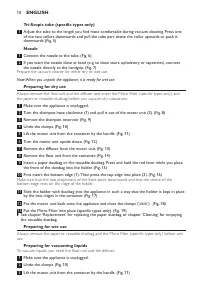
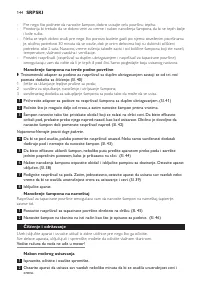
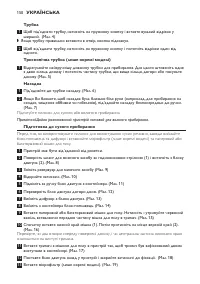
shampooing hard floors
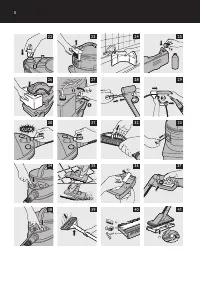
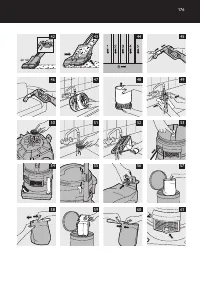
The 3-purpose click-on hard floor adapter for the double-injection nozzle consists of three
familiar cleaning tools: (Fig. 40)
1 a brush to release sticky dir t from the floor ;
2 a sponge to release, distribute and rub in the shampoo;
3 a squeegee to collect the shampoo from the floor so that it can be vacuumed.
1
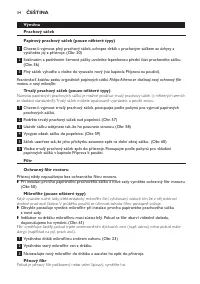
Snap the hard floor adapter onto the double-injection shampoo nozzle. (Fig. 41)
Start as far away from the door as possible and then work your way towards the door.
Apply shampoo by squeezing the trigger on the handgrip of the tube. For scrub effectively,
just make back-and-forth strokes as you do with a regular vacuum cleaner. Normally it is
sufficient to only apply shampoo while you move the nozzle forwards. (Fig. 42)
Note:Do not make very long strokes.
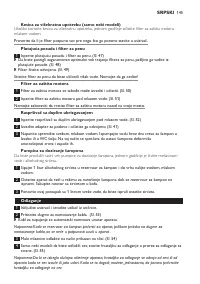
To dry the floor, just move the nozzle backwards slowly. Make sure that only the squeegee
touches the floor and do not apply shampoo. (Fig. 43)
5
To remove shampoo effectively, make overlapping strokes and finish off with one stroke
across as shown in the figure. (Fig. 44)
6
After shampooing, release the trigger and switch off the pump. Keep the appliance itself
switched on. (Fig. 38)
7
Lift the nozzle off the floor. Then simply let the appliance suck in dry air for some time to dry
the inside of the suction hose and tube. (Fig. 39)
8
Switch off the appliance.
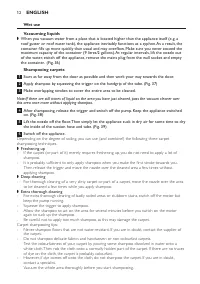
shampooing furniture
The upholster y nozzle allows you to shampoo furniture, tapestries, cur tains etc.
1
Attach the upholstery nozzle directly to the handgrip. (Fig. 45)
Shampoo the fabric in the same way as described for floors. (Fig. 46)
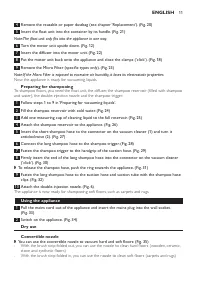
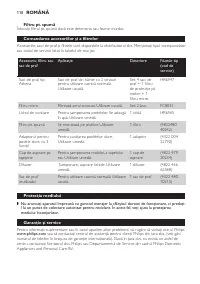
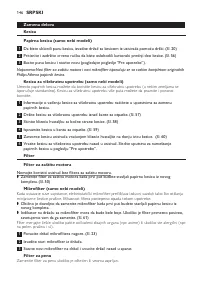
Cleaning and maintenance
Always switch off the appliance and remove the mains plug from the wall socket before you clean
the appliance.
You can clean all par ts of the appliance, including the container, with a damp cloth.
Make sure no water enters the motor unit!
after wet vacuum cleaning
1
Empty, clean and dry the container.
Let the appliance suck in dry air for a few minutes to dry the inside of the tube and hose.
-
-
-
,
English
1
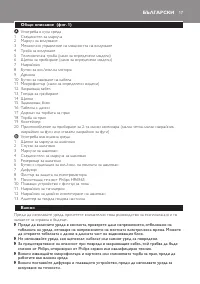
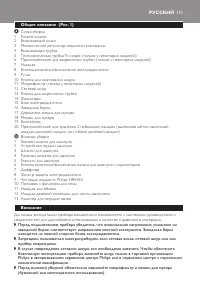
Содержание
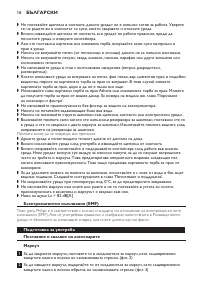
- 112 Запуск насоса без шампуня может привести к его поломке.; Подготовка прибора к работе
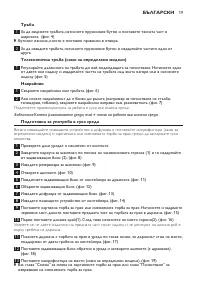
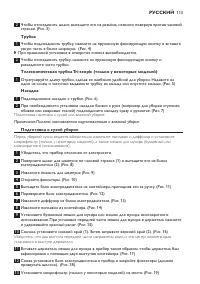
- 113 Трубка; При правильной установке в отверстие кнопка высвобождается.; Телескопическая трубка tri-scopic (только у некоторых моделей); Подготовка пылесоса к сухой или влажной уборке.; Подготовка к сухой уборке; Убедитесь, что прибор отключен от электросети.
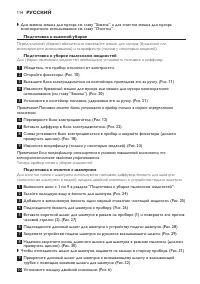
- 114 многократного использования см. главу “Очистка”.; Подготовка к влажной уборке; Подготовка к очистке с шампунем
- 115 или ковровых покрытий); Влажная уборка; обработайте этот участок пылесосом без применения шампуня.
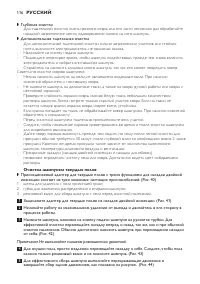
- 116 Очистка шампунем твердых полов; Примечание.Не выполняйте слишком размашистых движений.
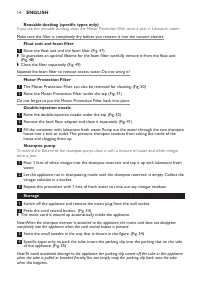
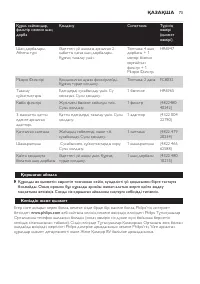
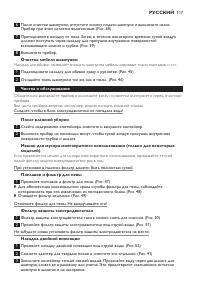
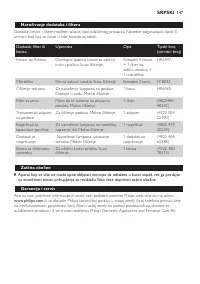
- 117 водой фильтр защиты электродвигателя раз в год.; Поплавок и фильтр для пены
- 118 насос для шампуня; до полного заполнения ёмкости.; Хранение; сматывания шнур сматывается не до конца.; замена
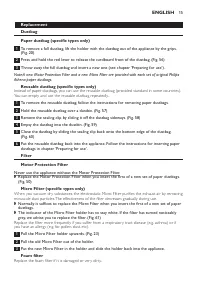
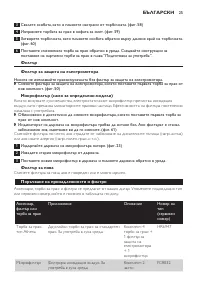
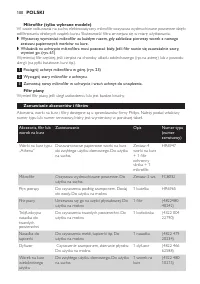
- 119 бумажного мешка для мусора.; Фильтр для пены; Если фильтр для пены поврежден или сильно загрязнен, замените его.
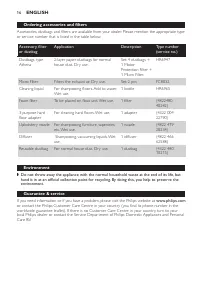
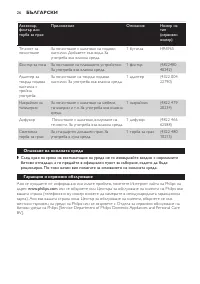
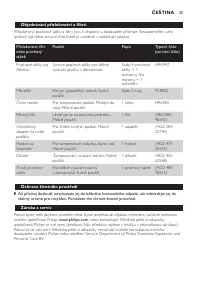
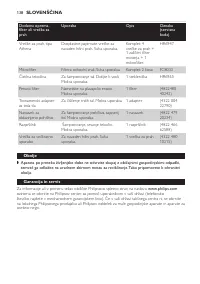
- 120 заказ принадлежностей и фильтров; Athena; защита окружающей среды; поможете защитить окружающую среду.; гарантия и обслуживание


