
Перфораторы Makita DHR282ZJU - инструкция пользователя по применению, эксплуатации и установке на русском языке. Мы надеемся, она поможет вам решить возникшие у вас вопросы при эксплуатации техники.
Если остались вопросы, задайте их в комментариях после инструкции.
"Загружаем инструкцию", означает, что нужно подождать пока файл загрузится и можно будет его читать онлайн. Некоторые инструкции очень большие и время их появления зависит от вашей скорости интернета.
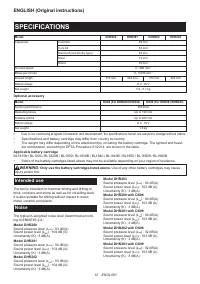


19 ENGLISH
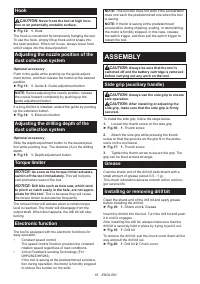
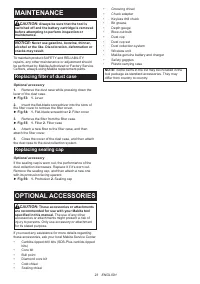
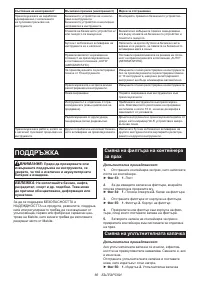
Disposing of dust
Optional accessory
CAUTION:
Always be sure that the tool is
switched off and the battery cartridge is removed
before carrying out any work on the tool.
CAUTION:
Be sure to wear dust mask when
disposing of dust.
CAUTION:
Empty the dust case regularly
before the dust case becomes full.
Failure to do so
may decrease the dust collection performance and
cause dust inhalation.
CAUTION:
The performance of dust collection
decreases if the filter in the dust case become
clogged. Replace the filter with new one after
approximately 200 times of dust fulfillment as a
guide.
Failure to do so may cause dust inhalation.
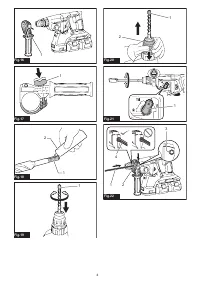
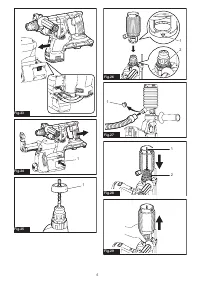
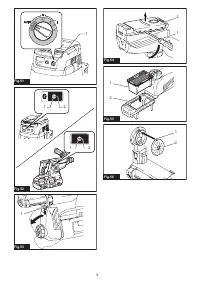
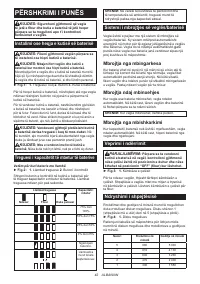
1.
Remove the dust case while pressing down the
lever of the dust case.
►
Fig.36:
1.
Lever
2.
Open the cover of the dust case.
►
Fig.37:
1.
Cover
3.
Dispose of the dust, and then clean the filter.
►
Fig.38
NOTICE:
When cleaning the filter, do not touch
the filter with brush or similar, or blow com
-
pressed air on the filter. It may damage the filter.
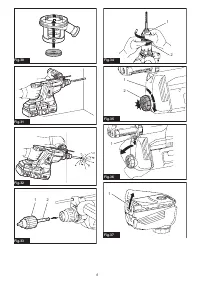
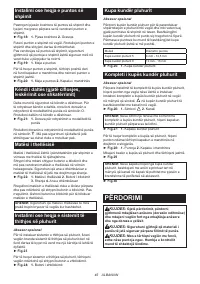
Blow-out bulb
Optional accessory
After drilling the hole, use the blow-out bulb to clean the
dust out of the hole.
►
Fig.39
Using dust cup set
Optional accessory
Fit the dust cup set against the ceiling when operating
the tool.
►
Fig.40
NOTICE:
Do not use the dust cup set when drill
-
ing in metal or similar. It may damage the dust
cup set due to the heat produced by small metal
dust or similar.
NOTICE:
Do not install or remove the dust cup
set with the drill bit installed in the tool. It may
damage the dust cup set and cause dust leak.
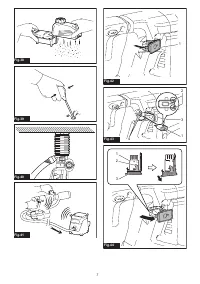
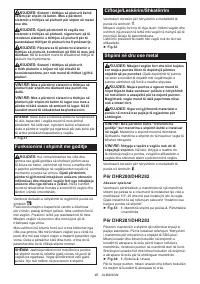
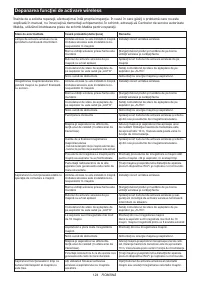
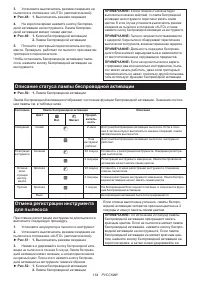
WIRELESS ACTIVATION
FUNCTION
Optional accessory for DHR282/DHR283
What you can do with the wireless
activation function
The wireless activation function enables clean and com-
fortable operation. By connecting a supported vacuum
cleaner to the tool, you can run the vacuum cleaner
automatically along with the switch operation of the tool.
►
Fig.41
To use the wireless activation function, prepare following items:
•
A wireless unit (optional accessory)
•
A vacuum cleaner which supports the wireless
activation function
The overview of the wireless activation function setting is
as follows. Refer to each section for detail procedures.
1.
Installing the wireless unit
2.
Tool registration for the vacuum cleaner
3.
Starting the wireless activation function
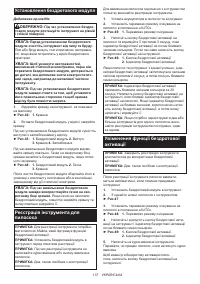
Installing the wireless unit
Optional accessory
CAUTION:
Place the tool on a flat and stable
surface when installing the wireless unit.
NOTICE:
Clean the dust and dirt on the tool before
installing the wireless unit.
Dust or dirt may cause
malfunction if it comes into the slot of the wireless unit.
NOTICE:
To prevent the malfunction caused by static,
touch a static discharging material, such as a metal part
of the tool, before picking up the wireless unit.
NOTICE:
When installing the wireless unit, always
be sure that the wireless unit is inserted in the cor
-
rect direction and the lid is completely closed.
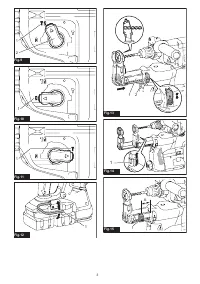
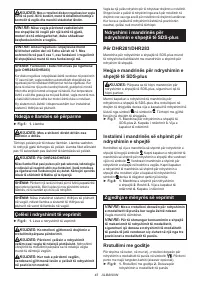
1.
Open the lid on the tool as shown in the figure.
►
Fig.42:
1.
Lid
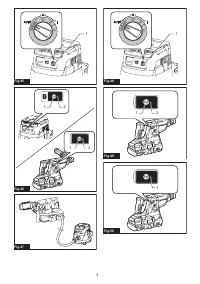
2.
Insert the wireless unit to the slot and then close the lid.
When inserting the wireless unit, align the projections
with the recessed portions on the slot.
►
Fig.43:
1.
Wireless unit
2.
Projection
3.
Lid
4.
Recessed portion
When removing the wireless unit, open the lid slowly.
The hooks on the back of the lid will lift the wireless unit
as you pull up the lid.
►
Fig.44:
1.
Wireless unit
2.
Hook
3.
Lid
After removing the wireless unit, keep it in the supplied
case or a static-free container.
NOTICE:
Always use the hooks on the back of
the lid when removing the wireless unit.
If the
hooks do not catch the wireless unit, close the lid
completely and open it slowly again.
Содержание
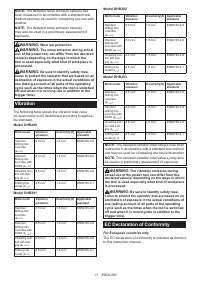
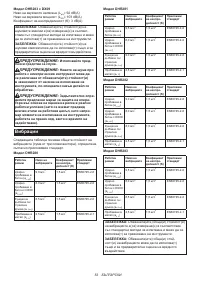
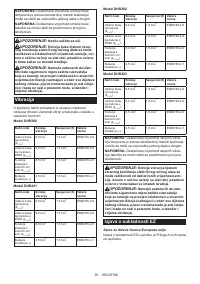
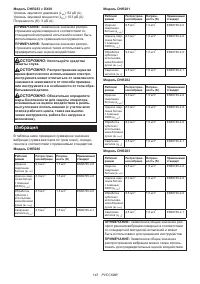
- 143 Вибрация
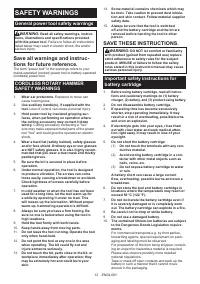
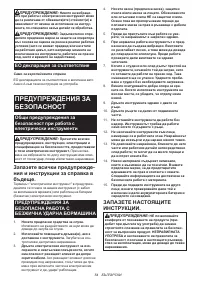
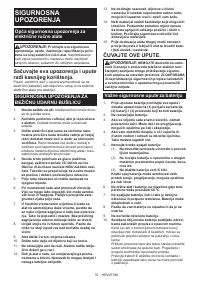
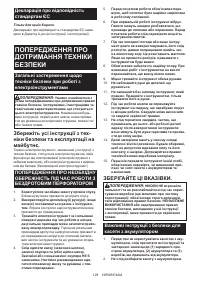
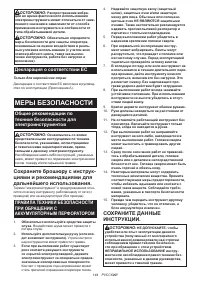
- 144 МЕРЫ БЕЗОПАСНОСТИ; Сохраните брошюру с инструк
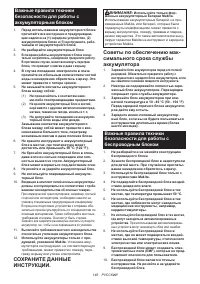
- 146 СОХРАНИТЕ ДАННЫЕ; ОПИСАНИЕ РАБОТЫ; Установка или снятие блока
- 147 Система защиты инструмента/
- 148 Выбор режима действия
- 149 СБОРКА
- 150 ЭКСПЛУАТАЦИЯ
- 152 ФУНКЦИЯ
- 153 Установка беспроводного блока; Регистрация инструмента для
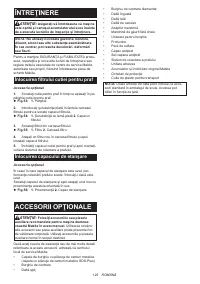
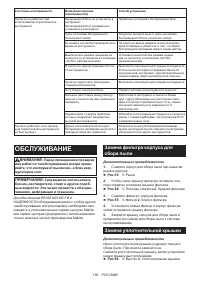
- 156 ОБСЛУЖИВАНИЕ; Замена фильтра корпуса для; Замена уплотнительной крышки
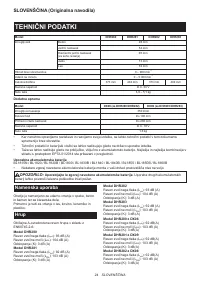
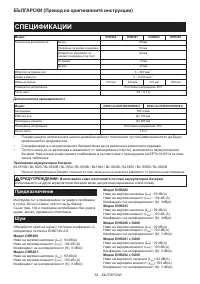
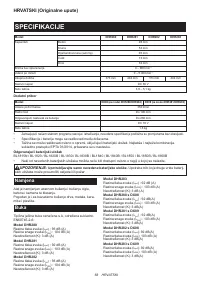
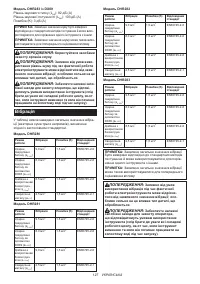
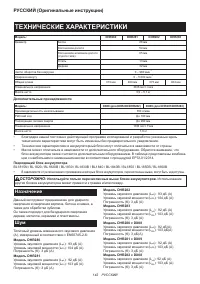
Характеристики

Остались вопросы?Не нашли свой ответ в руководстве или возникли другие проблемы? Задайте свой вопрос в форме ниже с подробным описанием вашей ситуации, чтобы другие люди и специалисты смогли дать на него ответ. Если вы знаете как решить проблему другого человека, пожалуйста, подскажите ему :)


