
Перфораторы Makita DHR282ZJU - инструкция пользователя по применению, эксплуатации и установке на русском языке. Мы надеемся, она поможет вам решить возникшие у вас вопросы при эксплуатации техники.
Если остались вопросы, задайте их в комментариях после инструкции.
"Загружаем инструкцию", означает, что нужно подождать пока файл загрузится и можно будет его читать онлайн. Некоторые инструкции очень большие и время их появления зависит от вашей скорости интернета.


15 ENGLISH
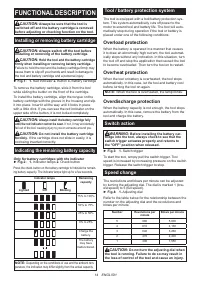
NOTICE:
If the tool is operated continuously at
low speed for a long time, the motor will get over
-
loaded, resulting in tool malfunction.
NOTICE:
The speed adjusting dial can be turned
only as far as 5 and back to 1. Do not force it past
5 or 1, or the speed adjusting function may no
longer work.
NOTE:
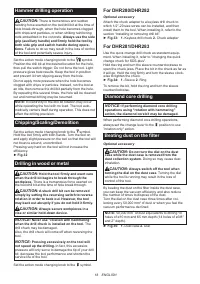
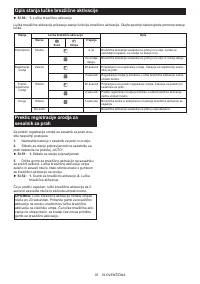
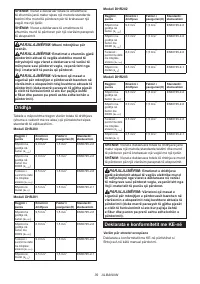
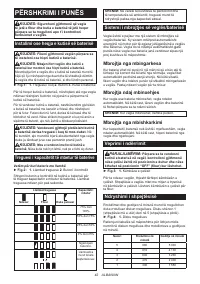
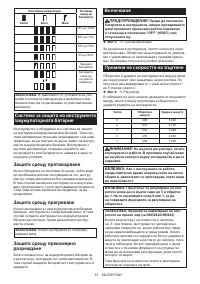
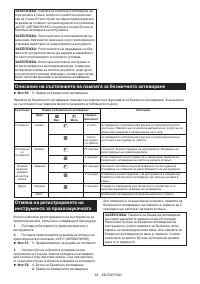
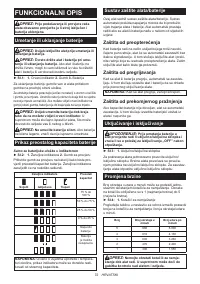
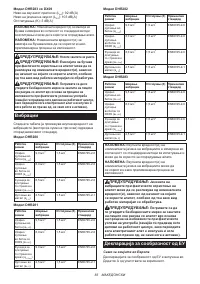
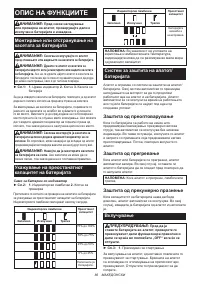
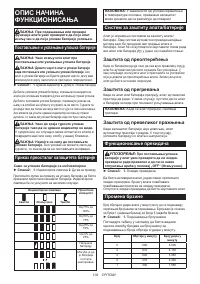
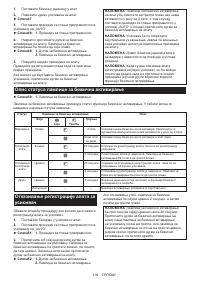
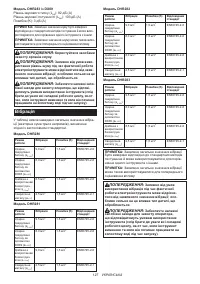
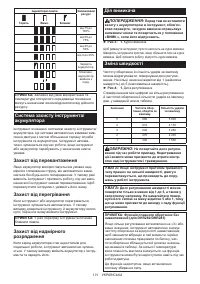
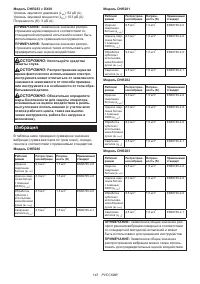
Soft no-load rotation function (For DHR282/DHR283)
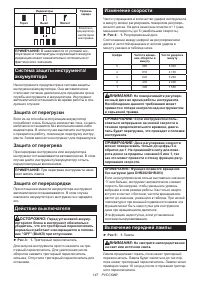
When the speed adjusting dial is set to "3" or higher, the
tool automatically reduces the speed at no-load to reduce
the vibration under no-load. Once operation starts with a
bit against concrete, blows per minute increase and reach
the numbers as shown in the table. When temperature is
low and there is less fluidity in grease, the tool may not
have this function even with the motor rotating.
This function is not available when the dust collection
system is installed.
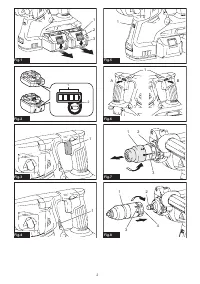
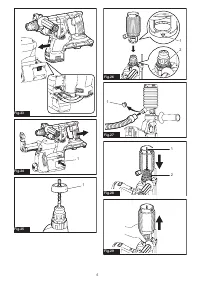
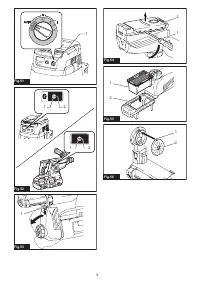
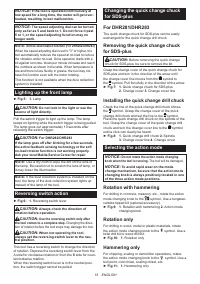
Lighting up the front lamp
►
Fig.5:
1.
Lamp
CAUTION:
Do not look in the light or see the
source of light directly.
Pull the switch trigger to light up the lamp. The lamp
keeps on lighting while the switch trigger is being pulled.
The lamp goes out approximately 10 seconds after
releasing the switch trigger.
CAUTION:
For DHR282/DHR283
If the lamp goes off after blinking for a few seconds,
the active feedback sensing technology or the soft
no-load rotation function is not working properly.
Ask your local Makita Service Center for repair.
NOTE:
Use a dry cloth to wipe the dirt off the lens of
the lamp. Be careful not to scratch the lens of lamp, or
it may lower the illumination.
NOTE:
If the dust collection system is installed on the
tool, the lamp of the dust collection system lights up
instead of the lamp of the tool.
Reversing switch action
►
Fig.6:
1.
Reversing switch lever
CAUTION:
Always check the direction of
rotation before operation.
CAUTION:
Use the reversing switch only after
the tool comes to a complete stop.
Changing the direc-
tion of rotation before the tool stops may damage the tool.
CAUTION:
When not operating the tool,
always set the reversing switch lever to the neu
-
tral position.
This tool has a reversing switch to change the direction
of rotation. Depress the reversing switch lever from the
A side for clockwise rotation or from the B side for coun-
terclockwise rotation.
When the reversing switch lever is in the neutral posi-
tion, the switch trigger cannot be pulled.
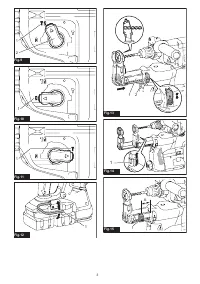
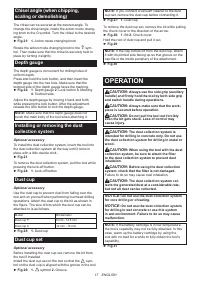
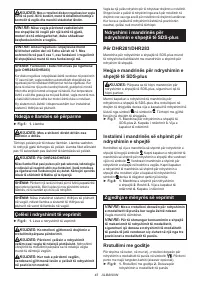
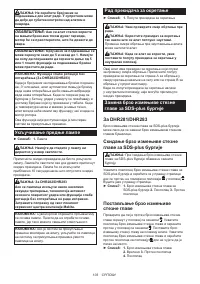
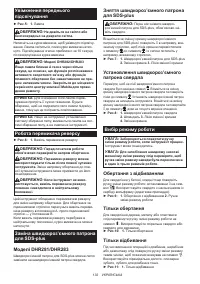
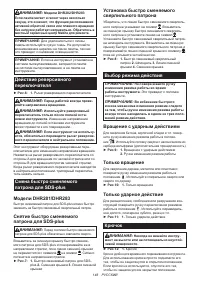
Changing the quick change chuck
for SDS-plus
For DHR281/DHR283
The quick change chuck for SDS-plus can be easily
exchanged for the quick change drill chuck.
Removing the quick change chuck
for SDS-plus
CAUTION:
Before removing the quick change
chuck for SDS-plus, be sure to remove the bit.
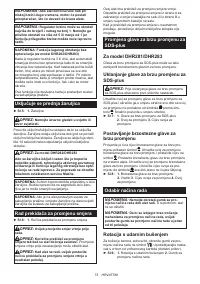
Grasp the change cover of the quick change chuck for
SDS-plus and turn in the direction of the arrow until
the change cover line moves from the symbol to
the symbol. Pull forcefully in the direction of the arrow.
►
Fig.7:
1.
Quick change chuck for SDS-plus
2.
Change cover
3.
Change cover line
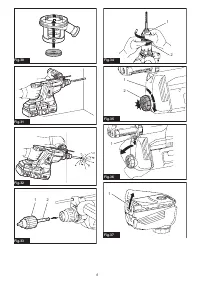
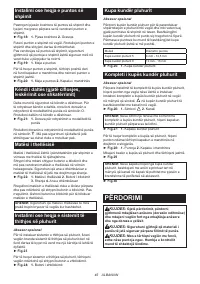
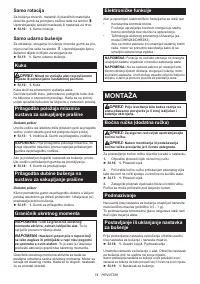
Installing the quick change drill chuck
Check the line of the quick change drill chuck shows
the symbol. Grasp the change cover of the quick
change drill chuck and set the line to the symbol.
Place the quick change drill chuck on the spindle of the
tool. Grasp the change cover of the quick change drill
chuck and turn the change cover line to the symbol
until a click can clearly be heard.
►
Fig.8:
1.
Quick change drill chuck
2.
Spindle
3.
Change cover line
4.
Change cover
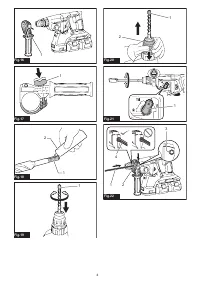
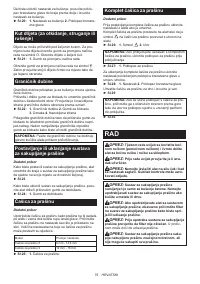
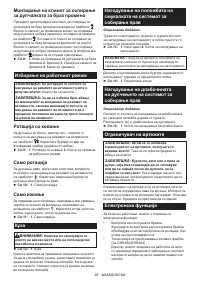
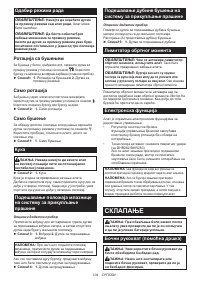
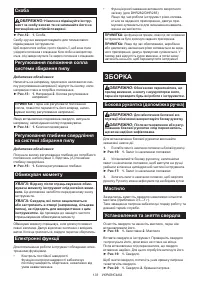
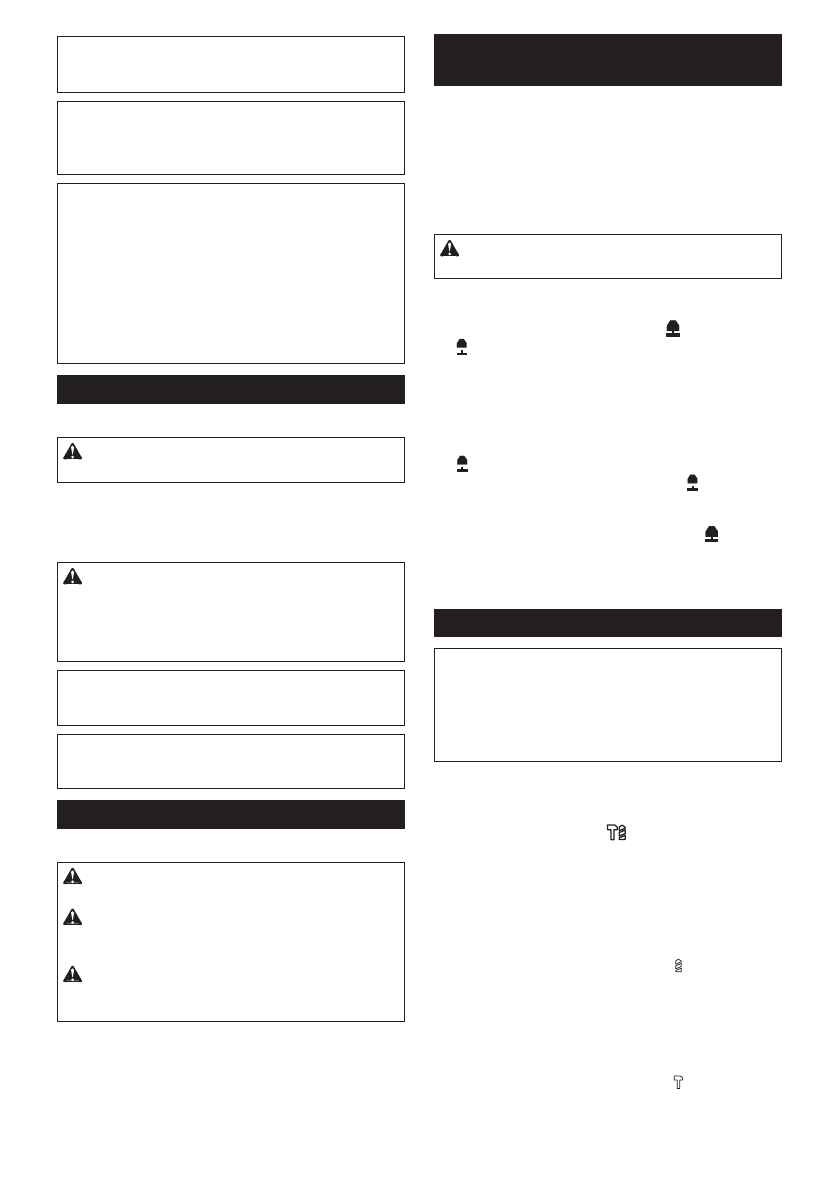
Selecting the action mode
NOTICE:
Do not rotate the action mode changing
knob when the tool is running.
The tool will be damaged.
NOTICE:
To avoid rapid wear on the mode
change mechanism, be sure that the action mode
changing knob is always positively located in one
of the three action mode positions.
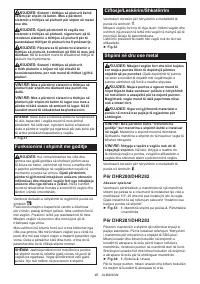
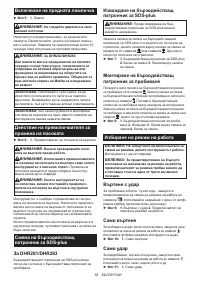
Rotation with hammering
For drilling in concrete, masonry, etc., rotate the action
mode changing knob to the
symbol. Use a tungsten-
carbide tipped bit (optional accessory).
►
Fig.9:
1.
Rotation with hammering
2.
Action mode
changing knob
Rotation only
For drilling in wood, metal or plastic materials, rotate
the action mode changing knob to the symbol. Use a
twist drill bit or wood drill bit.
►
Fig.10:
1.
Rotation only
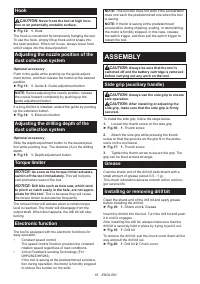
Hammering only
For chipping, scaling or demolition operations, rotate
the action mode changing knob to the symbol. Use a
bull point, cold chisel, scaling chisel, etc.
►
Fig.11:
1.
Hammering only
Содержание
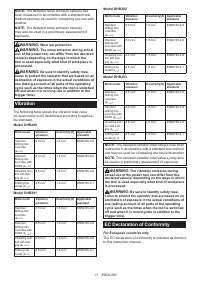
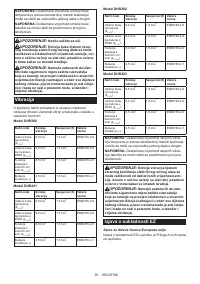
- 143 Вибрация
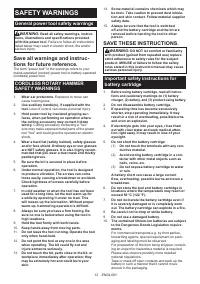
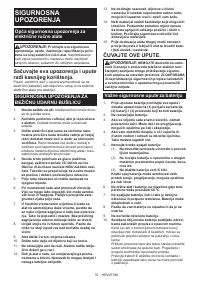
- 144 МЕРЫ БЕЗОПАСНОСТИ; Сохраните брошюру с инструк
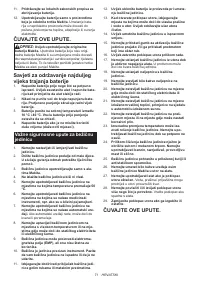
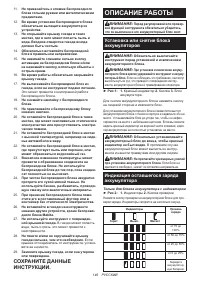
- 146 СОХРАНИТЕ ДАННЫЕ; ОПИСАНИЕ РАБОТЫ; Установка или снятие блока
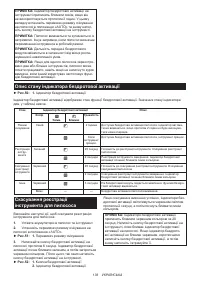
- 147 Система защиты инструмента/
- 148 Выбор режима действия
- 149 СБОРКА
- 150 ЭКСПЛУАТАЦИЯ
- 152 ФУНКЦИЯ
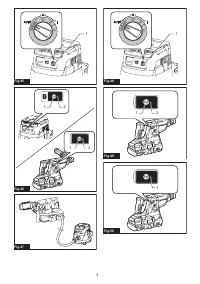
- 153 Установка беспроводного блока; Регистрация инструмента для
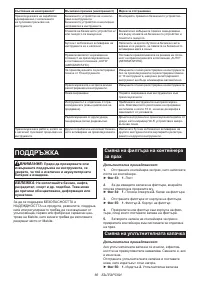
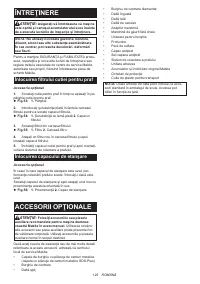
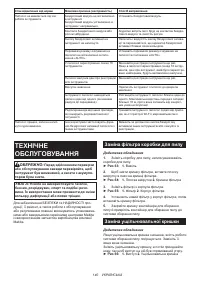
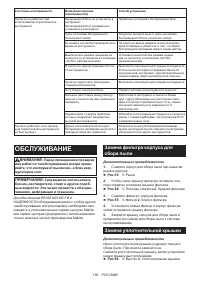
- 156 ОБСЛУЖИВАНИЕ; Замена фильтра корпуса для; Замена уплотнительной крышки
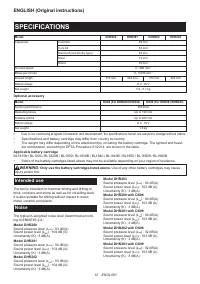
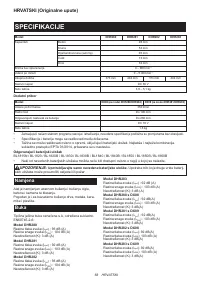
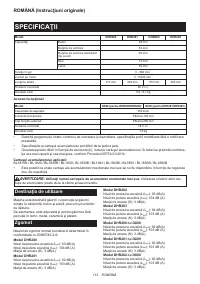
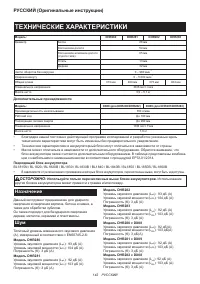
Характеристики

Остались вопросы?Не нашли свой ответ в руководстве или возникли другие проблемы? Задайте свой вопрос в форме ниже с подробным описанием вашей ситуации, чтобы другие люди и специалисты смогли дать на него ответ. Если вы знаете как решить проблему другого человека, пожалуйста, подскажите ему :)


