Перфораторы Bosch GBH 5-40 DCE - инструкция пользователя по применению, эксплуатации и установке на русском языке. Мы надеемся, она поможет вам решить возникшие у вас вопросы при эксплуатации техники.
Если остались вопросы, задайте их в комментариях после инструкции.
"Загружаем инструкцию", означает, что нужно подождать пока файл загрузится и можно будет его читать онлайн. Некоторые инструкции очень большие и время их появления зависит от вашей скорости интернета.


English |
13
Bosch Power Tools
1 609 92A 0FN | (23.1.14)
applications, with different accessories or insertion tools or is
poorly maintained, the vibration emission may differ. This
may significantly increase the exposure level over the total
working period.
An estimation of the level of exposure to vibration should also
take into account the times when the tool is switched off or
when it is running but not actually doing the job. This may sig-
nificantly reduce the exposure level over the total working
period.
Identify additional safety measures to protect the operator
from the effects of vibration such as: maintain the tool and the
accessories, keep the hands warm, organisation of work pat-
terns.
Declaration of Conformity
We declare under our sole responsibility that the product de-
scribed under “Technical Data” is in conformity with the fol-
lowing standards or standardization documents: EN 60745
according to the provisions of the directives 2011/65/EU,
2004/108/EC, 2006/42/EC.
Technical file (2006/42/EC) at:
Robert Bosch GmbH, PT/ETM9,
D-70745 Leinfelden-Echterdingen
Robert Bosch GmbH, Power Tools Division
D-70745 Leinfelden-Echterdingen
Leinfelden, 24.01.2014
Assembly
Before any work on the machine itself, pull the mains
plug.
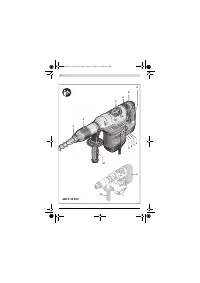
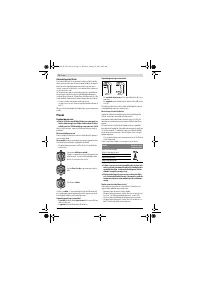
Auxiliary Handle
Operate your machine only with the auxiliary handle
10.
The auxiliary handle
10
can be set to any position for a secure
and low-fatigue working posture.
– Turn the bottom part of the auxiliary handle
10
in counter-
clockwise direction and swivel the auxiliary handle
10
to
the desired position. Then retighten the bottom part of the
auxiliary handle
10
by turning in clockwise direction.
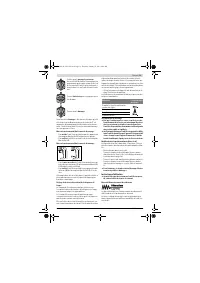
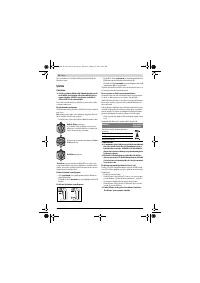
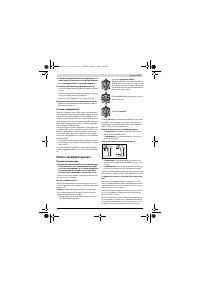
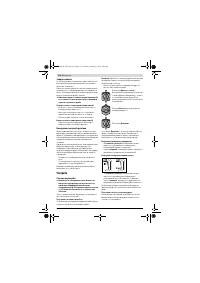
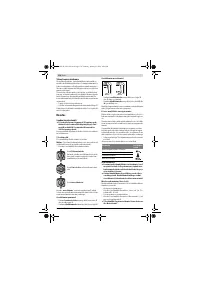
Changing the Tool
With the SDS-max tool holder, simpler and easier tool chang-
ing is possible without additional aids.
The dust protection cap
1
largely prevents the penetration of
dust into the tool holder during operation. When inserting the
tool, pay attention that the dust protection cap
1
is not dam-
aged.
A damaged dust protection cap should be changed im-
mediately. We recommend having this carried out by
an after-sales service.
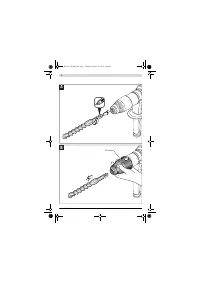
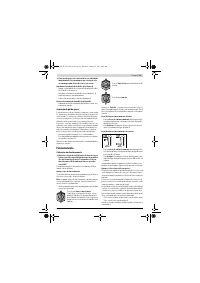
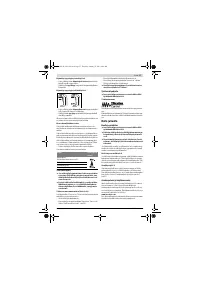
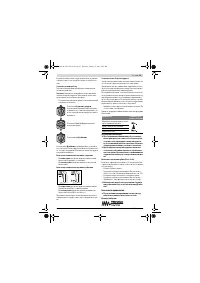
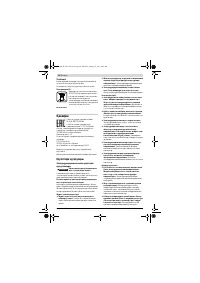
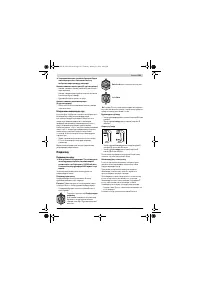
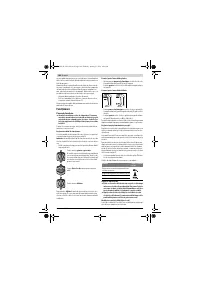
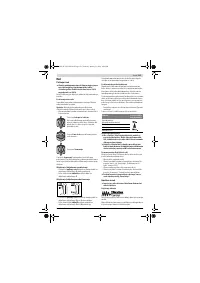
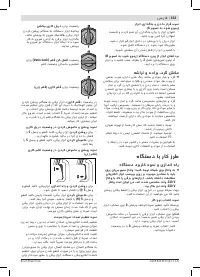
Inserting (see figure A)
– Clean and lightly grease the shank end of the tool.
– Insert the tool in a twisting manner into the tool holder until
it latches itself.
– Check the latching by pulling the tool.
Removing (see figure B)
– Push back the locking sleeve
2
and remove the tool.
Dust/Chip Extraction
Dusts from materials such as lead-containing coatings, some
wood types, minerals and metal can be harmful to one’s
health. Touching or breathing-in the dusts can cause allergic
reactions and/or lead to respiratory infections of the user or
bystanders.
Certain dusts, such as oak or beech dust, are considered as
carcinogenic, especially in connection with wood-treatment
additives (chromate, wood preservative). Materials contain-
ing asbestos may only be worked by specialists.
– Provide for good ventilation of the working place.
– It is recommended to wear a P2 filter-class respirator.
Observe the relevant regulations in your country for the mate-
rials to be worked.
Operation
Starting Operation
Observe correct mains voltage! The voltage of the pow-
er source must agree with the voltage specified on the
nameplate of the machine. Power tools marked with
230 V can also be operated with 220 V.
To save energy, only switch the power tool on when using it.
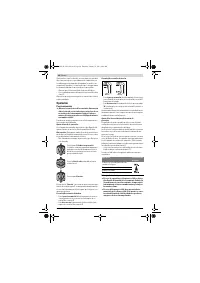
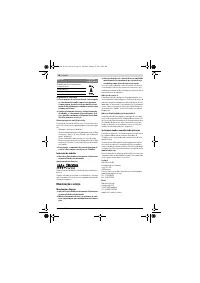
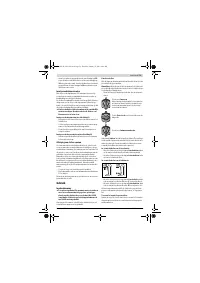
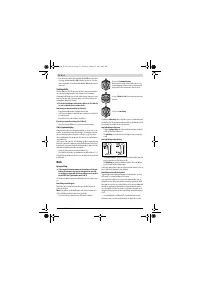
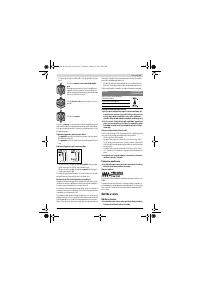
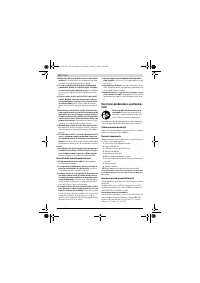
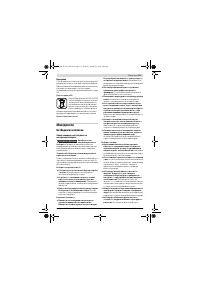
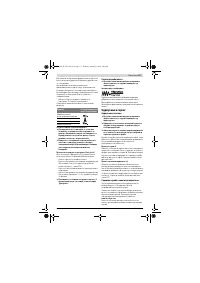
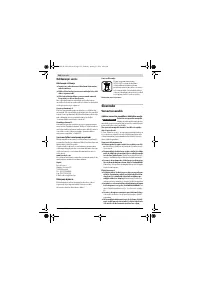
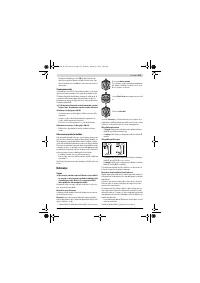
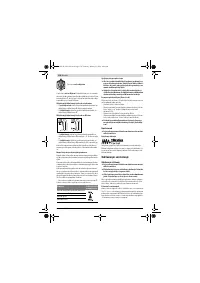
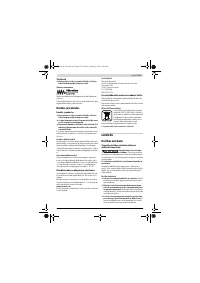
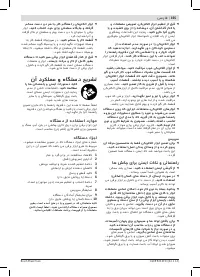
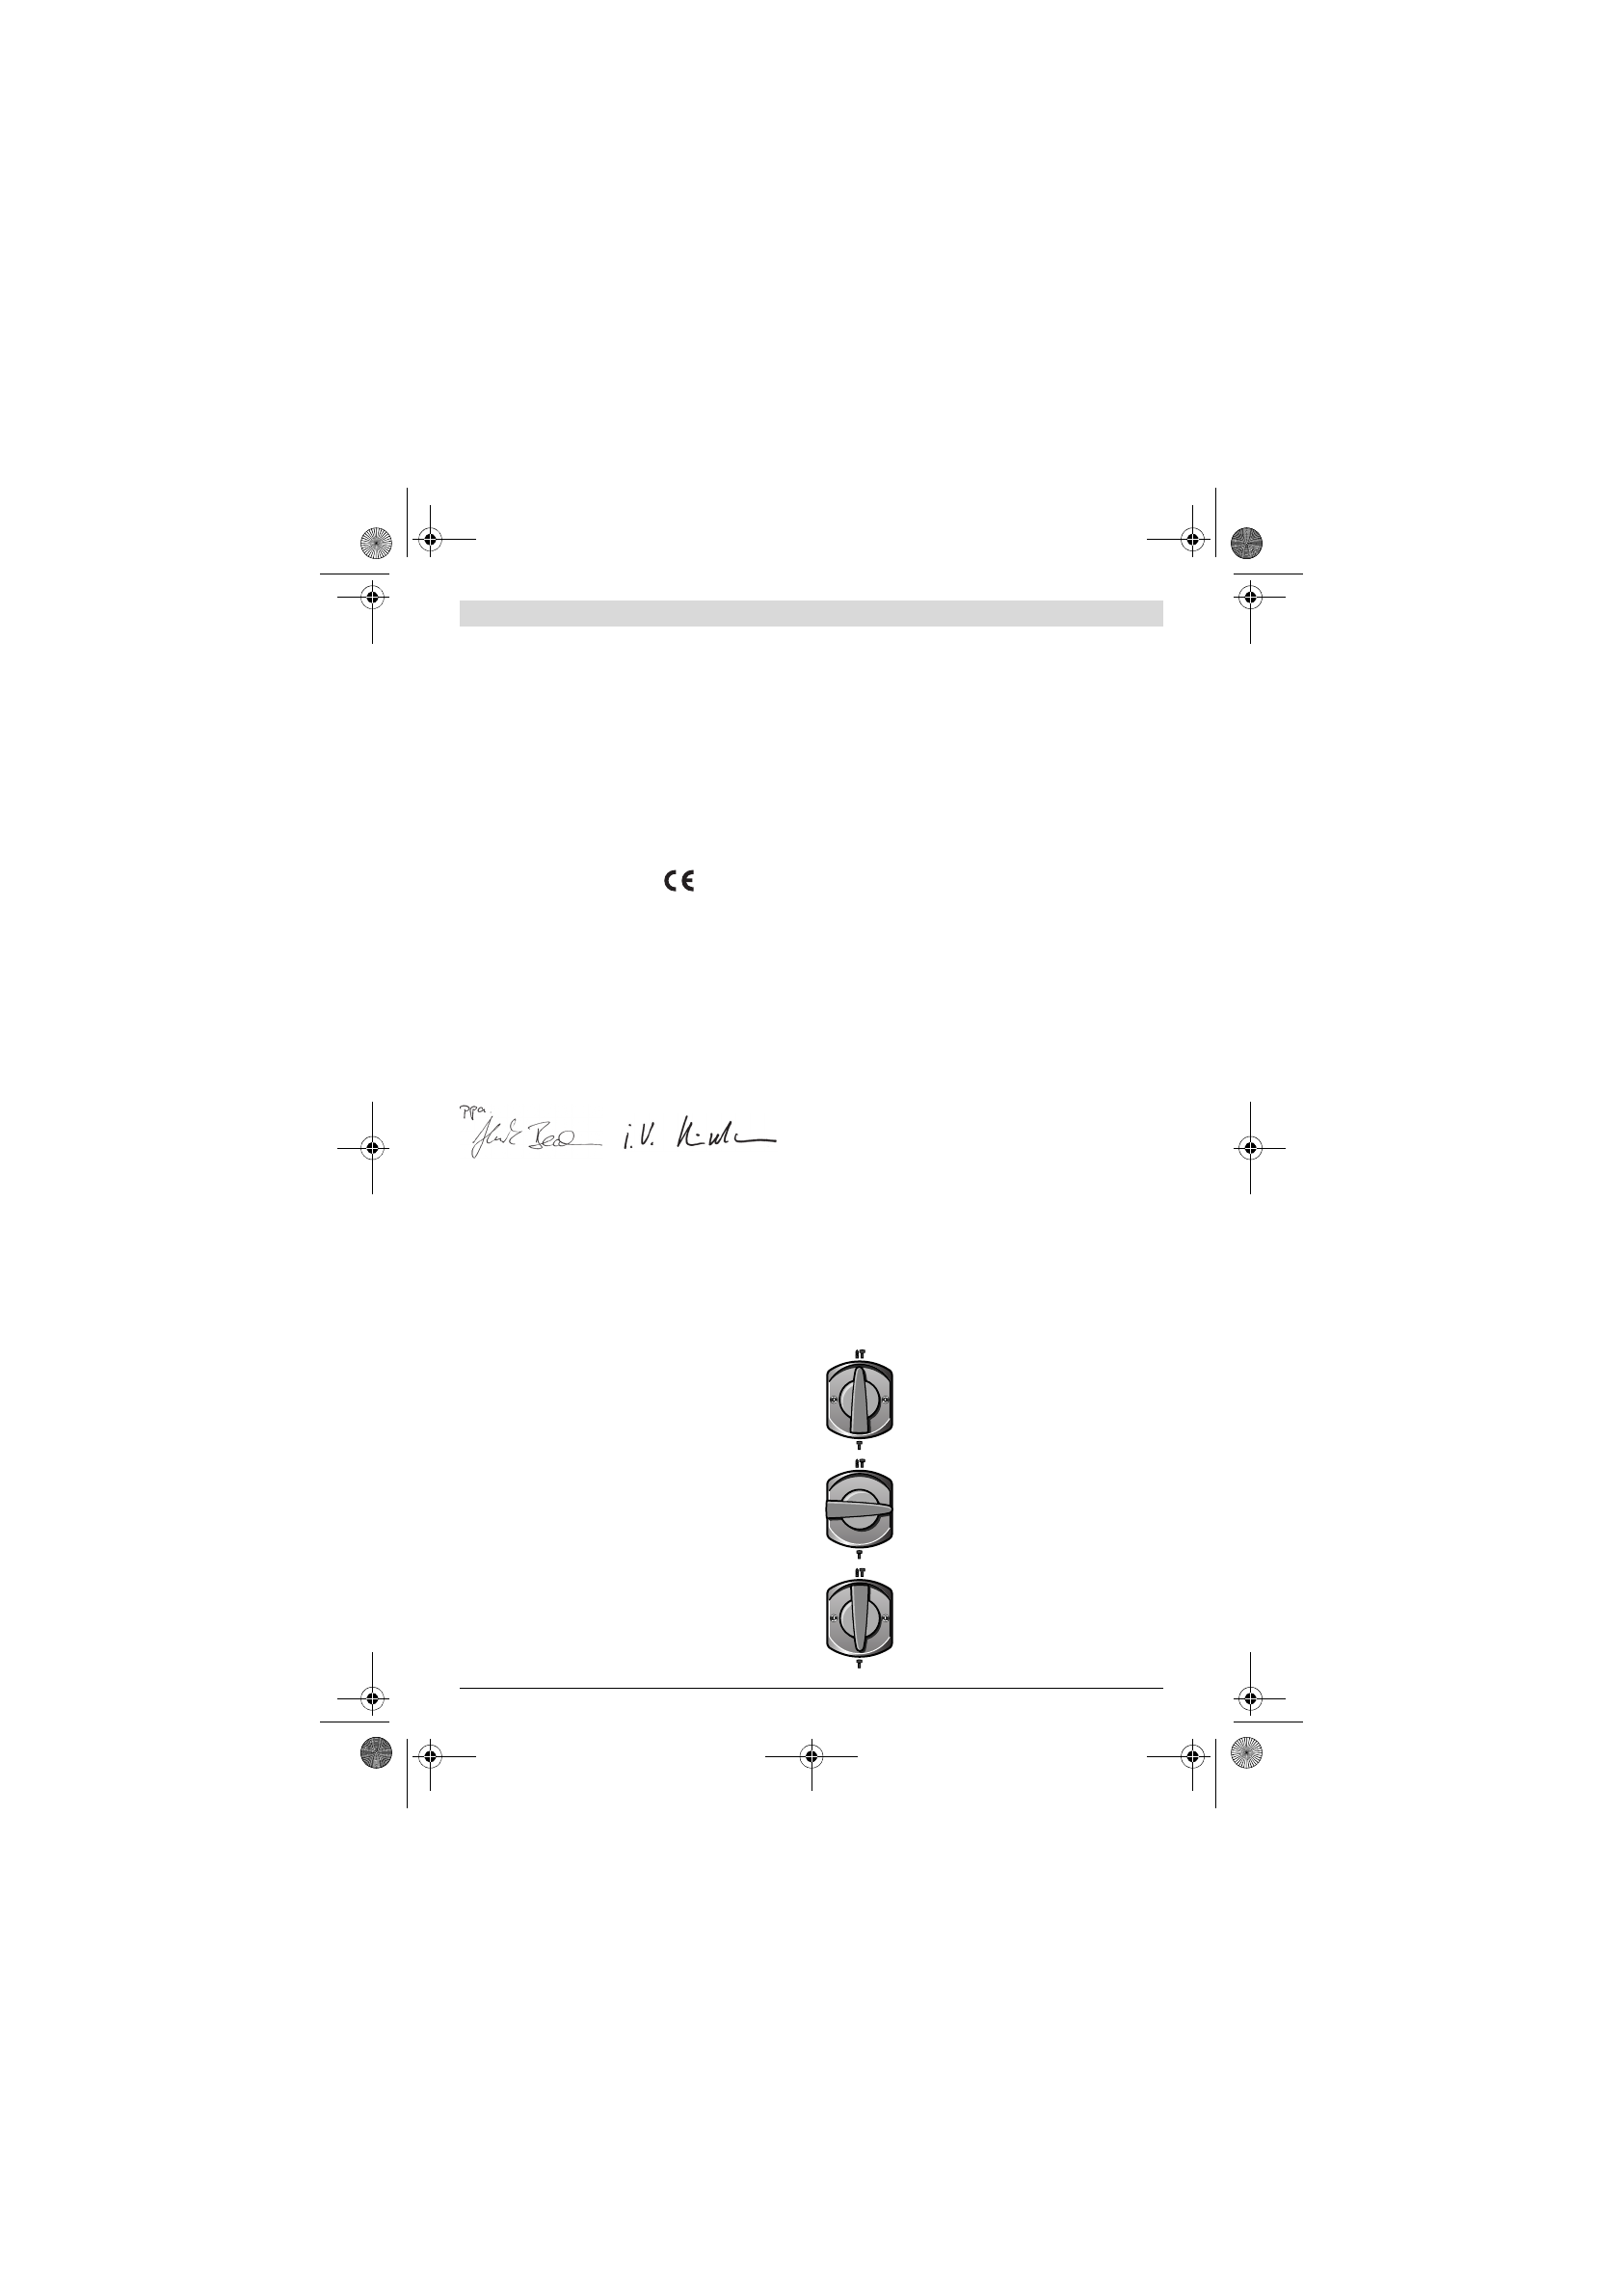
Setting the operating mode
The operating mode of the power tool is selected with the
mode selector switch
3
.
Note:
Change the operating mode only when the machine is
switched off! Otherwise, the machine can be damaged.
– Turn the mode selector switch
3
to the requested position.
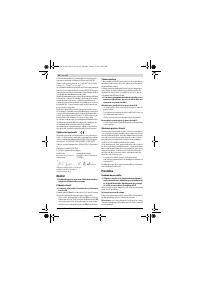
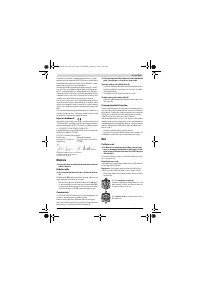
Henk Becker
Executive Vice President
Engineering
Helmut Heinzelmann
Head of Product Certification
PT/ETM9
Position for
hammer drilling
When the drilling tool does not immediately
rotate upon switching on, allow the machine
to run slowly until the drilling tool rotates.
Vario-Lock
position for adjustment of the
chiselling position
Position for
chiselling
OBJ_BUCH-1742-003.book Page 13 Thursday, January 23, 2014 9:49 AM
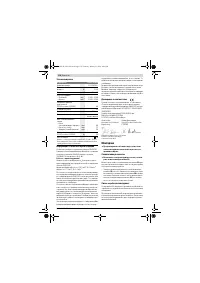
Характеристики

Остались вопросы?Не нашли свой ответ в руководстве или возникли другие проблемы? Задайте свой вопрос в форме ниже с подробным описанием вашей ситуации, чтобы другие люди и специалисты смогли дать на него ответ. Если вы знаете как решить проблему другого человека, пожалуйста, подскажите ему :)


