
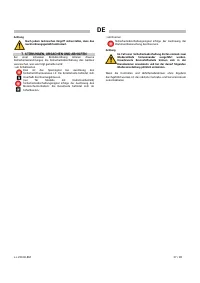
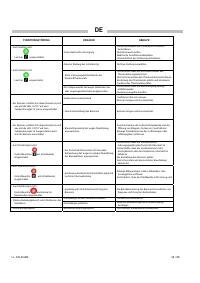
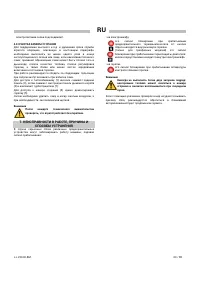
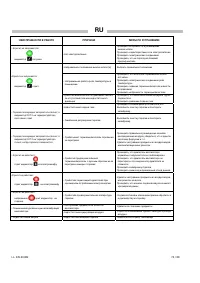
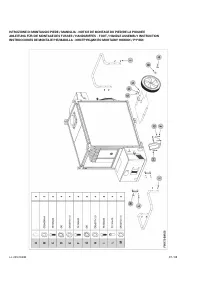
Обогреватели Ballu-Biemmedue JUMBO 185M 230V-1-50/60 Hz - инструкция пользователя по применению, эксплуатации и установке на русском языке. Мы надеемся, она поможет вам решить возникшие у вас вопросы при эксплуатации техники.
Если остались вопросы, задайте их в комментариях после инструкции.
"Загружаем инструкцию", означает, что нужно подождать пока файл загрузится и можно будет его читать онлайн. Некоторые инструкции очень большие и время их появления зависит от вашей скорости интернета.
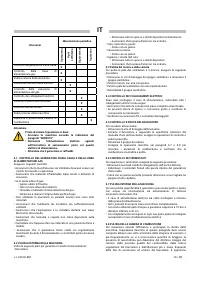


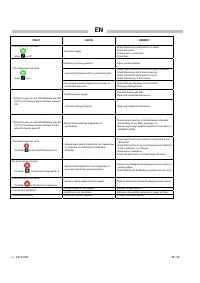


EN
L-L 239.00-BM
41 / 88
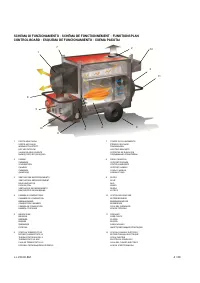
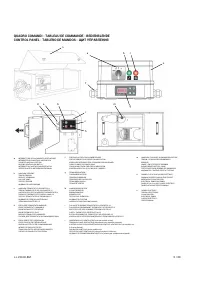
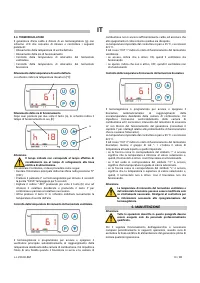
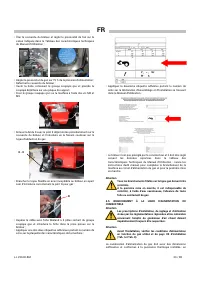
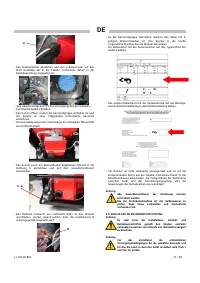
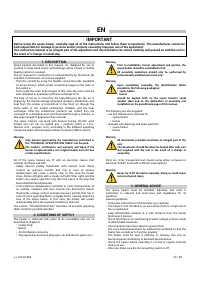
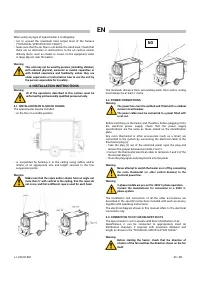
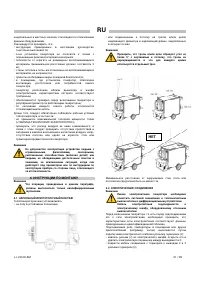
The air distribution channels can be connected by using the various
accessories supplied, placing the connector head-on to one or more
outlets chosen as needed.
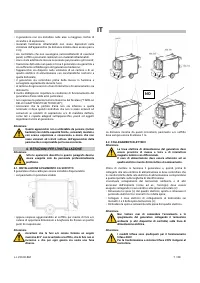
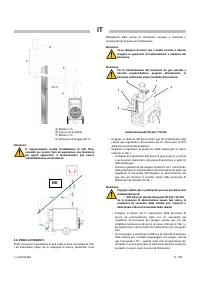
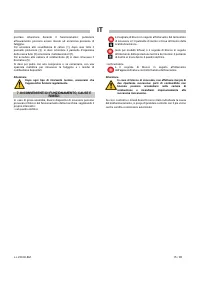
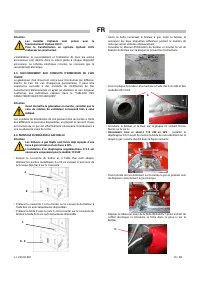
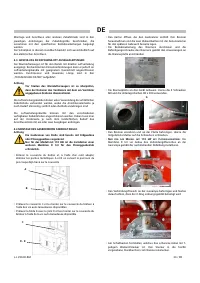
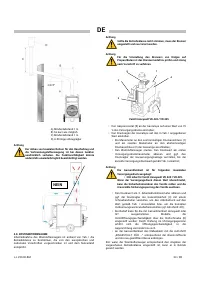
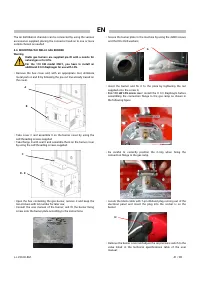
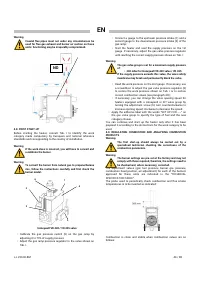
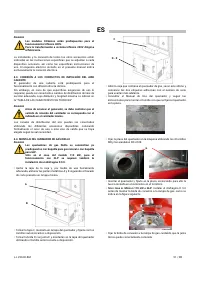
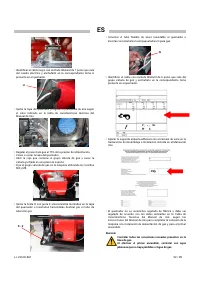
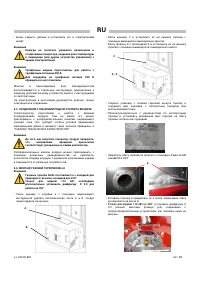
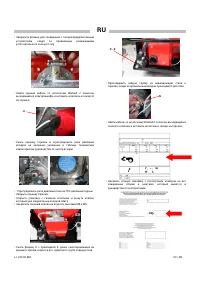
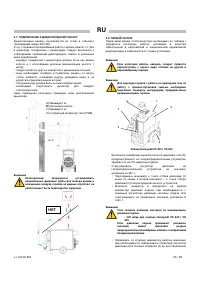
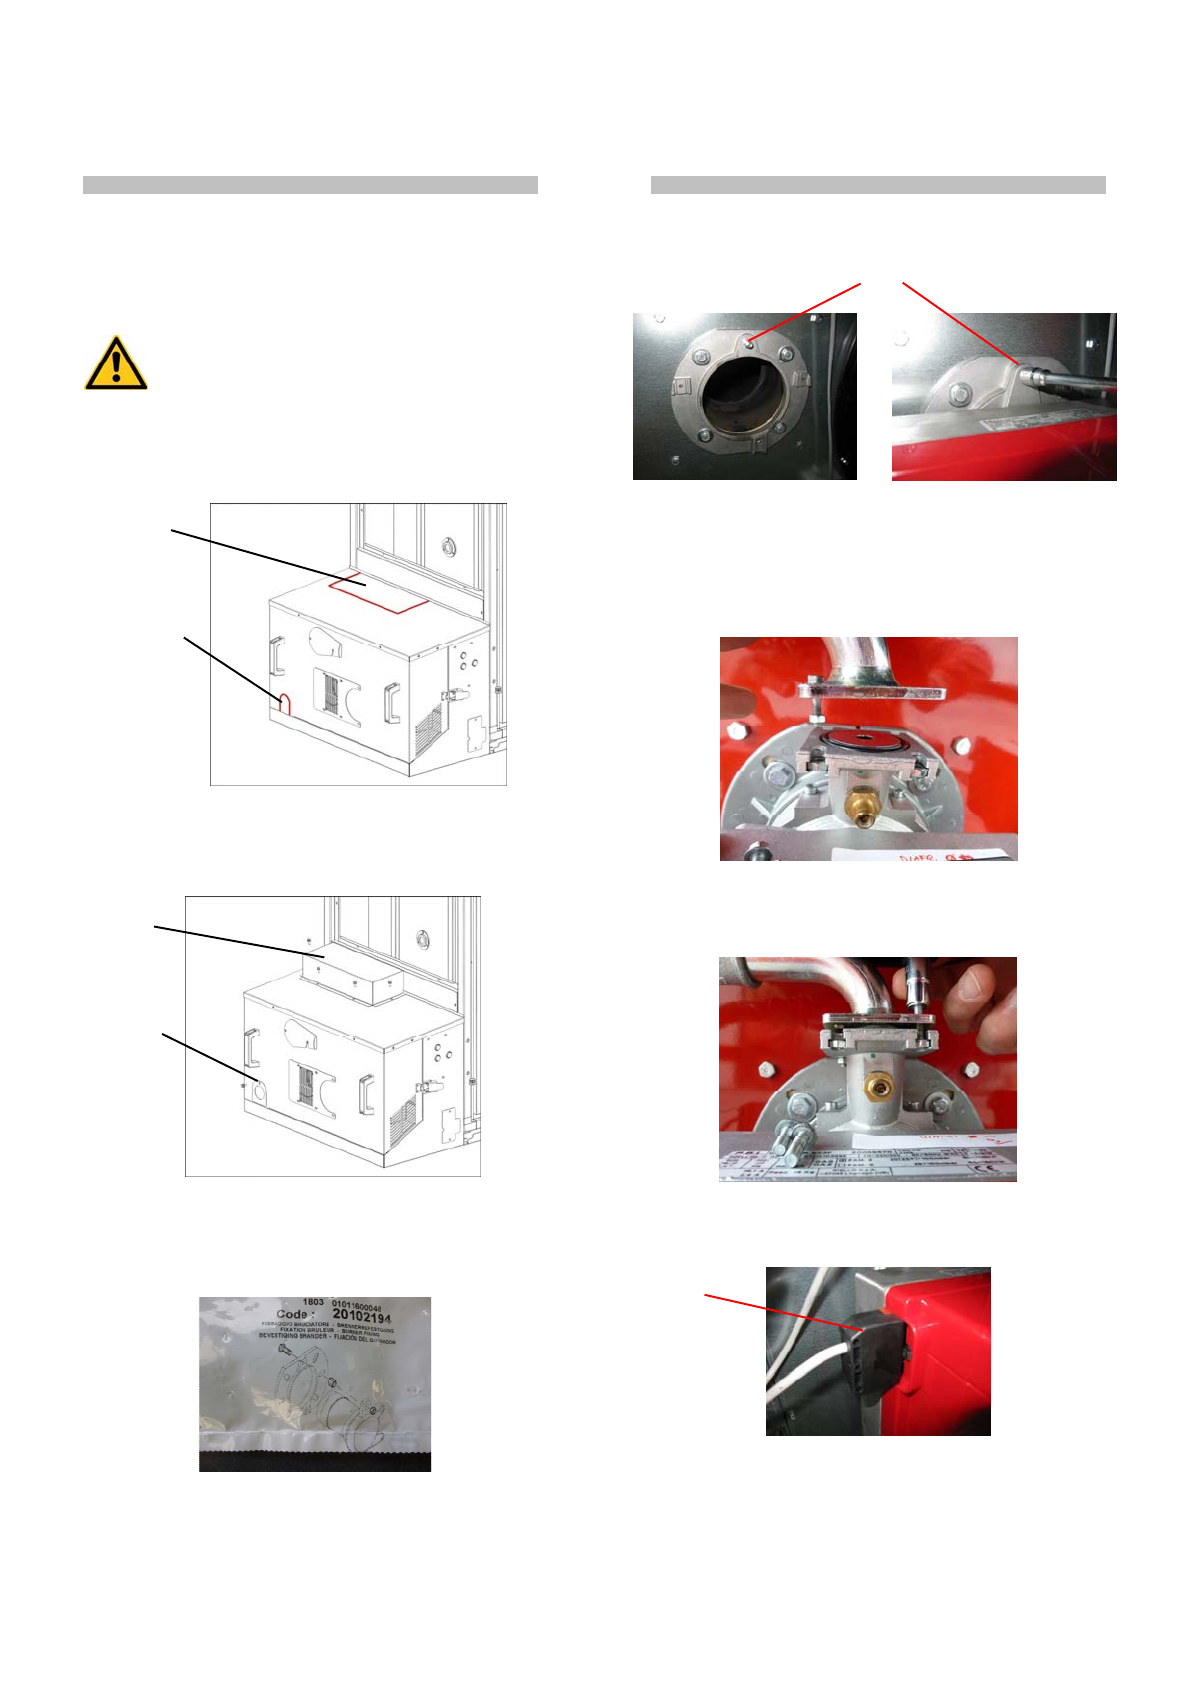
4.4. MOUNTING THE RIELLO GAS BURNER
Warning
Riello gas burners are supplied pre-fit with a nozzle for
natural gas or for LPG.
For the 110 kW model ONLY, you have to install an
additional D 9.0 diaphragm for use with LPG.
• Remove the box cover and, with an appropriate tool, eliminate
metal parts A and B by following the pre-cut line already traced on
the cover.
• Take cover C and assemble it on the burner cover by using the
self-threading screws supplied.
• Take flange D with seal E and assemble them on the burner cover
by using the self-threading screws supplied.
• Open the box containing the gas burner, remove it and keep the
two stickers with lot number for later use;
• Consult the user manual of the burner; and fit the burner fixing
screw onto the burner plate according to the instructions
• Secure the burner plate to the machine by using the 4xM8 screws
and the D8 x D24 washers;
• Insert the burner and fix it to the plate by tightening the nut
supplied onto the screw G;
•
F
OR
110
K
W
LPG
MODEL ONLY
: install the D 9.0 diaphragm before
assembling the connection flange to the gas ramp as shown in
the following figure
• Be careful to correctly position the O-ring when fixing the
connection flange to the gas ramp.
• Locate the black cable with 7-pin Wieland plug running out of the
electrical panel and insert the plug into the socket H on the
burner;
• Remove the burner cover and adjust the air pressure switch to the
value listed in the technical specifications table of the user
manual;
G
H
A
B
C
D - E


