
Мясорубки Oursson MG5025/OR - инструкция пользователя по применению, эксплуатации и установке на русском языке. Мы надеемся, она поможет вам решить возникшие у вас вопросы при эксплуатации техники.
Если остались вопросы, задайте их в комментариях после инструкции.
"Загружаем инструкцию", означает, что нужно подождать пока файл загрузится и можно будет его читать онлайн. Некоторые инструкции очень большие и время их появления зависит от вашей скорости интернета.


14
15
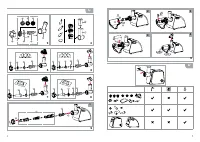
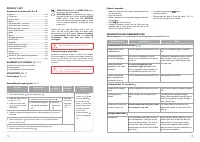
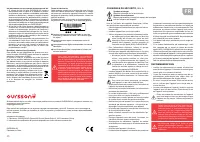
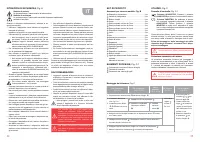
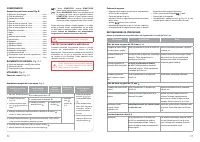
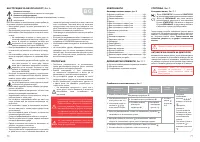
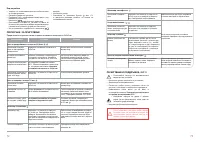
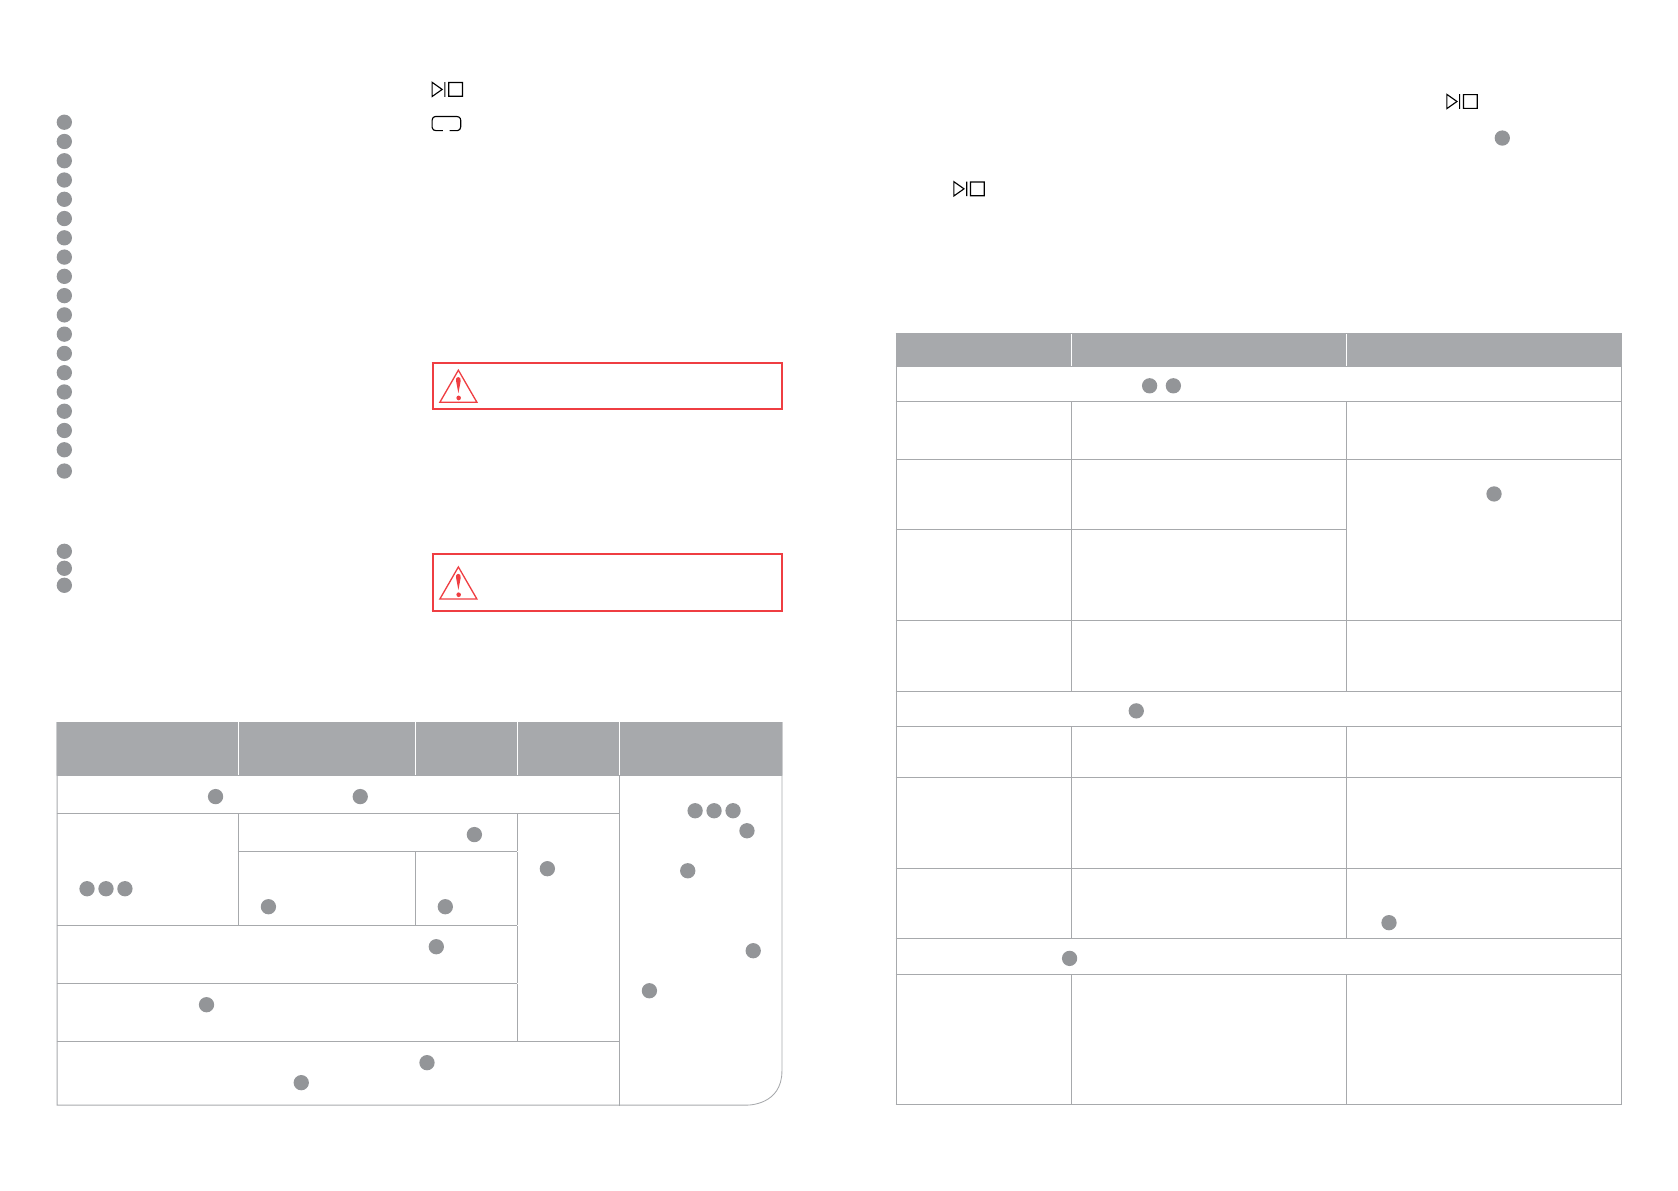
Assembling the meat grinder,
Рiс. C
For mince,
Pic. C-3
For sausages,
Pic. C-7,C-8
For
meatballs,
Pic. C-5,C-6
For juice
preparation
,
Рiс. С-9
For vegetables,
Pic. C-4
1. First, insert the screw
10
into the cutting block
3
.
1. Insert the required
nozzle
14
,
15
,
16
into
the cutting block
18
.
2.
Secure the cutting
block
18
in the meat
grinder, turn counter-
clockwise and lock
until it clicks.
3. Place the pusher
17
into the cutting block
18
.
2. Install the blade onto the
screw. Pic. C-2.
3. Install one of the disks
5
,
6
,
7
onto the screw
with blades.
2. Install the screw onto the separator
13
.
2. Assemble
the nozzle
19
accord-
ing to Pic.
C-9.
3. Install onto the separator
the required attachment
11
.
3. Install the
locking ring
12
.
4. Tighten the assembled cutting block with a locking attachment
8
, turning it
clockwise.
5. Install cutting block
3
in the meat grinder, turn it counterclockwise
and lock until it clicks.
6. Connect the opening of the cutting block with the filling tray
2
.
7. Place the pusher 1 into the filling tray
1
.
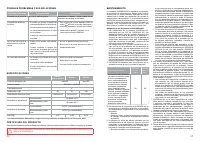
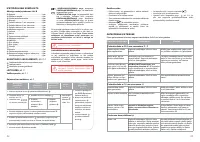
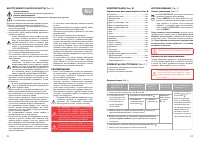
PRODUCT SET
Accessories for each model. Рiс. В
1
Pusher
................................................................ 1
pc
.
2
Filling tray
........................................................... 1
pc
.
3
Cutting block
....................................................... 1
pc
.
4
Body
................................................................... 1
pc
.
5
Perforated disk 7 mm holes
................................ 1
pc
.
6
Perforated disk 5 mm holes
................................ 1
pc
.
7
Perforated disk 3 mm holes
................................. 1
pc
.
8
Locking attachment
............................................ 1
pc
.
9
Blade
.................................................................. 1
pc
.
10
Screw
.................................................................. 1
pc
.
11
Sausage attachment
..................................................
1
pc
.
12
Locking ring
........................................................ 1
pc
.
13
Separator
........................................................... 1
pc
.
14
Grater attachment (Sml)
..................................... 1
pc
.
15
Grater attachment (Big)
...................................... 1
pc
.
16
Slicer attachment
................................................ 1
pc
.
17
Pusher
................................................................ 1
pc
.
18
Cutting block
....................................................... 1
pc
.
19
Nozzle for juicing soft fruits/vegetables
.............. 1
pc
.
Instructions manual
............................................ 1
pc
.
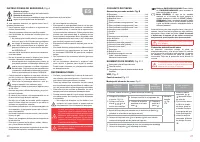
ELEMENTS OF DESIGN,
Рiс. С-1
1
2
3
Button to remove the cutting block
Control panel
Compartment for storing nozzles
UTILIZATION,
Рiс. C
Control panel,
Рiс. C-1
▼
re
-
START/STOP button.
Press
START/STOP
button
to start the meat grinder engine.
-
REVERSE button.
If something got stuck in
the meat grinder, turn it off by pressing
START/
STOP
button. Press and hold
REVERSE
button, so that the cutting screw begin to rotate
into the opposite direction, pushing the stuck
product out.
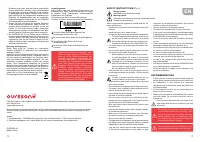
Before first use, wipe the device with a soft, dry
cloth. The rest of the parts wash with warm water
and detergent. Dry all the parts.
Before assembling
or disassembling the device and / or removing
attachments, make sure that the device is
unplugged
.
The blades are very sharp, be careful.
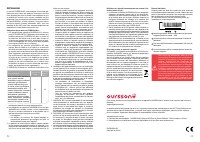
Automatic engine protection
Automatic protection works to protect the engine
from overheating. In case when automatic protection
turned on, the device will stop and buttons on the
control panel won’t work. Let the device cool for 10
minutes.
Maximum time of continued use of the de
-
vice – 5 minutes. The interval between the
cycles should be 10 minutes.
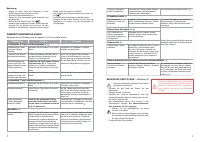
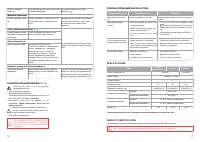
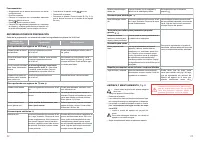
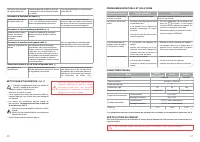
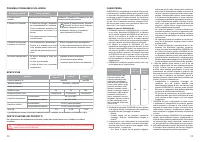
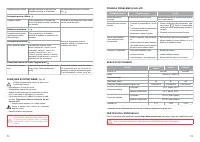
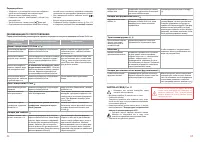
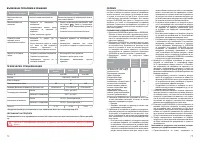
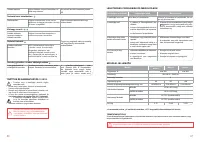
PREPARATION RECOMMENDATIONS
Before preparation it is recommended to cut the ingredients in pieces 3x3x3 cm.
Operation name
Ingredients
Note
Perforated disk 3/5,0 mm holes
7
,
6
Preparing mince from
meat/fish/poultry
Cut the ingredients into pieces 3x3x3 cm. Mince for meatballs, fillings, casseroles
etc.
Grinding fresh fruits,
berries and vegetables
Peel fruits or vegetables, remove
seeds. Cut the ingredients into pieces
3x3x3 cm
To obtain a homogeneous puree, use the
disk with holes 3 mm
7
, the resulting
mass rub through a sieve. May be used
for baby food.
Grinding boiled/fried
vegetables, fruits, meat/
fish/poultry
DO not grind ingredients with
temperature higher than 95
°
C.
Peel
fruits or vegetables, remove seeds. Cut
the ingredients into pieces 3x3x3 cm.
Preparing snacks like
paste, vegetable and
mushroom caviar etc.
Cut the ingredients into pieces 3x3x3 cm. After grinding, stir the dish.
Perforated disk 7,0 mm holes
5
Preparation of chopped
mince
Cut the ingredients into pieces 3x3x3 cm. Mince for lula, steaks, stuffings, sausages
etc.
Forming dough for
cookies
Before forming, cool the dough in the
frige.
The dough can be prepared using a
grinder, push ingredients several times to
obtain a homogeneous dough. Suitable
disk 3 and 5.0 mm.
Grinding nuts, dried fruits,
crackers, cookies etc.
Remove seeds from dried fruits, shells
and partitions in the nuts.
Pie fillings, fillers for muesli bars, fruit
pastes and sweets. You can use 5,0 mm.
disk
6
.
Sausage attachment
11
Sausages etc.
Cut the ingredients into pieces 3x3x3 cm,
then marinate them. Thoroughly stir the
mince. Use natural casing. Tie a knot at
the end of the casing and pull it to the
opposite side of the nozzle. Dose stuffing
when filling.
When filling the casing, make sure it isn’t
stretching to hard, or they may blow by
heat treatment. The sausages may be
formed from prepared mince and from
pieces of meat. Follow the instructions on
proper device assemble.
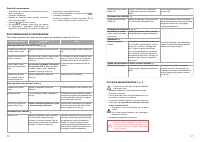
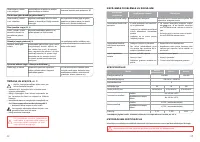
Order of operation
• Make sure that the meat grinder is assembled in one
of configurations.
• Plug in the device.
• Place a container with a required capacity under the
cutting block.
• Press
to start the motor.
• Prepared ingredients place into the filling tray and
gradually add to meat grinder with the help of the
pusher, do not push with force.
• To stop the device press
once.
• Unplug the device.
• Disassemble the device. Press
1
, button, Pic. C-1
and turn the cutting block clockwise.
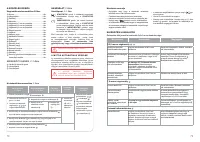
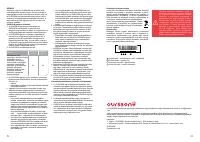
Содержание
- 33 РЕКОМЕНДАЦИИ ПО ПРИГОТОВЛЕНИЮ; Наименование; После чистки насухо протирайте металли
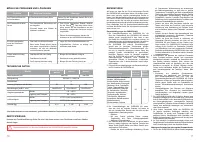
- 34 ВОЗМОЖНЫЕ НЕПОЛАДКИ И СПОСОБЫ ИХ УСТРАНЕНИЯ; Возможная проблема; ТЕхНИчЕСКИЕ хАРАКТЕРИСТИКИ; Модель; СЕРТИФИКАЦИЯ ПРОДУКЦИИ; Информацию о сертификате соответствия смотрите на сайте; СЕРВИСНОЕ ОБСЛУЖИВАНИЕ; Условия Гарантийных обязательств OURSSON AG:
- 35 sson


