Материнские платы GIGABYTE GA 8I865GVMF 775 - инструкция пользователя по применению, эксплуатации и установке на русском языке. Мы надеемся, она поможет вам решить возникшие у вас вопросы при эксплуатации техники.
Если остались вопросы, задайте их в комментариях после инструкции.
"Загружаем инструкцию", означает, что нужно подождать пока файл загрузится и можно будет его читать онлайн. Некоторые инструкции очень большие и время их появления зависит от вашей скорости интернета.

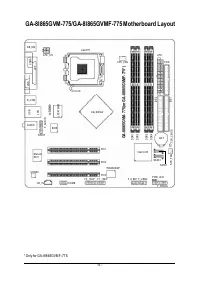


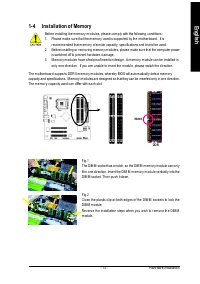


GA-8I865GVM (F)-775 M otherboard
- 12 -
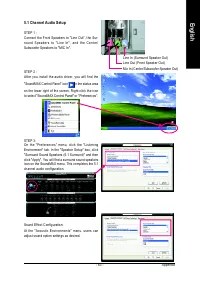
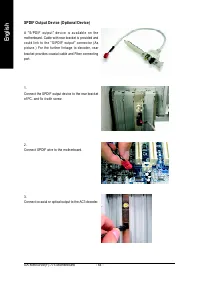
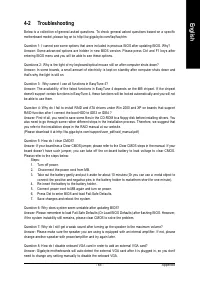
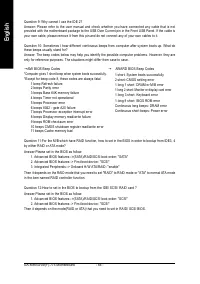
English
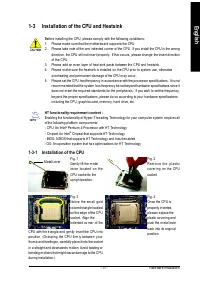
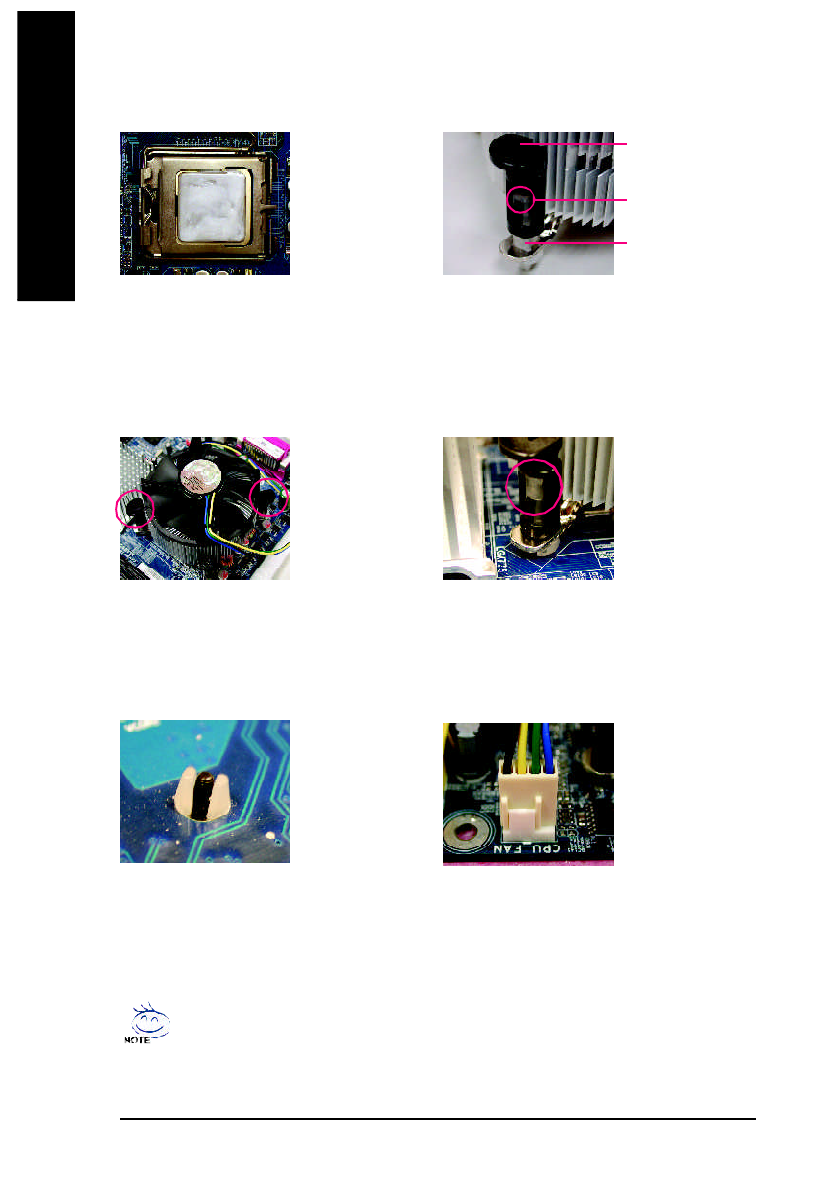
1-3-2 Installation of the Heatsink
Fig.1
Ple ase apply an e ven layer of heats ink p aste on
the surfac e of th e installed CPU.
The heatsink m ay adhere to the CPU as a res ult of harden ing of the hea tsink paste. To pre vent
such an occurrence, it is suggested that either therm al tape rather than heat sink paste be used for
heat dissipation or using extrem e care when rem ov ing the heatsink.
Fig. 6
Fina lly, plea se atta ch th e po we r c on ne cto r of the
h ea ts in k to th e CPU fan h ea d er loc a te d o n th e
m otherboard.
Fig. 3
Pla ce th e hea tsink atop the CPU and m ake s ure
th e p u s h p i n s a i m to th e p in h o le o n th e
m o the r b o a r d . Pr e s s ing d o wn th e p u s h p in s
diagonally.
Fig. 2
(Tur ning the push p in along the direction of arro w is
to rem ove the heatsink, on the contrary, is to install.)
Ple ase no te th e dire ction of ar row sign on the m ale
push pin doesn't face inwards before installation. (This
instruction is only for Inte l boxed fan)
Fig. 4
Please m ake sure the M ale and Fem ale push pin are
joined closely . (fo r detailed installa tion instr uctio ns,
please refer to the heatsink installation section of the
user manual)
M ale Pus h P in
Female Push P in
The top of F em al e Push P in
Fig. 5
Plea s e c h e ck the b ac k of m oth e rb o a rd a fte r
installing. If th e push pin is inserte d as the picture,
the installatio n is com p lete.


