Магнитолы Clarion CX609E - инструкция пользователя по применению, эксплуатации и установке на русском языке. Мы надеемся, она поможет вам решить возникшие у вас вопросы при эксплуатации техники.
Если остались вопросы, задайте их в комментариях после инструкции.
"Загружаем инструкцию", означает, что нужно подождать пока файл загрузится и можно будет его читать онлайн. Некоторые инструкции очень большие и время их появления зависит от вашей скорости интернета.


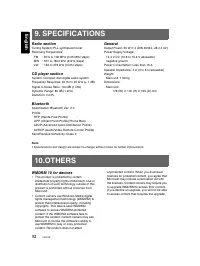

English
22
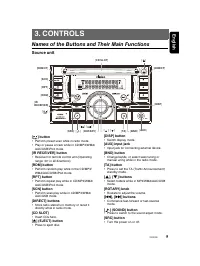
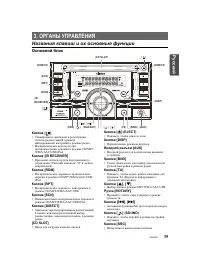
CX609E
Operations Common to Each Mode
●
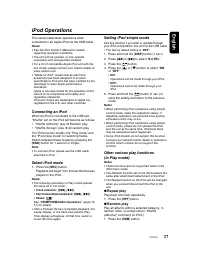
Setting the contrast
You can adjust the display contrast to match the
angle of installation of the unit.
∗
The factory default setting is “
10
”.
(Adjustment level: 1 to 16)
2-1. Select “
CONTRAST
”.
3-1. Press the [
w
] or [
z
] button to adjust the
contrast.
●
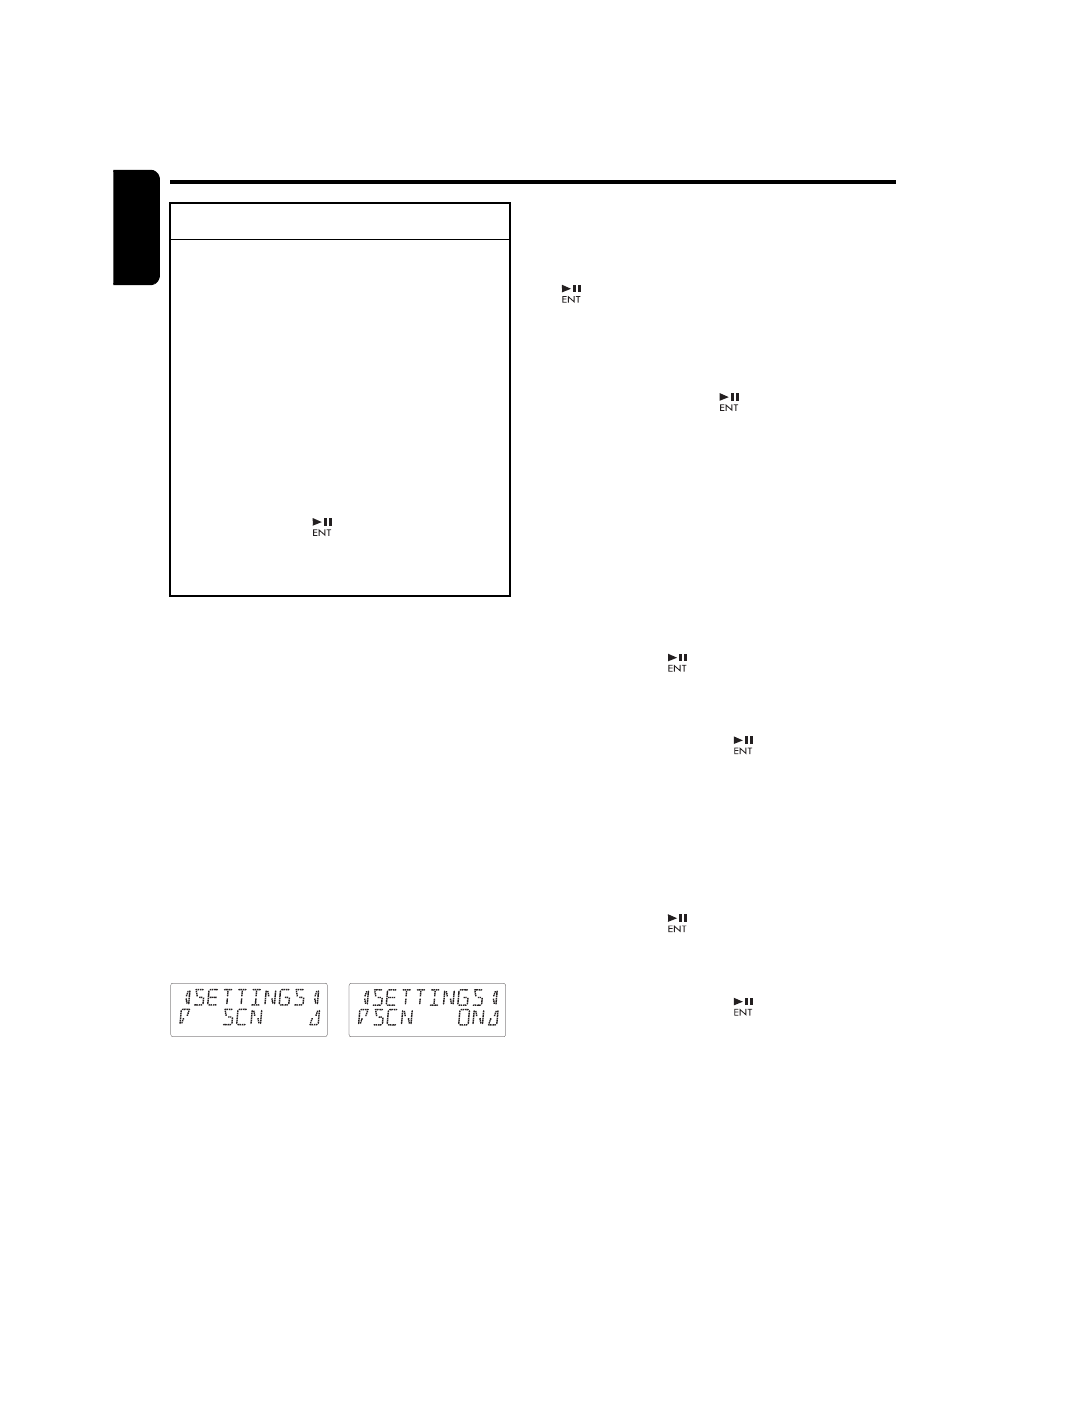
Displaying the settings
The number of indicator of this unit decreases,
you can see the state of current settings at any
operation mode.
2-1. Select “
SETTINGS
”.
3-1. Press the [
w
] or [
z
] button to display the
state of current settings.
∗
When the setting is selected, after 1 second
the current state will be displayed.
●
Setting the button illumination
2-1. Select “
COLOR
”.
3-1. Press the [
w
] or [
z
] button to select the
color type.
•
Setting COLOR SCAN mode
As selecting “
COLOR SCAN
”, the color
automatically changes.
∗
The factory default setting is “
COLOR SCAN
”.
∗
After 3 seconds the color changes to the other.
•
Setting USER mode
The factory default setting is “
RED 8
” (red),
“
GREEN 8
” (green), “
BLUE 8
” (blue).
As selecting “
USER COLOR 1, 2, 3
”, press the
[
] button to enter the setting.
1. Press the [
x
] or [
v
] to select “
RED
”,
“
GREEN
” or “
BLUE
”.
2. Press the [
w
] or [
z
] button to select from 0
to 8.
3. Press and hold the [
] button for 2 seconds
or longer to store the color in memory and
cancel the setting mode.
●
Setting the anti-theft function
(CATS)
“CATS” is the acronym of “
Clarion Anti-Theft
System
”. When you set a PIN code (called as
“
Personal Code
”), a theft is prevented by
disabling the operation of the unit at the theft.
•
S
etting your Personal Code
2-1. Select “
CODE
”.
3-1. Press the [
] button.
The set personal code screen appears.
4-1. Press the [
DIRECT
] buttons [1]-[6] to enter
your desired 4-digit Personal Code.
5-1. Press and hold the [
] button (2 sec.)
The entered Personal Code will be set, and
it will return to the previous screen.
Note:
• Write down your Personal Code in case you
forget it.
•
Erasing the Personal Code
2-1. Select “
CODE
”.
3-1. Press the [
] button.
The ERASE PERSONAL CODE screen
appears.
4-1. Enter the Personal Code currently.
5-1. Press and hold the [
] button (2 sec.) or
longer.
Enter a Personal Code mode is cancelled.
•
When the ENTER PER
S
ONAL
CODE screen appears
The ENTER PERSONAL CODE screen will be
displayed when turning the ACC power on after
performing the following operations:
• The car battery was replaced.
• The backup power was cut off.
• The [
RESET
] button was pressed.
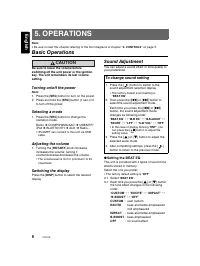
To change adjustment setting
1. Press and hold the [
DISP
] button (1 sec.)
to switch to the adjustment selection
display.
2. Press the [
x
] or [
v
] button to select
the “
item name
”.
“
CONTRAST
”
↔
“
SETTINGS
”
↔
“
COLOR
”
↔
“
CODE
”
↔
“
SCRN SVR
”
↔
“
MESSAGE INPUT
”
↔
“
SCROLL
”
↔
“
DIMMER
”
↔
“
BLINKLED
”
↔
“
A-CANCEL
”
↔
“
INT-SW
”
↔
“
REAR/
S-W
”
↔
“
SYSTEM CHECK
”
3. Press the [
w
] or [
z
] button to select the
“
desired setting value
”.
∗
In the case of display blinking “
ENT
”, you
can press the [
] button to adjust the
setting value.
∗
After completing settings, press the [
DISP
]
button to return to the previous mode.
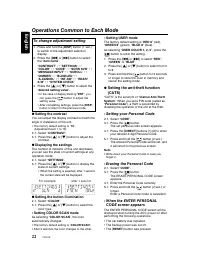
For example:
after 1 second:

