Измерительные приборы Bosch GLM 150 Prof - инструкция пользователя по применению, эксплуатации и установке на русском языке. Мы надеемся, она поможет вам решить возникшие у вас вопросы при эксплуатации техники.
Если остались вопросы, задайте их в комментариях после инструкции.
"Загружаем инструкцию", означает, что нужно подождать пока файл загрузится и можно будет его читать онлайн. Некоторые инструкции очень большие и время их появления зависит от вашей скорости интернета.


30
| English
1 609 929 T67 | (3.7.09)
Bosch Power Tools
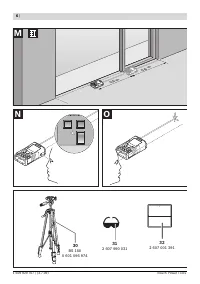
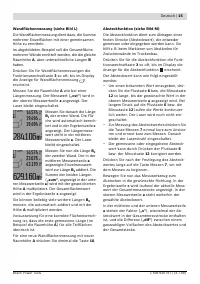
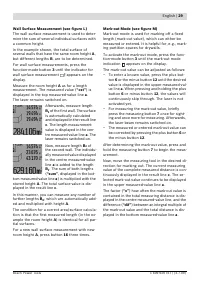
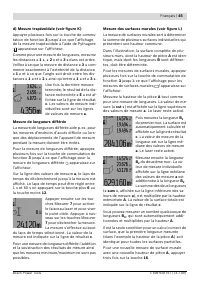
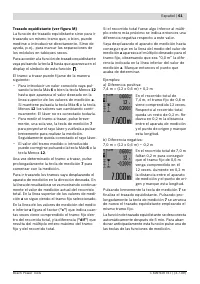
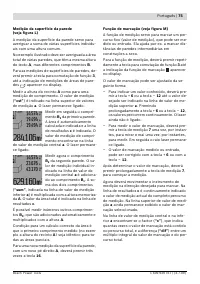
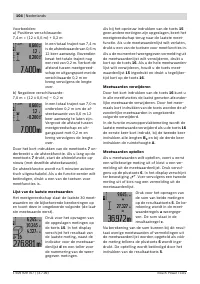
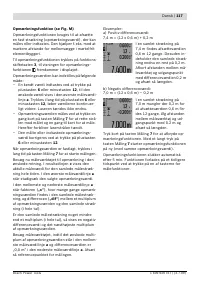
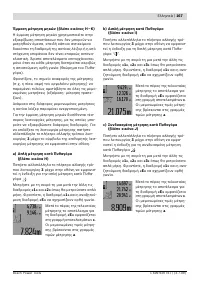
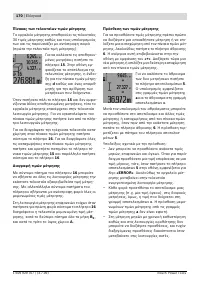
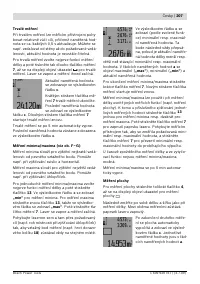
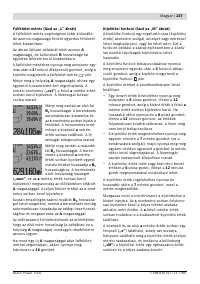
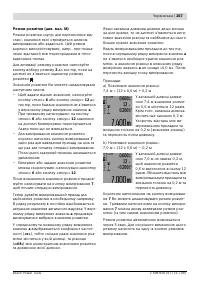
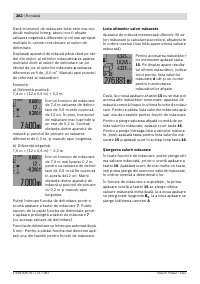
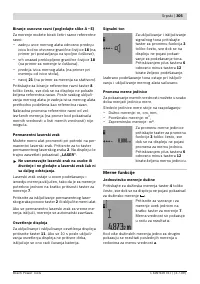
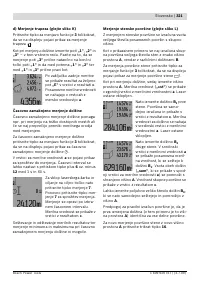
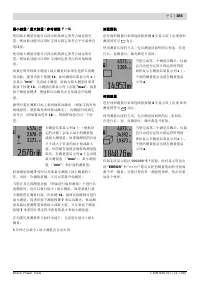
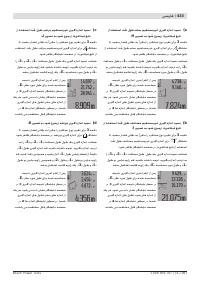
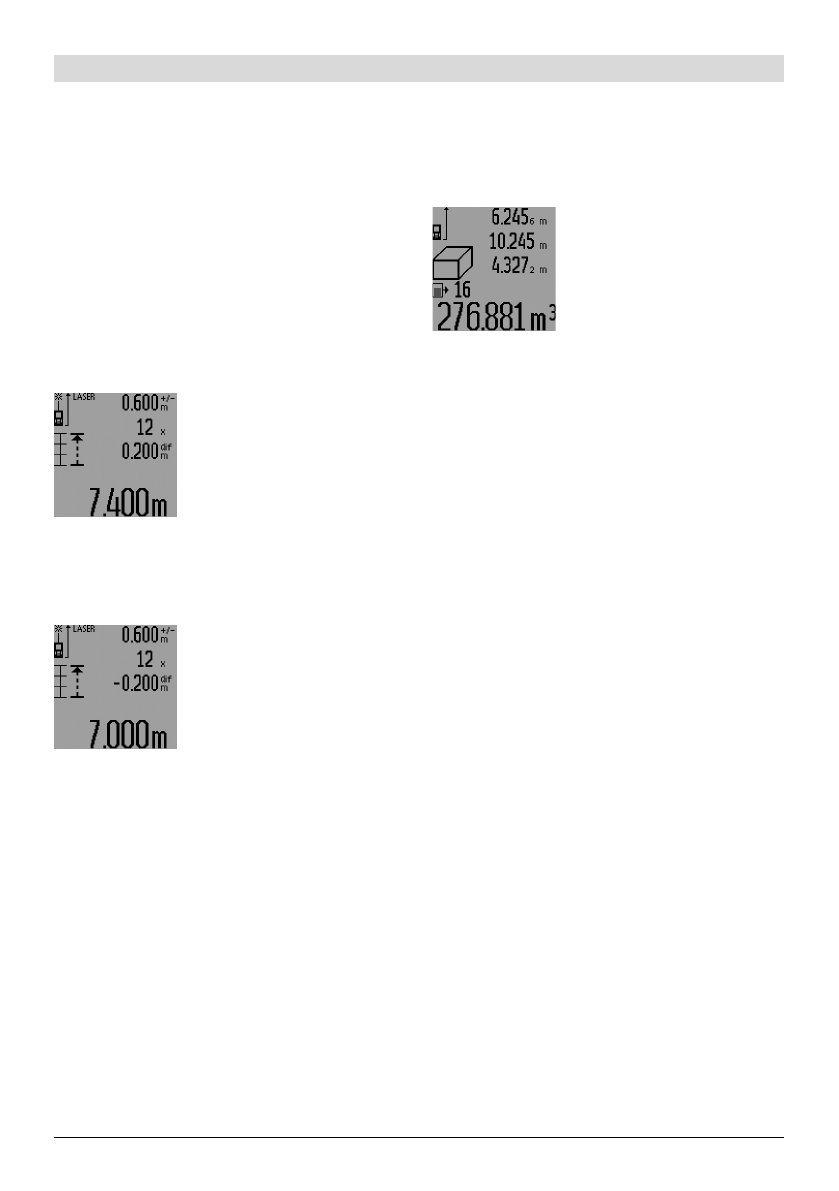
When the total measuring distance is somewhat
less than an integral multiple, then a negative
difference and the next higher multiple of the
mark-out value are displayed.
Move the measuring tool until the desired multi-
ple of the mark-out value is displayed in the cen-
tre measured-value line
a
and the difference in
the bottom measured-value line is
a
“0.0 m”.
Then mark off the reference point of the meas-
urement.
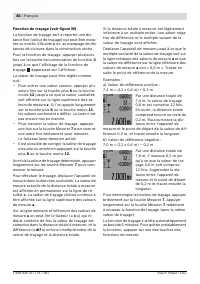
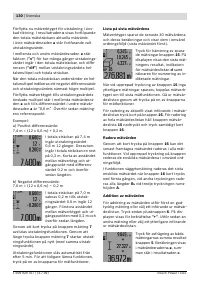
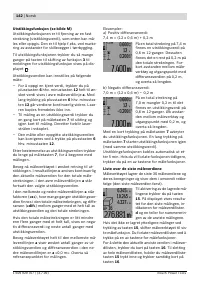
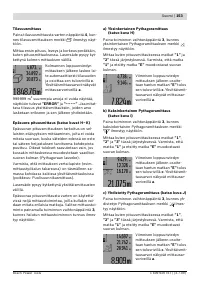
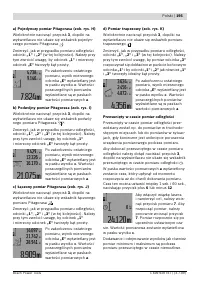
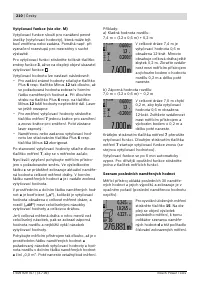
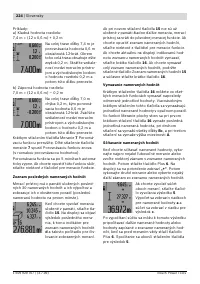
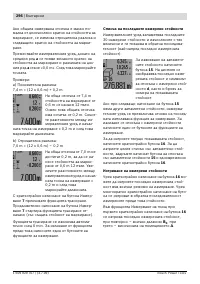
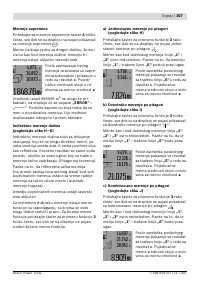
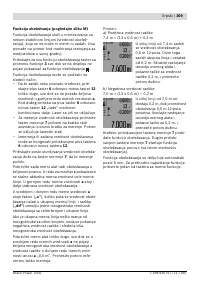
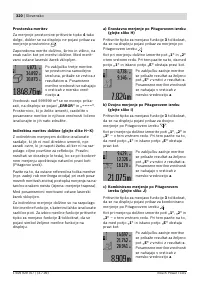
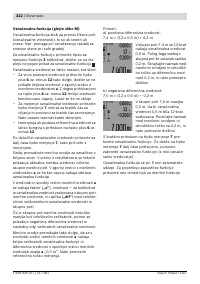
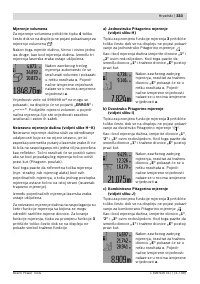
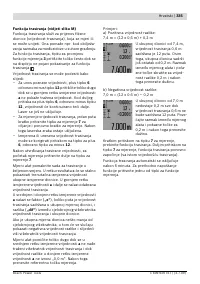
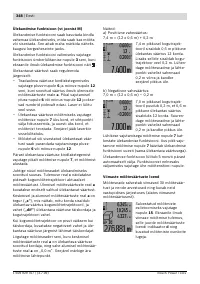
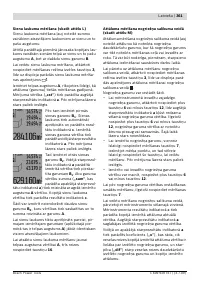
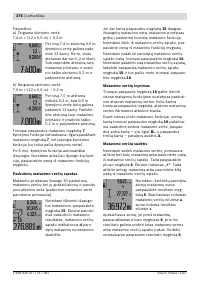
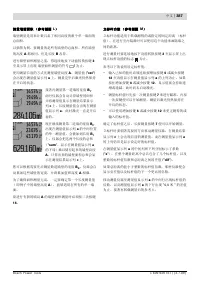
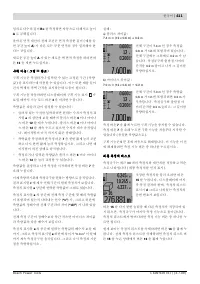
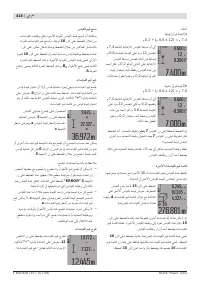
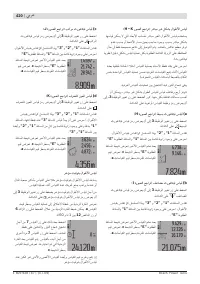
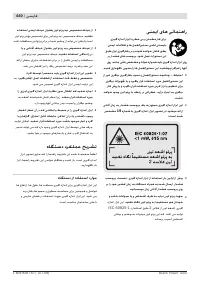
Examples:
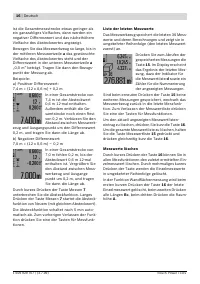
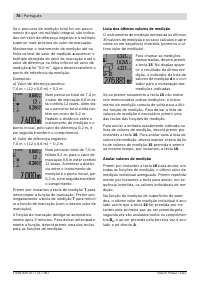
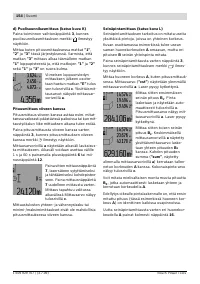
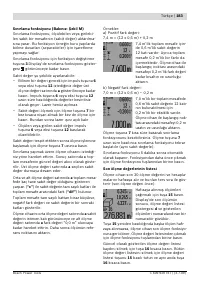
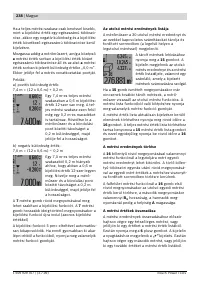
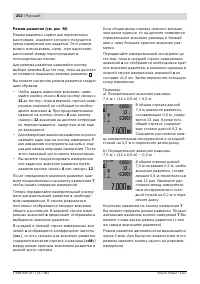
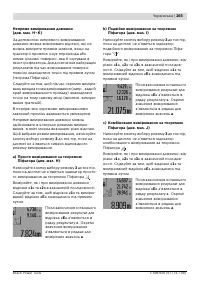
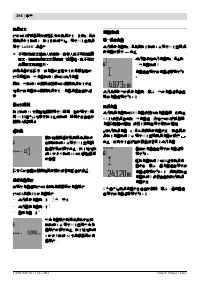
a) Positive difference:
7.4 m = (12 x 0.6 m) + 0.2 m
The mark-out value 0.6 m is
contained 12 x in a total dis-
tance of 7.4 m. Additionally,
the total distance contains a
rest of 0.2 m. Reduce the dis-
tance between the measuring
tool and the starting point by
0.2 m difference, and then
mark off the length.
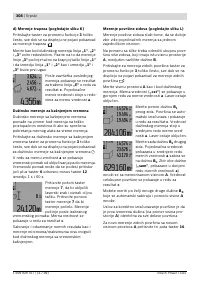
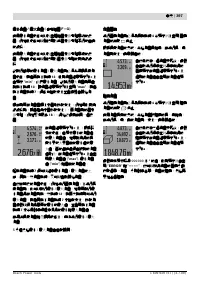
b) Negative difference:
7.0 m = (12 x 0.6 m) – 0.2 m
For a total distance of 7.0 m,
0.2 m are missing for the
mark-out value 0.6 m to be
contained 12 x. Increase the
distance between the meas-
uring tool and the starting
point by 0.2 m difference,
and then mark off the length.
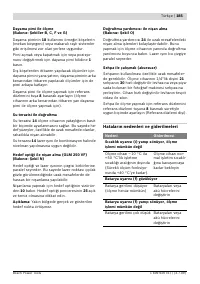
Briefly pressing measuring button
7
ends the
mark-out mode. Pressing and holding the meas-
uring button
7
restarts the mark-out mode anew
(with the same mark-out value).
The mark-out mode automatically switches off
after 5 min. For prior exiting of the function,
press one of the measuring-mode buttons.
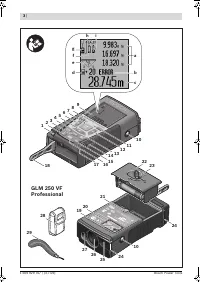
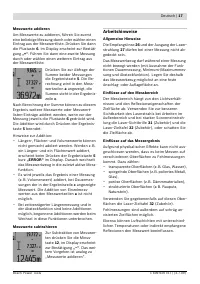
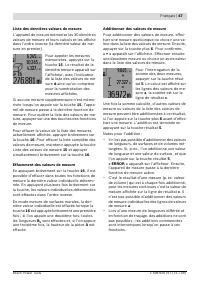
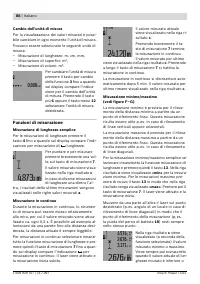
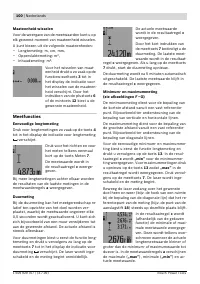
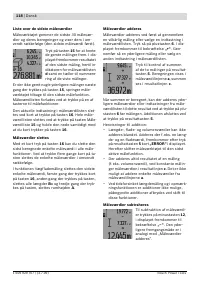
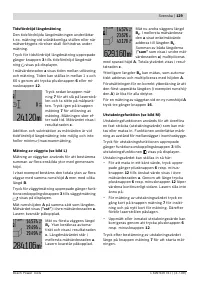
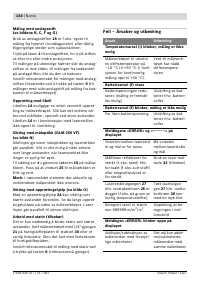
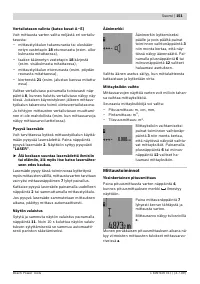
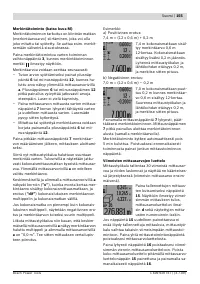
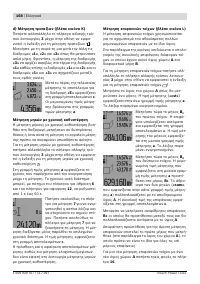
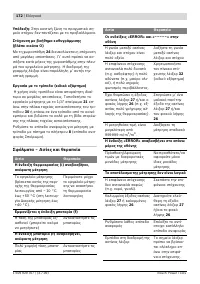
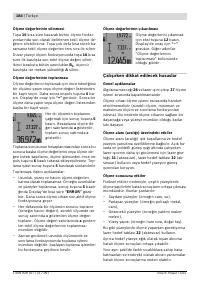
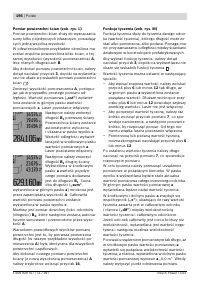
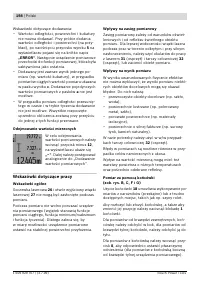
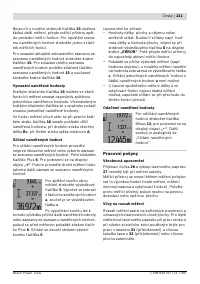
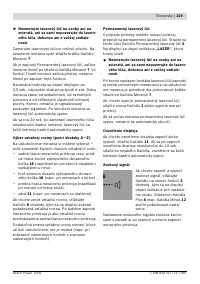
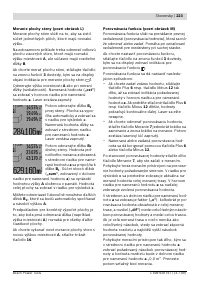
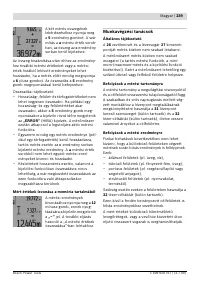
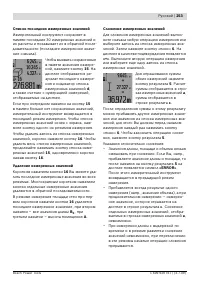
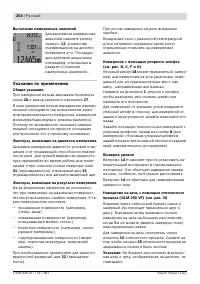
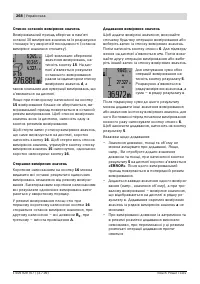
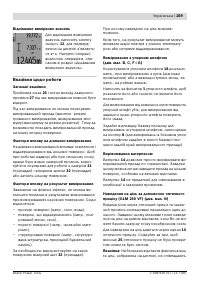
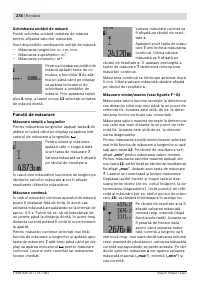
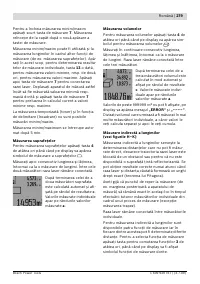
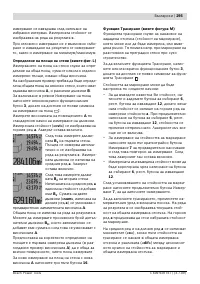
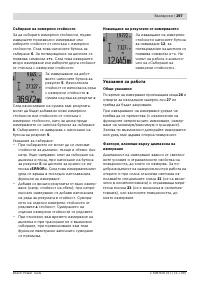
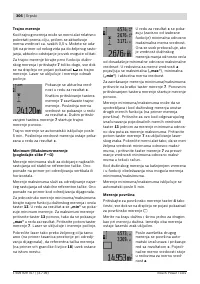
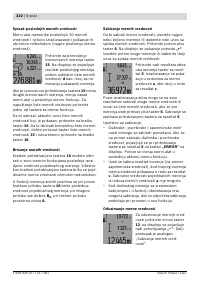
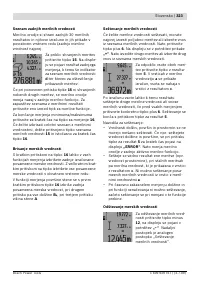
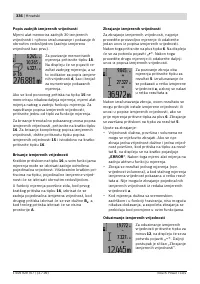
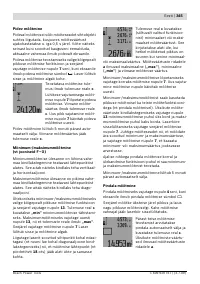
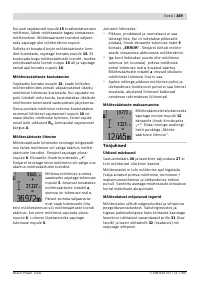
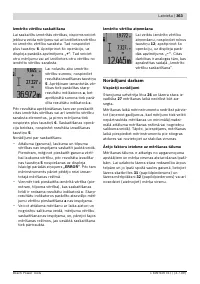
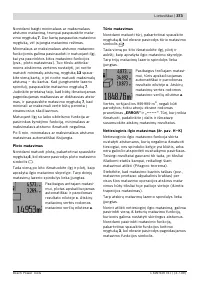
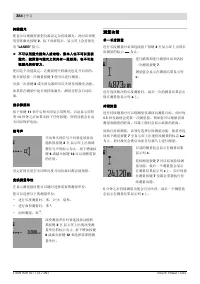
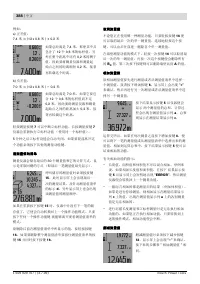
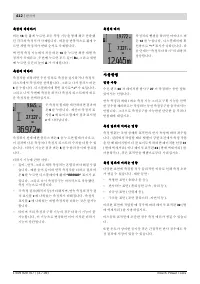
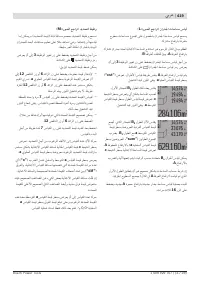
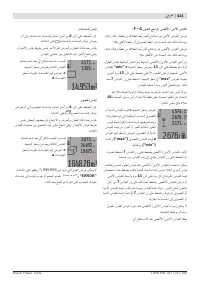
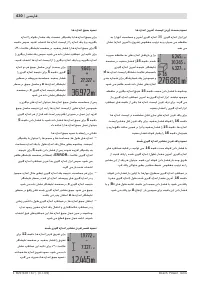
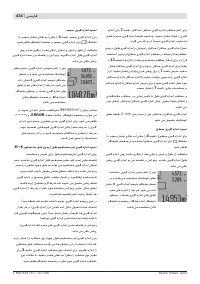
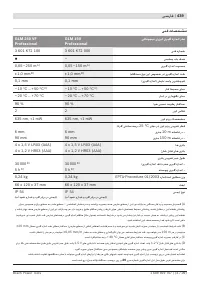
List of the last Measuring Values
The measuring tool stores the last 30 measuring
values and their calculations, and displays them
in reverse order (last measured value first).
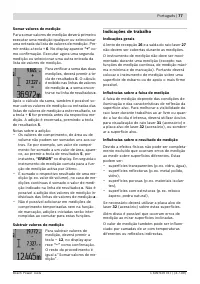
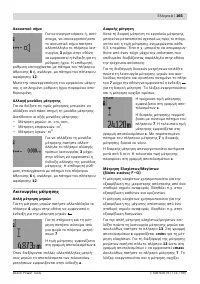
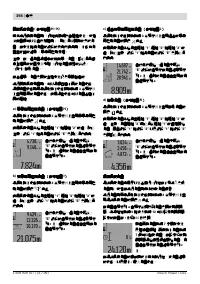
To recall the stored measure-
ments, press button
15
. The
result of the last measure-
ment is indicated on the dis-
play, along with the indicator
for the measured-value list
d
as well as a counter for the
numbering of the displayed
measurements.
When no further measurements are stored after
pressing button
15
again, the measuring tool
switches back to the last measuring function. To
exit the measured-value list, press one of the
measuring-mode buttons.
To delete the currently displayed measured-
value list entry, briefly press button
16
. To de-
lete the complete measured-value list, press and
hold the button for the measured-value list
15
and at the same time briefly press button
16
.
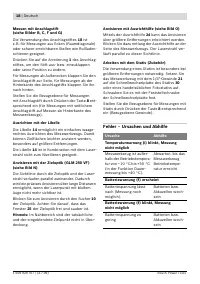
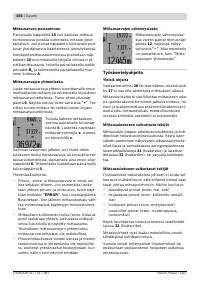
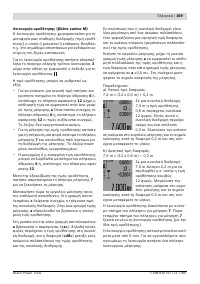
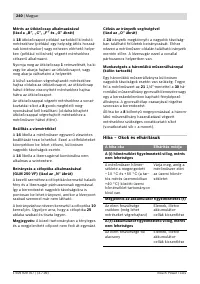
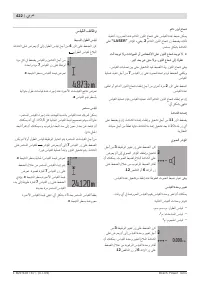
Deleting Measured Values
Briefly pressing button
16
deletes the last indi-
vidual measuring value determined in all meas-
uring functions. Briefly pressing the button re-
peatedly deletes the individual measured values
in reverse order.
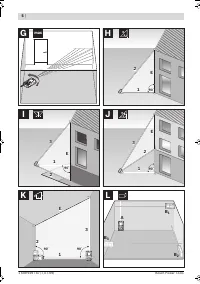
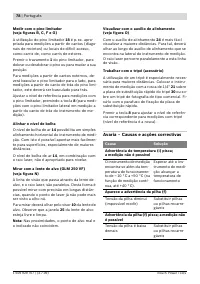
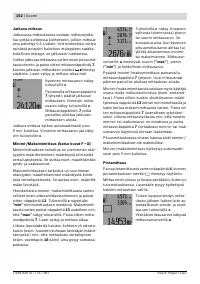
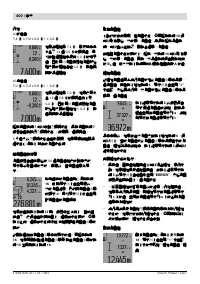
In wall surface measurement mode, briefly
pressing button
16
the first time deletes the last
individually measured value; pressing the button
a second time deletes all lengths
B
X
, and press-
ing the button a third time deletes all room
heights
A
.
OBJ_BUCH-947-004.book Page 30 Friday, July 3, 2009 8:44 AM
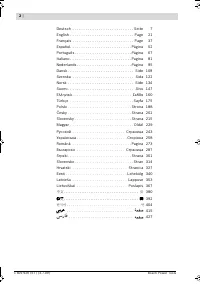
Содержание
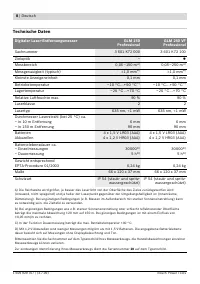
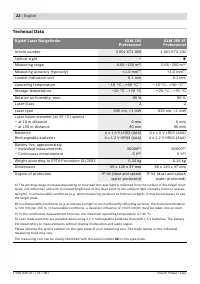
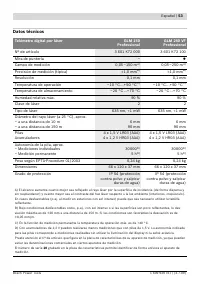
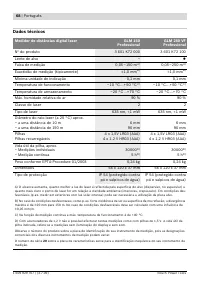
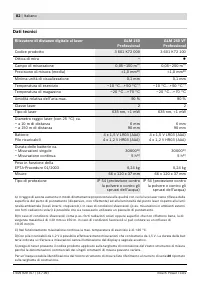
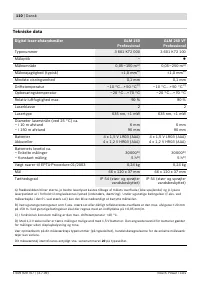
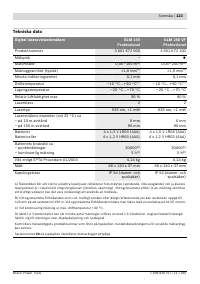
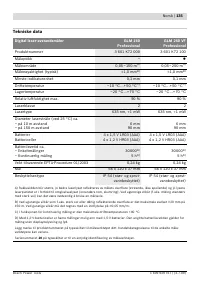
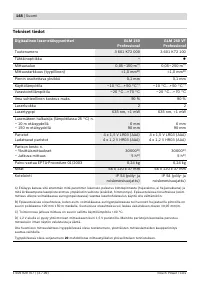
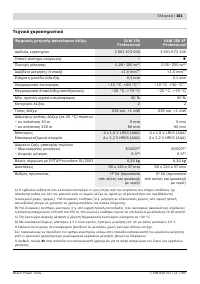
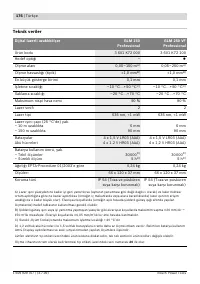
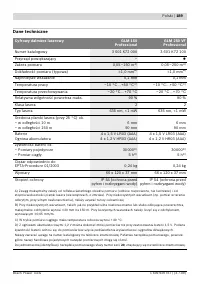
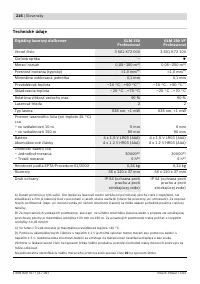
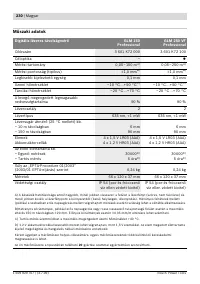
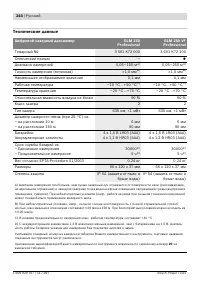
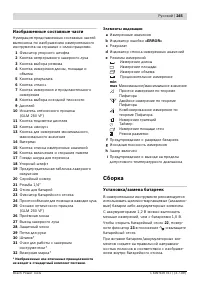
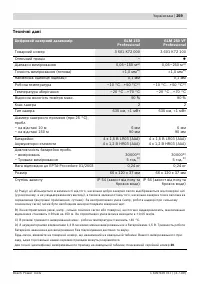
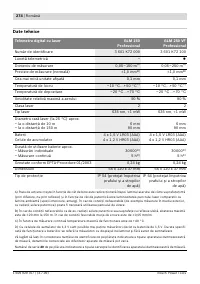
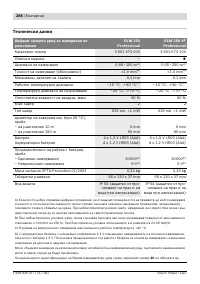
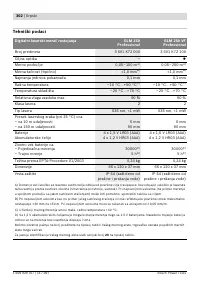
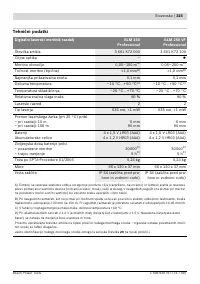
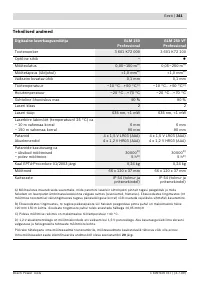
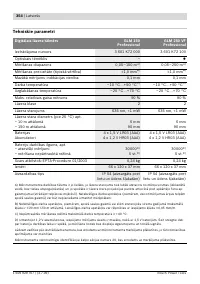
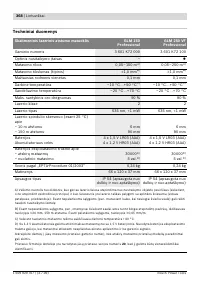
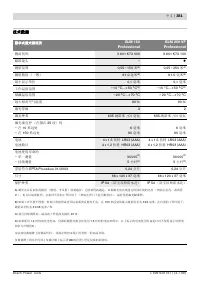
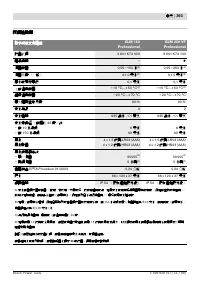
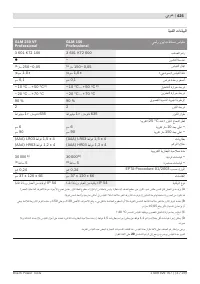
- 244 Технические данные; Цифровой лазерный дальномер
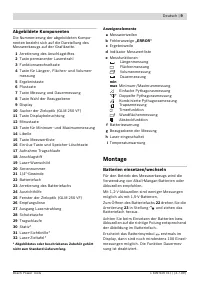
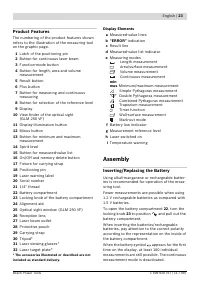
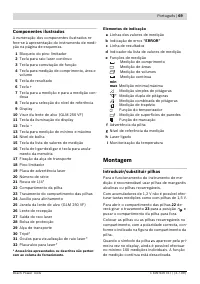
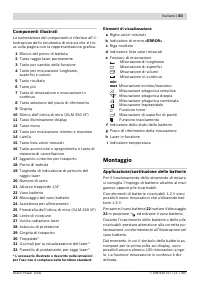
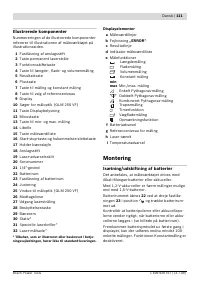
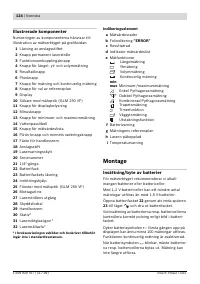
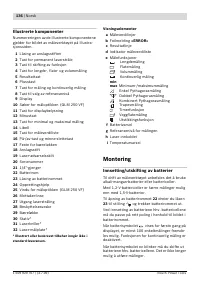
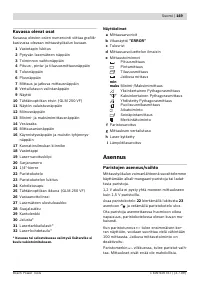
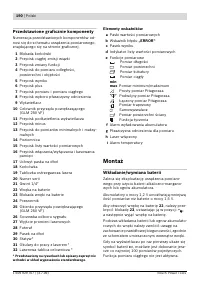
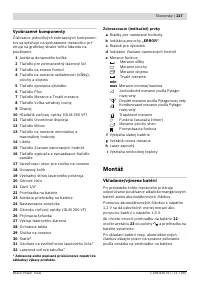
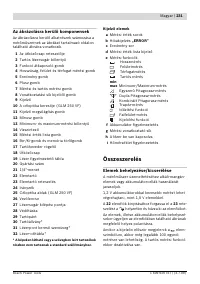
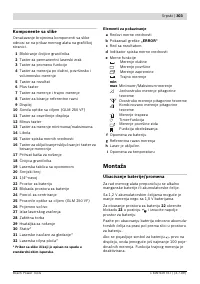
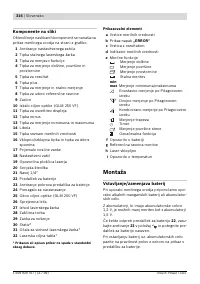
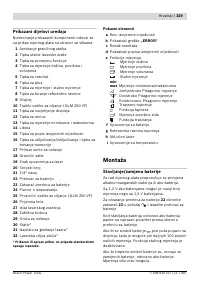
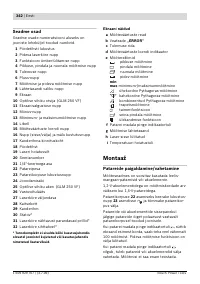
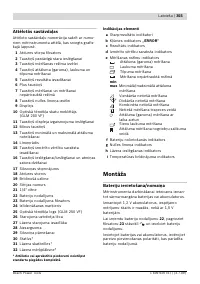
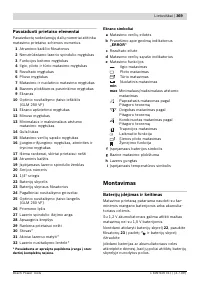
- 245 Изображенные составные части; Элементы индикации; Сборка; Установка/замена батареек
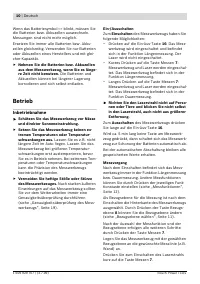
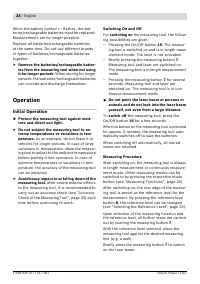
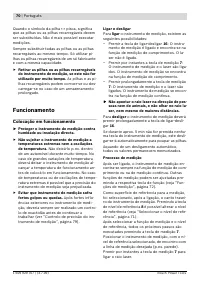
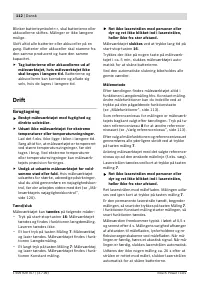
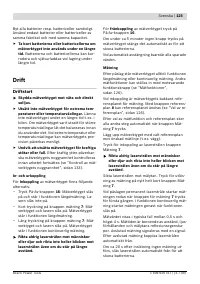
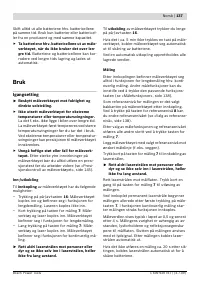
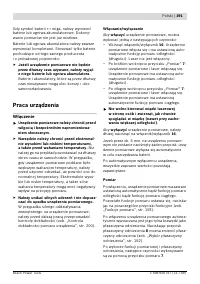
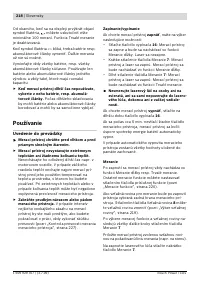
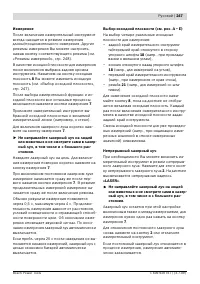
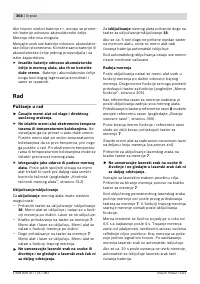
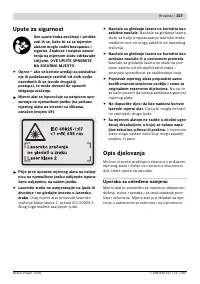
- 246 Работа с инструментом; Эксплуатация; включения
- 247 Измерение
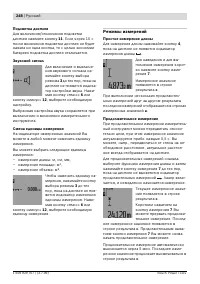
- 248 Подсветка дисплея; Режимы измерений; Простое измерение длины
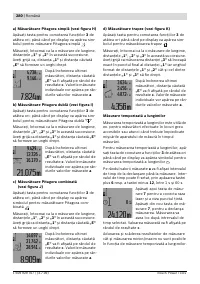
- 250 a) Простое измерение по теореме Пифагора
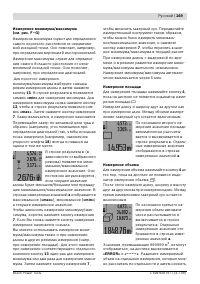
- 251 Измерение длины с выдержкой по времени
- 253 Список последних измеренных значений
- 254 Вычитание измеренных значений; Указания по применению; Общие указания
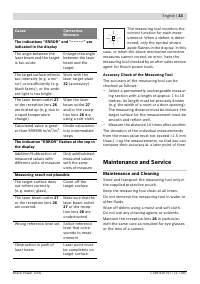
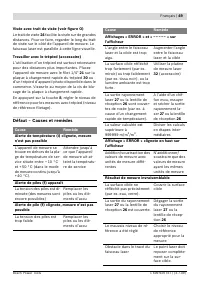
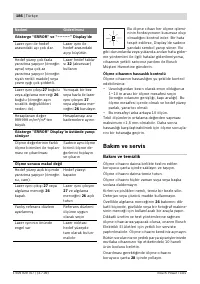
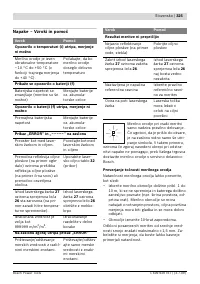
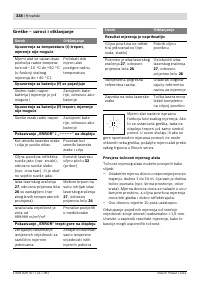
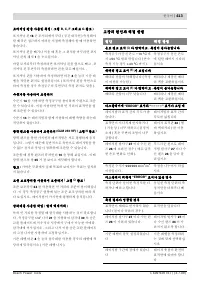
- 255 Неисправность; Причина
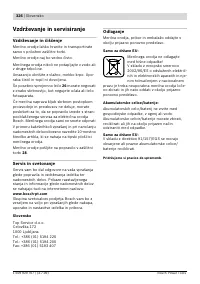
- 256 Техобслуживание и сервис; Техобслуживание и очистка
- 257 Россия; Утилизация


