
Холодильник Liebherr CNes 4066 Premium NoFrost - инструкция пользователя по применению, эксплуатации и установке на русском языке. Мы надеемся, она поможет вам решить возникшие у вас вопросы при эксплуатации техники.
Если остались вопросы, задайте их в комментариях после инструкции.
"Загружаем инструкцию", означает, что нужно подождать пока файл загрузится и можно будет его читать онлайн. Некоторые инструкции очень большие и время их появления зависит от вашей скорости интернета.

24h". This amount varies according to the model and climate
rating.
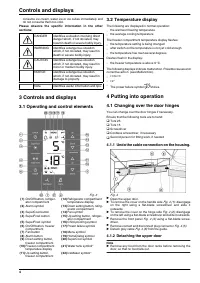
Freezing with SuperFrost
SuperFrost in the following cases:
- when placing frozen food in the freezer
- when freezing up to about 2 kg fresh food a day
u
Briefly press the SuperFrost button
Fig. 3 (4) once.
w
The SuperFrost symbol
Fig. 3 (5) shines.
w
The freezer temperature drops, the appliance operates with
maximum refrigerating performance.
For a small amount of food:
u
wait about 6 h.
u
Place the fresh food in the top drawers.
For the maximum amount of food:
u
wait about 24 h.
u
Place wrapped food straight on the shelves and, once frozen,
put it into the drawers.
w
SuperFrost is automatically deactivated. Depending on the
quantity placed inside, after 30 h at the earliest, 65 h at the
latest.
w
The SuperFrost symbol
Fig. 3 (5) goes out.
w
The appliance continues to operate in the energy-saving,
normal mode.
5.6.5 Drawers
Note
The energy consumption increases and the cooling performance
decreases if there is insufficient ventilation.
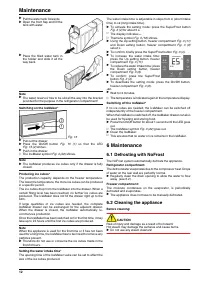
For appliances with NoFrost:
u
Leave the bottom drawer in the appliance!
u
Always keep the air slits of the fan free at the rear wall!
u
To store frozen food directly on the shelves: pull the drawer
forwards and lift it out.
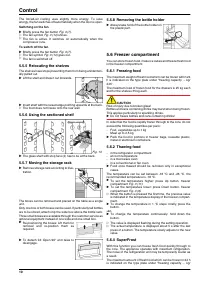
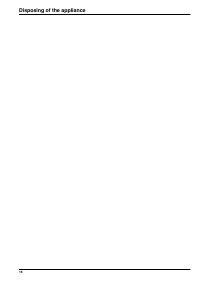
5.6.6 Shelves
u
To remove the shelf: lift up at the front and
pull out.
u
To put the shelf back: simply push in as far
as it will go.
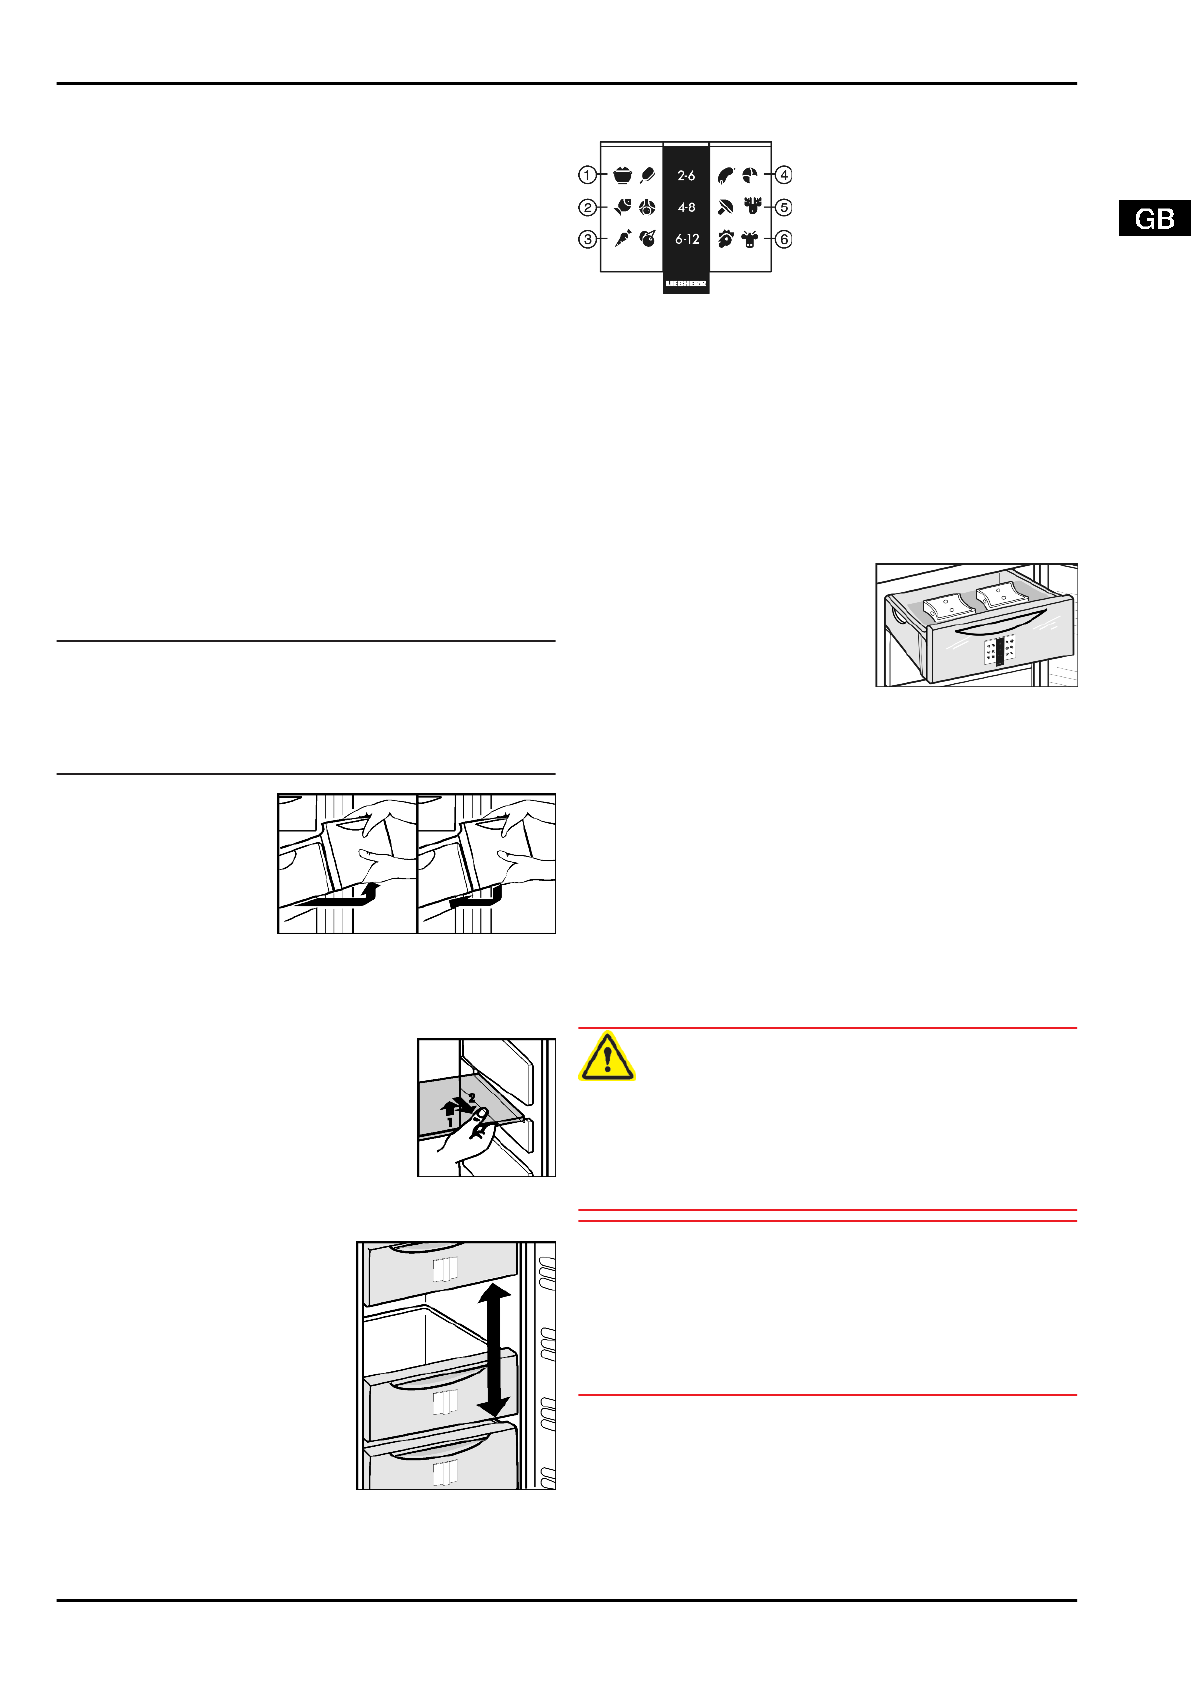
5.6.7 VarioSpace
Apart from being able to remove the
drawers, you can also remove the
shelves, creating space for large
items of frozen food. Poultry, meat,
large pieces of game and high bakery
products can be frozen in one piece
and prepared.
u
The maximum load of frozen food
for the drawers is 25 kg each and
for the shelves 35 kg each.
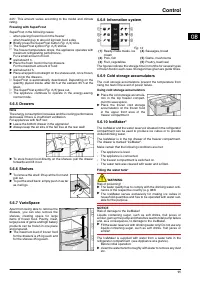
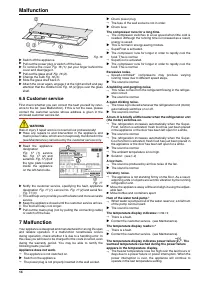
5.6.8 Information system
Fig. 14
(1) Ready-made meals, ice
cream
(4) Sausages, bread
(2) Pork, fish
(5) Game, mushrooms
(3) Fruit, vegetables
(6) Poultry, beef/veal
The figures indicate the storage time in months for several types
of frozen food in each case. Storage times given are guide times.
5.6.9 Cold storage accumulators
The cold storage accumulators prevent the temperature from
rising too fast in the event of power failure.
Using cold storage accumulators
u
Place the cold storage accumula-
tors in the top freezer compart-
ment to save space.
u
Place the frozen cold storage
accumulators on the frozen food
in the upper front area of the
freezer compartment.
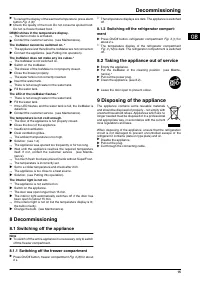
5.6.10 IceMaker*
The IceMaker and the water reservoir situated in the refrigerator
compartment can be used to produce ice cubes or to provide
chilled drinking water.
The IceMaker is in the top drawer of the freezer compartment.
The drawer is marked "IceMaker".
Make certain that the following conditions are met:
-
The appliance is level.
-
The appliance is connected.
-
The freezer compartment is switched on.
-
The water tank was cleaned with water and is filled.
Filling the water tank*
WARNING
Risk of poisoning!
u
The water quality has to comply with the drinking water ordi-
nance of the respective country (e.g. 98/8
u
The IceMaker serves exclusively for making ice cubes in
household quantities and has to be operated with water suit-
able for the purpose.
NOTICE
Risk of damage to the IceMaker!
Liquids containing sugar, such as soft drinks, fruit juices or
similar, gum up the pump and therefore lead to total pump failure
and, as a consequence, to damage to the IceMaker.
u
Fill the water reservoir with drinking water only! Do not use any
liquids containing sugar, such as soft drinks, fruit juices or
similar!
The IceMaker is supplied with water from a water tank in the
refrigerator compartment (see Appliance at a glance).
Before initial operation:
u
clean the water tank thoroughly with water to remove any dust
etc.
Control
11
Характеристики

Остались вопросы?Не нашли свой ответ в руководстве или возникли другие проблемы? Задайте свой вопрос в форме ниже с подробным описанием вашей ситуации, чтобы другие люди и специалисты смогли дать на него ответ. Если вы знаете как решить проблему другого человека, пожалуйста, подскажите ему :)


