
Холодильник Liebherr CBNPgw 3956 - инструкция пользователя по применению, эксплуатации и установке на русском языке. Мы надеемся, она поможет вам решить возникшие у вас вопросы при эксплуатации техники.
Если остались вопросы, задайте их в комментариях после инструкции.
"Загружаем инструкцию", означает, что нужно подождать пока файл загрузится и можно будет его читать онлайн. Некоторые инструкции очень большие и время их появления зависит от вашей скорости интернета.

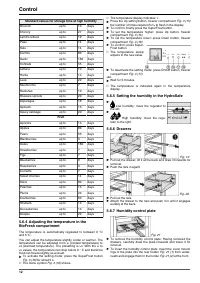
Standard values for storage time at high humidity
Broccoli
up to
13
days
Chicory
up to
27
days
Lamb's lettuce
up to
19
days
Peas
up to
14
days
Kale
up to
14
days
Carrots
up to
80
days
Garlic
up to
160
days
Kohlrabi
up to
55
days
Lettuce
up to
13
days
Herbs
up to
13
days
Leek
up to
29
days
Mushrooms
up to
7
days
Radishes
up to
10
days
Brussels sprouts
up to
20
days
Asparagus
up to
18
days
Spinach
up to
13
days
Savoy cabbage
up to
20
days
Fruit
Apricots
up to
13
days
Apples
up to
80
days
Pears
up to
55
days
Blackberries
up to
3
days
Dates
up to
180
days
Strawberries
up to
7
days
Figs
up to
7
days
Blueberries
up to
9
days
Raspberries
up to
3
days
Currants
up to
7
days
Sweet cherries
up to
14
days
Kiwis
up to
80
days
Peaches
up to
13
days
Plums
up to
20
days
Cranberries
up to
60
days
Rhubarb
up to
13
days
Gooseberries
up to
13
days
Grapes
up to
29
days
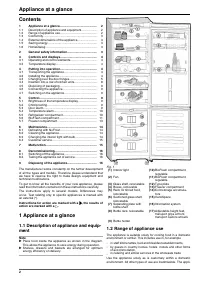
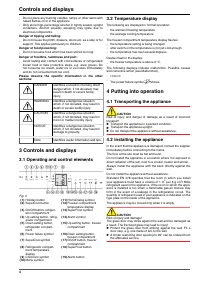
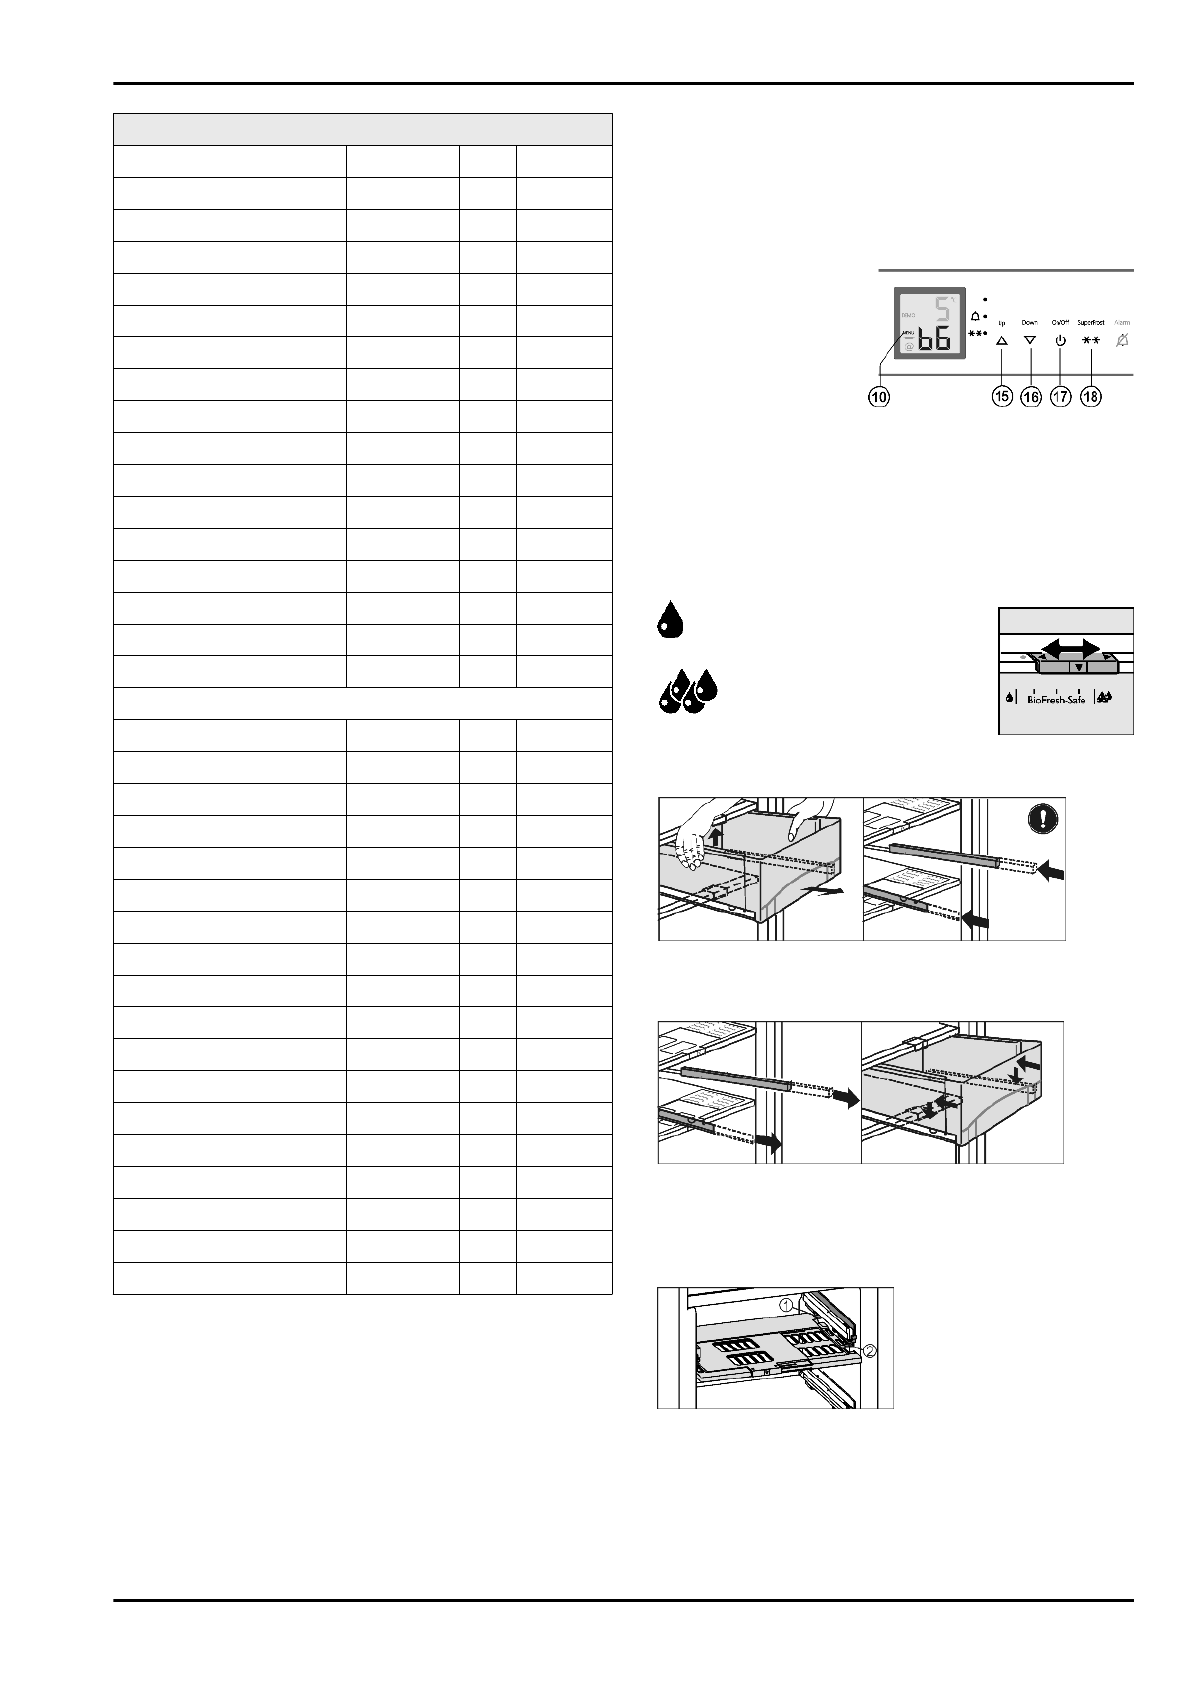
5.6.4 Adjusting the temperature in the
BioFresh compartment
The temperature is automatically regulated to between 0 °C
and 3 °C .
You can adjust the temperature slightly colder or warmer. The
temperature can be adjusted from
b1
(coldest temperature) to
b9
(warmest temperature). The presetting is
b5
. With the
b1
to
b4
values, the temperature can drop below 0 ° C and therefore
food can freeze slightly as a result.
u
To activate the setting mode: press the SuperFrost button
Fig. 3 (18) for about 5 s.
w
The menu symbol
Fig. 3 (10) shines.
w
The temperature display indicates:
C
u
Press the Up setting button, freezer compartment
Fig. 3 (15)
the number of times required for
b
to flash in the display.
u
To confirm: briefly press the SuperFrost button.
u
To set the temperature higher: press Up button, freezer
compartment
Fig. 3 (15).
u
To set the temperature lower: press Down button, freezer
compartment
Fig. 3 (16).
u
To confirm: press Super-
Frost button.
w
The temperature slowly
adjusts to the new value.
u
To deactivate the setting mode: press On/Off button, freezer
compartment
Fig. 3 (17).
-or-
u
Wait for 5 minutes.
w
The temperature is indicated again in the temperature
display.
5.6.5 Setting the humidity in the HydroSafe
u
Low humidity: move the regulator to
the left.
u
High humidity: move the regu-
lator to the right.
5.6.6 Drawers
Fig. 19
u
Pull out the drawer, lift it at the back and draw it forwards for
removal.
u
Push the rails in again!
Fig. 20
u
Pull out the rails.
u
Attach the drawer to the rails and push it in until it engages
audibly at the back.
5.6.7 Humidity control plate
Fig. 21
u
To remove the humidity control plate: Having removed the
drawers, carefully draw the plate forwards and lower it for
removal.
u
To insert the humidity control plate: Insert the cover mould-
ings of the plate into the rear holder
Fig. 21 (1) from under-
neath and engage them in the holder
Fig. 21 (2) at the front.
Control
12
Характеристики

Остались вопросы?Не нашли свой ответ в руководстве или возникли другие проблемы? Задайте свой вопрос в форме ниже с подробным описанием вашей ситуации, чтобы другие люди и специалисты смогли дать на него ответ. Если вы знаете как решить проблему другого человека, пожалуйста, подскажите ему :)


