Факсы Brother MFX-1200 ч.3 - инструкция пользователя по применению, эксплуатации и установке на русском языке. Мы надеемся, она поможет вам решить возникшие у вас вопросы при эксплуатации техники.
Если остались вопросы, задайте их в комментариях после инструкции.
"Загружаем инструкцию", означает, что нужно подождать пока файл загрузится и можно будет его читать онлайн. Некоторые инструкции очень большие и время их появления зависит от вашей скорости интернета.


Advanced features
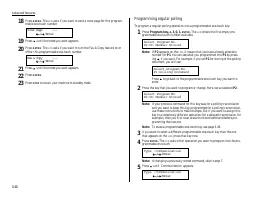
6
Press
ENTER
.
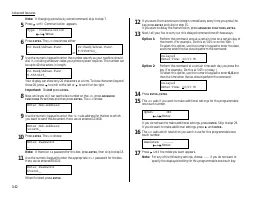
If you ve entered an incorrect
I
.
D
. code, your fax machine rejects the attempt
and returns to standby mode.
If you ve entered the correct
I
.
D
. code, the display shows:
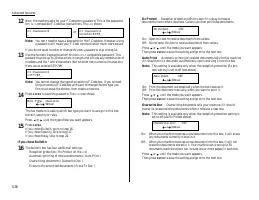
Note: If you want to quit without erasing the F-Code box you ve selected,
press
CANCEL
. The fax will return to step 2.
Note: If you want to quit without erasing any F-Code box, press
STOP
.
The machine returns to standby mode.
7
Press
ENTER
to erase the F-Code box.
To erase another F-Code box, repeat steps 2-7.
To finish, press
STOP
.
F-Code transmission and polling
With F-Code, your machine can send secure transmissions, perform relay broadcast
initiations and even poll from other
ITU
-
T
-equipped machines, regardless of manu-
facturer.
You can do this two ways:
Using the programmable one-touch key (see pages 3.41 3.44)
Entering the
ITU
-
T
sub-address and password directly, which is what we ll
describe here.
Note: For F-Code communication to work, three things must be true:
The remote fax machine must support
ITU
-
T
sub-addressing
The remote fax must have a mailbox with an
ITU
-
T
sub-address created
on it
You must know the
ITU
-
T
sub-address and password (if any) for the
remote machine s mailbox
F-Code transmission
1
Insert the document.
2
Adjust the resolution and contrast if necessary.
3
If you want to toggle between real time transmission and memory transmis-
sion, press
MEMORY TRANSMIT
.
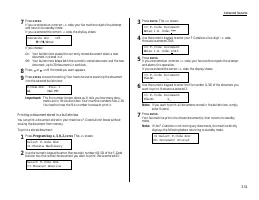
4
Press
ADVANCED FUNCTIONS
three times and then press
ENTER
.
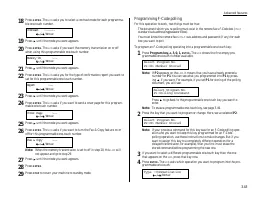
5
Use the numeric keypad to enter the appropriate sub-address in the remote
machine. In this example, we ve entered 123456.
Note: If you make a mistake, press
CANCEL
to erase the character, then
enter the correct number.
6
Press
ENTER
. The
LCD
shows:
Note: If this sub-address does not have a password, skip to step 8.
7
Use the numeric keypad to enter the password. In this example, we ve
entered 654321.
8
Press
ENTER
. The
LCD
shows:
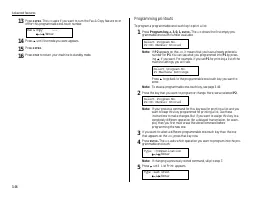
9
Enter the fax number either by pressing a one-touch key, entering a speed-
dial number or dialing from the numeric keypad. Do not press
START
.
10
What you do now depends on when you want the transmission to begin.
To have it begin now, skip to step 13.
To delay it, go on to step 11.
11
Press
ADVANCED FUNCTIONS
,
ENTER
. The
LCD
shows:
12
Use the numeric keypad to enter the day and time when the transmission
should begin, then press
ENTER
.
Delayed
Enter Time: 15/17:05
Enter Fax Number
_
Enter Password
654321_
Enter Password
_
Enter Sub-Address
123456_
Enter Sub-Address
_
Erase F-Code Box
** Complete **
03:Erase F-Code Box
Check Enter/Cancel
3.34


