
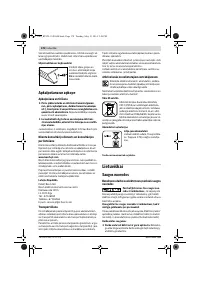
Электрорубанки Bosch 0.601.5A0.300 - инструкция пользователя по применению, эксплуатации и установке на русском языке. Мы надеемся, она поможет вам решить возникшие у вас вопросы при эксплуатации техники.
Если остались вопросы, задайте их в комментариях после инструкции.
"Загружаем инструкцию", означает, что нужно подождать пока файл загрузится и можно будет его читать онлайн. Некоторые инструкции очень большие и время их появления зависит от вашей скорости интернета.


English |
15
Bosch Power Tools
1 609 92A 0KP | (13.5.14)
Technical file (2006/42/EC) at:
Robert Bosch GmbH, PT/ETM9,
70764 Leinfelden-Echterdingen, GERMANY
Robert Bosch GmbH, Power Tools Division
70764 Leinfelden-Echterdingen, GERMANY
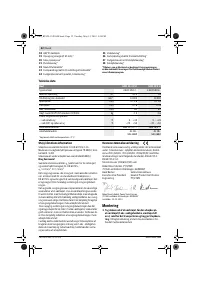
Leinfelden, 25.03.2014
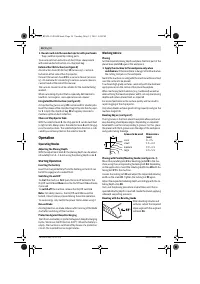
Assembly
Before any work on the machine itself (e. g. mainte-
nance, tool change, etc.) as well as during transport
and storage, remove the battery from the power tool.
There is danger of injury when unintentionally actuating
the On/Off switch.
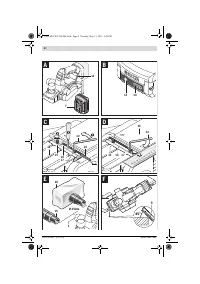
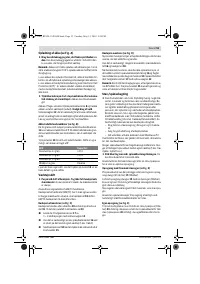
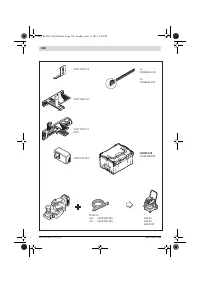
Battery Charging (see figure A)
Use only the battery chargers listed on the accessories
page.
Only these battery chargers are matched to the lith-
ium-ion battery of your power tool.
Note:
The battery supplied is partially charged. To ensure full
capacity of the battery, completely charge the battery in the
battery charger before using your power tool for the first time.
The lithium-ion battery can be charged at any time without re-
ducing its service life. Interrupting the charging procedure
does not damage the battery.
The lithium-ion battery is protected against deep discharging
by the “Electronic Cell Protection (ECP)”. When the battery is
empty, the machine is switched off by means of a protective
circuit: The inserted tool no longer rotates.
Do not continue to press the On/Off switch after the
machine has been automatically switched off.
The bat-
tery can be damaged.
To remove the battery
7
press the unlocking buttons
8
and
pull out the battery downwards.
Do not exert any force.
The Hex key
12
required for replacement of the planer blade is
located inside the machine and should always be stored there.
Observe the notes for disposal.
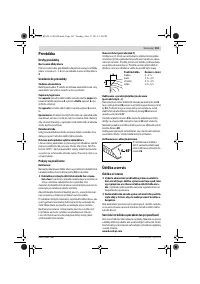
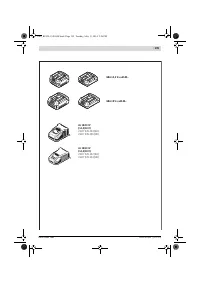
Battery Charge-control Indication (see figure B)
The three green LEDs of the battery charge-control indicator
14
indicate the charge condition of the battery
7
. For safety
reasons, it is only possible to check the status of the charge
condition when the machine is at a standstill.
Press button
13
to indicate the charge condition. This is also
possible when the battery
7
is removed.
When no LED lights up after pushing button
13
, then the bat-
tery is defective and must be replaced.
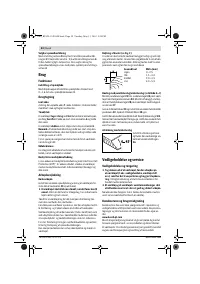
Changing the Tool
Be cautious when replacing the planer blades. Do not
grasp the planer blades by the cutting edges.
Possible
danger of injury due to the sharp cutting edges of the plan-
er blades.
Use only original Bosch carbide blades (TC).
The carbide blade (TC) has 2 cutting edges and can be re-
versed. When both cutting edges are dull, the planer blade
18
must be replaced. The carbide blade (TC) may not be resharp-
ened.
Disassembling the Planer Blade(s) (see figure C)
To reverse or replace the planer blade
18
, rotate the blade
drum
15
until it is parallel to the planer base plate
10
.
Loosen the two fastening screws
17
with the Hex key
12
by approx. 1 – 2 turns.
If necessary, loosen the clamping element
16
by giving it
a light blow with a suitable tool (e. g. a wooden wedge).
Push the planer blade
18
sidewards out of the blade
drum
15
with a piece of wood.
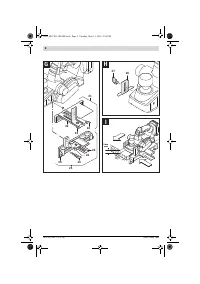
Assembling the Planer Blade(s) (see figure D)
The guide groove of the planer blade always ensures continu-
ous height adjustment when replacing or reversing it.
If required, clean the blade seat in the clamping element
16
and the planer blade
18
.
When assembling the planer blade, ensure that it is seated
properly in the blade holder of the clamping element
16
and
aligned flush at the side edge of the rear planer base plate
10
.
Afterwards tighten the 2 fastening screws
17
again with the
Hex key
12
.
Note:
Before restarting, check if the fastening screws
17
are
tightened well. Rotate the blade drum
15
by hand and ensure
that the planer blade does not graze.
Dust/Chip Extraction
Dusts from materials such as lead-containing coatings,
some wood types, minerals and metal can be harmful to
one’s health. Touching or breathing-in the dusts can cause
allergic reactions and/or lead to respiratory infections of
the user or bystanders.
Certain dusts, such as oak or beech dust, are considered
as carcinogenic, especially in connection with wood-treat-
ment additives (chromate, wood preservative). Materials
containing asbestos may only be worked by specialists.
– As far as possible, use a dust extraction system suitable
for the material.
– Provide for good ventilation of the working place.
– It is recommended to wear a P2 filter-class respirator.
Observe the relevant regulations in your country for the mate-
rials to be worked.
Clean the chip ejector
1
regularly. Use a suitable tool (e. g., a
piece of wood, compressed air, etc.) to clean a clogged chip
ejector.
Henk Becker
Executive Vice President
Engineering
Helmut Heinzelmann
Head of Product Certification
PT/ETM9
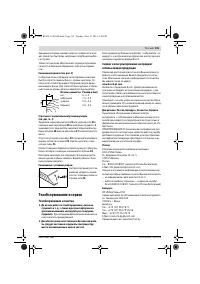
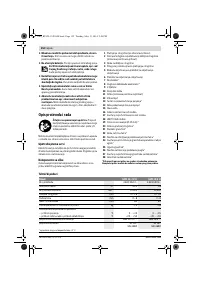
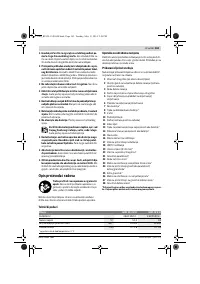
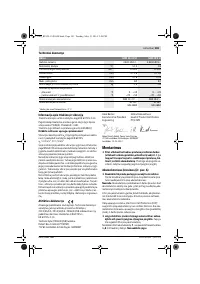
LED
Capacity
Continuous lighting 3 x green
≥
2/3
Continuous lighting 2 x green
≥
1/3
Continuous lighting 1 x green
< 1/3
Flashing light 1 x green
Reserve
OBJ_BUCH-1520-004.book Page 15 Tuesday, May 13, 2014 2:26 PM
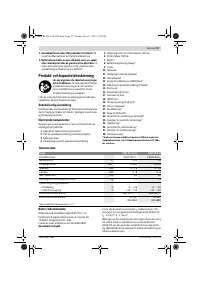
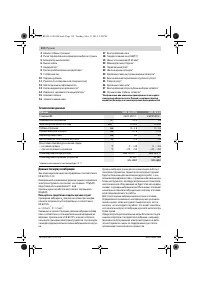
Характеристики

Остались вопросы?Не нашли свой ответ в руководстве или возникли другие проблемы? Задайте свой вопрос в форме ниже с подробным описанием вашей ситуации, чтобы другие люди и специалисты смогли дать на него ответ. Если вы знаете как решить проблему другого человека, пожалуйста, подскажите ему :)


