Блендеры Zelmer 491 - инструкция пользователя по применению, эксплуатации и установке на русском языке. Мы надеемся, она поможет вам решить возникшие у вас вопросы при эксплуатации техники.
Если остались вопросы, задайте их в комментариях после инструкции.
"Загружаем инструкцию", означает, что нужно подождать пока файл загрузится и можно будет его читать онлайн. Некоторые инструкции очень большие и время их появления зависит от вашей скорости интернета.


77
arrow) until you hear that it has clicked (the indicator on the
coupling should be in a closed position).
3
Plug the power cord to the power supply socket.
4
Plunge the end of the whisk inside the beaker into
products.
5
Then start – up the appliance pressing the switch
(2)
and
set the required gear as necessary.
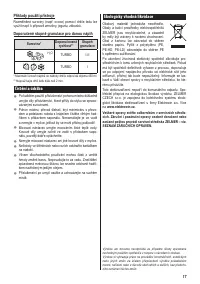
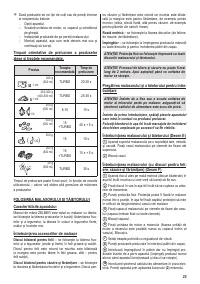
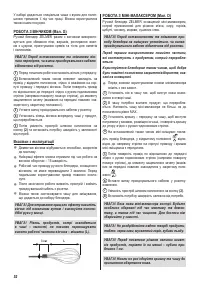
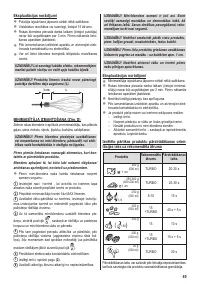
Operational guidelines
To detach the whisk attachment, just follow the attaching
●
procedure in reverse order.
For best results operate the appliance at high gear –
●
15th speed setting.
The working time of the blender with whisk attachment
●
can not exceed 3 minutes. Before reusing, the drive shaft
must cool.
When inished, turn the appliance off and unplug it by
●
disconnecting the cable cord from the power outlet.
You can also use the mixing container included with the
●
blender.
ATTENTION! To obtain better results lean the whisk
is a small angle and make round movements with it
inside the bowl.
ATTENTION! The level of products placed in a bowl
should not exceed the height of the workspace of the
beater (L).
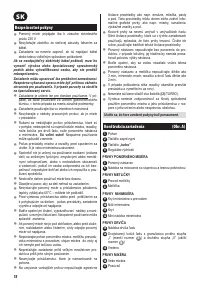
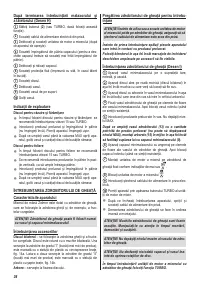
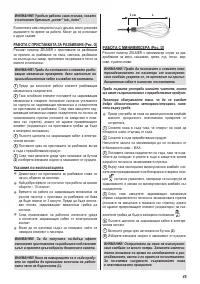
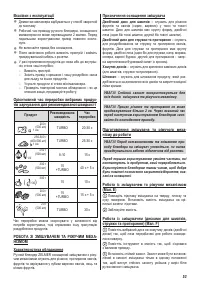
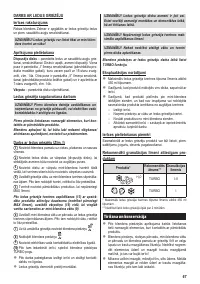
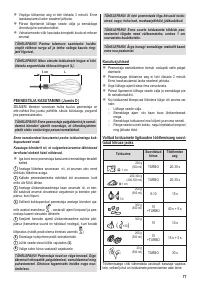
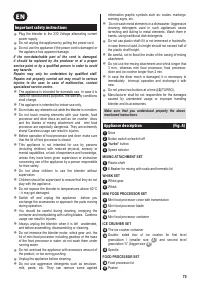
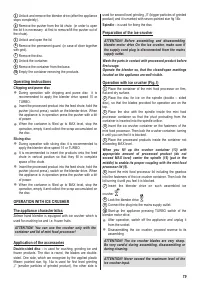
OPERATING THE MINI FOOD PROCESSOR (Fig. D)
ZELMER hand blender is equipped with a mini food
processor used to chop meat, cheese, nuts, onions, garlic,
carrots, and prunes.
ATTENTION! Before assembling on and removing the
blender drive out of the mini food processor, make sure
that the plug of the supplying cord is disconnected
from the mains supply outlet.
Wash the parts in contact with processed product before
irst usage.
Operate the blender so, that the closed/open marking
located on the appliance are well visible.
Before each usage of the mini food processor knife,
●
remove the cover out of the blades.
1
Insert the blade into the container so that the protrusion
of the container its the opening in the blade.
2
Put the food to be processed into the container. Fill in the
container. Do not exceed the marked MAX level.
3
Put the cover-transmission on the container. Make sure
the protrusions it the openings in the container and turn the
lid clockwise until stop.
4
Place the blender motor in open position
on
such
assembled mini food processor, in accordance with the
indicator on the motor casing and the lid of the mini food
processor including gearbox.
5
Turn the motor clockwise relative to the transmission
(according to the direction of the arrow) until you hear a click
(the indicator on the transmission should be in the closed
position ).
6
Plug in the appliance.
7
Switch on the appliance pressing the switch
(2)
.
8
Set the required gear as necessary.
ATTENTION! The mini food processor blades are
very sharp. Be very careful during assembling,
disassembling or during cleaning. Store the knife
inside the cover for safety reasons.
ATTENTION! It is not allowed to grind too hard
products, such as: coffee beans, nutmeg, ice cubes.
ATTENTION! Before shredding big pieces of the
products cut them into smaller ones – approximately
1 cm cubes.
ATTENTION! Never disassemble the lid from the
container before the disc stops rotating.
Operational guidelines
The dismantling process should be done in reverse order
●
to assembly.
The operating time of the blended equipped with the food
●
processor cannot exceed 2 minutes. Allow the motor to
cool before proceeding.
Do not start – up the motor without accessories.
●
When inished, turn the appliance off and unplug it by
●
disconnecting the cable cord from the power outlet.
If the products stick to the blade or the walls of the
●
container:
Switch off the appliance.
–
Remove the drive with the lid and container of ice or
–
other products crusher.
Remove the products out of the mini food processor
–
walls.
Re-assemble the appliance – as deined above,
–
Continue the operation.
3 cm
L
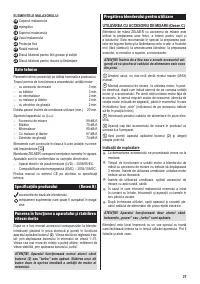
Содержание
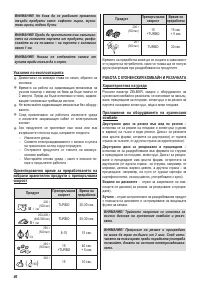
- 33 Указания по эксплуатации; ЭЛЕМЕНТЫ МИНИМАЛАКСЕРА; Техническая характеристика
- 36 Tерка для шинковки и протирания; ВНИМАНИЕ! Приставку для колки льда можно; Назначение оснащения; Двухсторонний дисковый нож-терка
- 37 Рекомендуемая; Очистка и консервация
- 38 Экология – забота о окружающей среде; Не выбрасывайте прибор вместе с коммуналь


