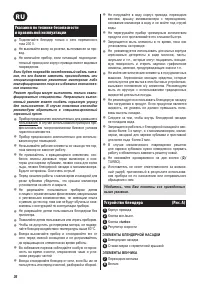
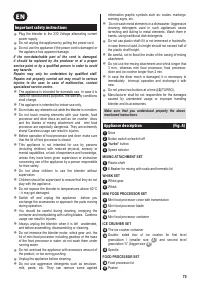
Блендеры Zelmer 491 - инструкция пользователя по применению, эксплуатации и установке на русском языке. Мы надеемся, она поможет вам решить возникшие у вас вопросы при эксплуатации техники.
Если остались вопросы, задайте их в комментариях после инструкции.
"Загружаем инструкцию", означает, что нужно подождать пока файл загрузится и можно будет его читать онлайн. Некоторые инструкции очень большие и время их появления зависит от вашей скорости интернета.


76
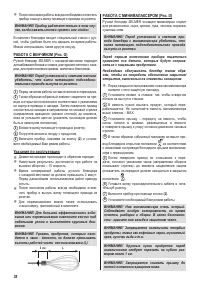
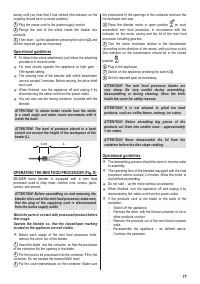
Preparing the blender to use
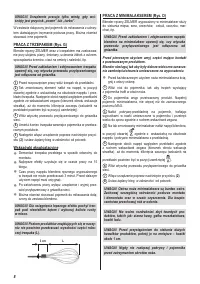
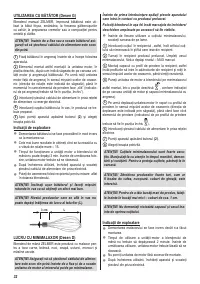
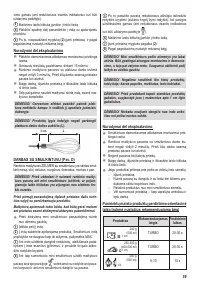
USING PLASTIC SHAFT (Fig. C)
ZELMER hand blender with the plastic shaft can be used for
home cooking, preparing foodstuffs for children and drinks.
It is especially recommended for pureeing cooked and raw
vegetables, soft fruit (with no stones), mixing up different
beverages or preparing dips, sauces, soups or other soft-
textured foods.
ATTENTION! Before assembling on and removing the
attachment, make sure, that the plug of the supplying
cord is disconnected from the mains supply outlet.
1
Fill up the beaker, no more than the MAX level.
2
Attach plastic shaft to drive shaft , align them in the position
according to the indicators on the cover of the drive shaft and
the coupling. Then twist the drive shaft clockwise (the direction
is shown by the arrow) until you hear that it has clicked (the
indicator on the coupling should be in a closed position.
3
Plug the power cord to the power supply socket.
4
Plunge the coupling in the products to be mixed.
5
Then start – up the appliance pressing the
(2)
switch and
set the required gear as necessary.
Operational guidelines
To detach the plastic shaft, just follow the attaching
●
procedure in reverse order.
The working time of the blender with plastic shaft can not
●
exceed 3 minutes. Before reusing, the drive shaft must cool.
Wash the plastic shaft by swishing it in clean, warm water.
●
If any luid gets inside the blender attachment, turn it and
●
put with the blade up until it is dry.
When inished, turn the appliance off and unplug it by
●
disconnecting the cable cord from the power outlet.
ATTENTION! The appliance operates only with the
“power” or “turbo” button pressed.
Included in the set you will ind a special beaker with a handle
for mixing, which is easy and helpful to operate with. Other
jars may be used as well.
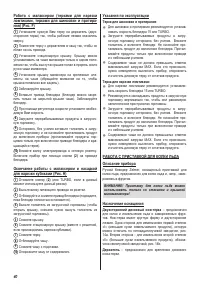
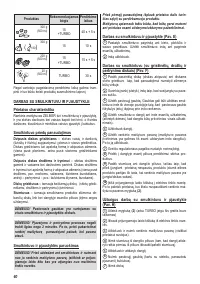
USING WHISK ATTACHMENT (Fig. G)
ZELMER hand blender with the whisk attachment purees
soups, whips up your favourite smoothies, mayonnaise or
creams and toppings for wafles and desserts, as well as
rubs egg yoke with sugar or prepares dough for pancakes.
ATTENTION! Before assembling on and removing the
whisk, make sure, that the plug of the supplying cord
is disconnected from the socket.
1
Before operation insert the whisk into the gearbox.
2
Such assembled attachment attach to the drive shaft,
align them in the position according to the indicators on the
cover of the drive shaft and the whisk attachment. Then
twist the drive shaft clockwise (the direction is shown by the
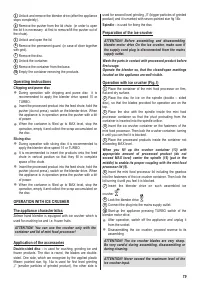
18
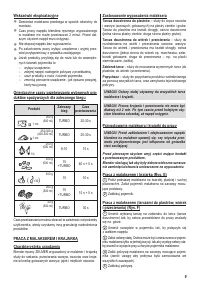
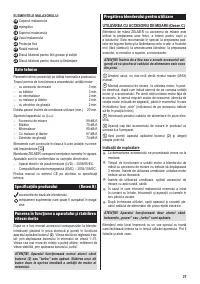
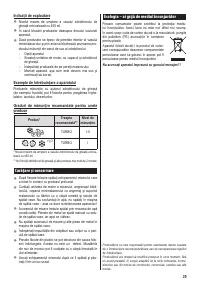
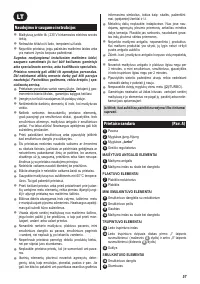
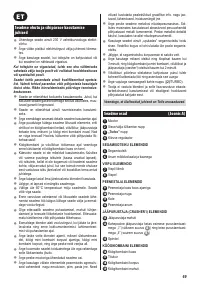
Base of the food processor
19
Food processor compartment
20
Permanent guard
21
Disc driver
22
Double sided disc for thick and thin slices
23
Double-sided disc for chipping and purée
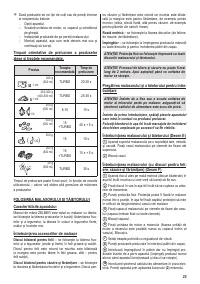
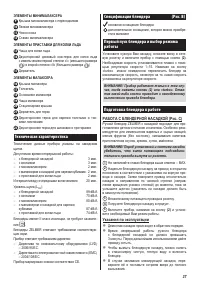
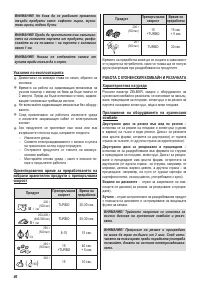
Technical data
Technical parameters are quoted at product nameplate.
Drive shaft maximum working time:
with a plastic shaft
3 min.
–
with whisk attachment
3 min.
–
with the mini food processor
2 min.
–
with food processor and dicer
2 min.
–
with ice crusher
2 min.
–
Idle time before reusing (min.)
20 min.
Appliance noise with the (L
WA
):
blending attachment
89 dB/A
–
beaters
70 dB/A
–
mini food processor
80 dB/A
–
food processor and dicer
87 dB/A
–
ice crusher
74 dB/A
–
Blenders are manufactured in II insulation class, they do not
require grounding
.
ZELMER blenders comply with all current norms.
The appliance complies with current directives:
Low Voltage Directive (LVD) – 2006/95/EC.
–
Electro-magnetic compatibility (EMC) – 2004/108/EC.
–
The appliance is marked with CE symbol on its data plate.
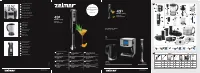
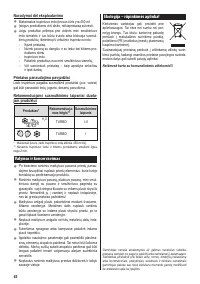
Appliance speciications
(Fig. B)
basic blender accessories
additional equipment, which you can buy in shops.
Starting and setting the required speed
With the proper blade installed, plug the power cord into
the power supply outlet and get the appliance started
by pushing button
(2)
. The blades can be smoothly set to
rotate at different speeds, which is easily set by turning the
speed selector in the range from 1–15. The highest rotation
is obtained by pushing the button “turbo” , no matter which
rotation is set on the speed selector.
ATTENTION! The appliance is in operation only when
the switch (2) or „turbo” is pressed. Releasing of any
switch shall cause the blender drive is instantly off.
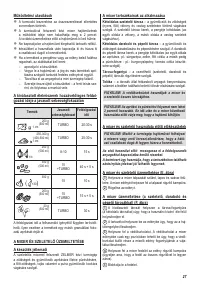
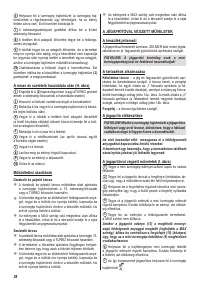
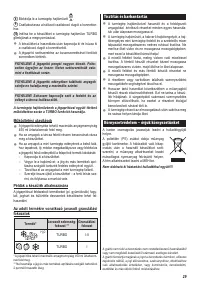
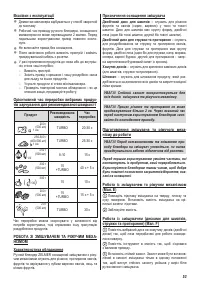
Содержание
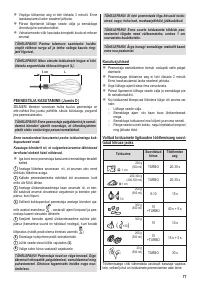
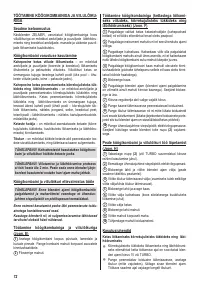
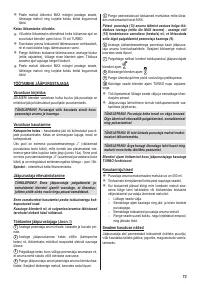
- 33 Указания по эксплуатации; ЭЛЕМЕНТЫ МИНИМАЛАКСЕРА; Техническая характеристика
- 36 Tерка для шинковки и протирания; ВНИМАНИЕ! Приставку для колки льда можно; Назначение оснащения; Двухсторонний дисковый нож-терка
- 37 Рекомендуемая; Очистка и консервация
- 38 Экология – забота о окружающей среде; Не выбрасывайте прибор вместе с коммуналь


