Строительные пылесосы Sparky VC 1530SP - инструкция пользователя по применению, эксплуатации и установке на русском языке. Мы надеемся, она поможет вам решить возникшие у вас вопросы при эксплуатации техники.
Если остались вопросы, задайте их в комментариях после инструкции.
"Загружаем инструкцию", означает, что нужно подождать пока файл загрузится и можно будет его читать онлайн. Некоторые инструкции очень большие и время их появления зависит от вашей скорости интернета.


8
VC 1530SP • VC 1530SA • VCM 1530SP • VCM 1530SA
EN
▪
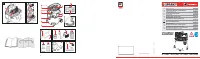
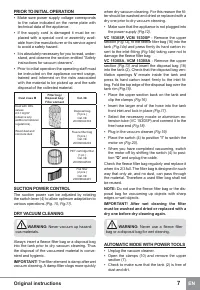
Place the fleece filter bag (16) or the disposal
bag (18), replace the upper section on the tank
and fasten the clamps
(Fig.25)
.
▪ Set the ON/OFF switch of the power tool you
intend to operate to the “
off
” position ″
o
″.
▪
Connect the vacuum cleaner adapter (19/20)
to the dust extraction port of the power tool
(Fig.21)
.
▪
Plug the power tool into the built-in socket (5) of
the vacuum cleaner.
cAUtIoN:
This socket should be used
only with the power tool. The connection of
appliances other than power tools may result
in damage.
▪
Plug in the vacuum cleaner.
▪
Set the vacuum cleaner switch (4) to position
″
auto
″.
▪
Switch on the power tool.
The vacuum cleaner will switch on automatically
as soon as you switch on the power tool. When
you switch off the power tool, the vacuum cleaner
will also switch off after a pre-set delay.
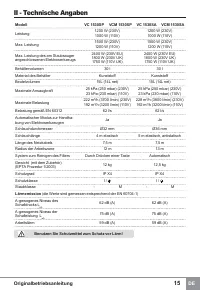
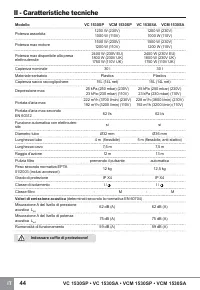
A
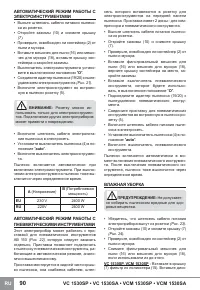
(Voltage)
b
(Power input)
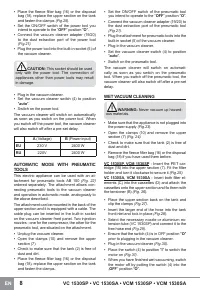
EU
230 V
2400 W
RU
220V
2400 W
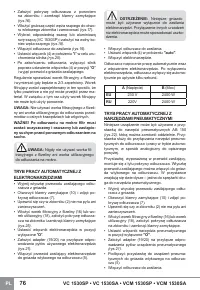
AUtomAtIc moDE WItH pNEUmAtIc
tools
This electric appliance can be used with an at-
tachment for pneumatic tools AB 150
(Fig. 22)
ordered separately. The attachment allows con-
necting pneumatic tools to the vacuum cleaner
and operation in automatic mode, analogously to
the above described.
The attachment can be mounted in the back of the
upper section and it is equipped with a cable. The
cable plug can be inserted in the built-in socket
on the vacuum cleaner front panel. Two injection
nozzles - one for the compressor, the other for the
pneumatic tool, are situated on the attachment.
▪
Unplug the vacuum cleaner.
▪
Open the clamps (10) and remove the upper
section (7).
▪
Check to make sure that the tank (2) is free of
dust and dirt.
▪
Place the fleece filter bag (16) or the disposal
bag (18), replace the upper section on the tank
and fasten the clamps.
▪ Set the ON/OFF switch of the pneumatic tool
you intend to operate to the “
off
” position ″
o
″.
▪
Connect the vacuum cleaner adapter (19/20) to
the dust extraction port of the pneumatic tool
(Fig.21)
.
▪
Plug the attachment for pneumatic tools into the
built-in socket (5) of the vacuum cleaner.
▪
Plug in the vacuum cleaner.
▪
Set the vacuum cleaner switch (4) to position
″
auto
″.
▪
Switch on the pneumatic tool.
The vacuum cleaner will switch on automati-
cally as soon as you switch on the pneumatic
tool. When you switch off the pneumatic tool, the
vacuum cleaner will also switch off after a pre-set
delay.
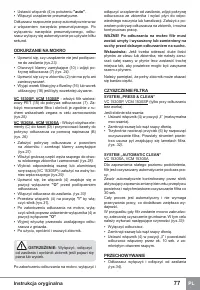
WEt vAcUUm clEANING
WARNING:
Never vacuum up hazard
-
ous materials.
▪
Make sure that the appliance is not plugged into
the power supply
(Fig.23)
.
▪
Open the clamps (10) and remove the upper
section (7)
(Fig. 24)
.
▪
Check to make sure that the tank (2) is free of
dust and dirt.
▪ Remove the fleece filter bag (16) or the disposal
bag (18) if you have used them before.
vc 1530sp, vcm 1530sp
- Insert the PET car-
tridge (15) into the upper section (7). Fit the filter
holder and turn it clockwise to secure it
(Fig.25).
vc 1530sA, vcm 1530sA
- Insert both filter el
-
ements (C) into the cassettes (D) and attach the
cassettes onto the upper section and fix them with
the tensioner (B)
(Fig. 26)
.
▪
Place the upper section back on the tank and
clip the clamps
(Fig.27)
.
▪
Insert the larger end of the hose into the tank
front inlet and lock in place
(Fig.28)
.
▪
Select the necessary nozzle or aluminium ex-
tension tube (VC 1530SP) and connect it to the
free hose end
(Fig.29)
.
▪ Ensure that the switch (4) is in OFF position ″
o
″
prior to plugging in the vacuum cleaner.
▪
Plug in the vacuum cleaner
(Fig.30)
.
▪ Place the switch (4) to position ″
I
″ to switch the
motor on
(Fig.31)
.
▪ When you have finished wet vacuuming, switch
the motor off by putting the switch (4) into the
„
off
“ position ″
o
″.
Содержание
- 84 Содержание; Предупреждение; ОХРАНА ОКРУЖАЮЩЕЙ СРЕДЫ
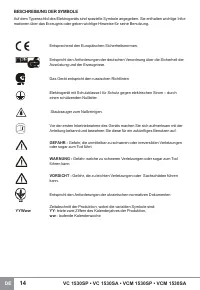
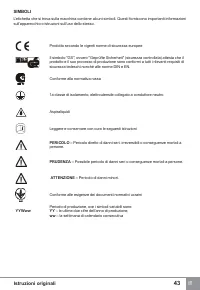
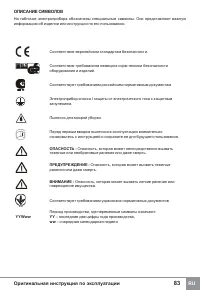
- 85 Оригинальная инструкция по эксплуатации; ОПИСАНИЕ СИмвОлОв
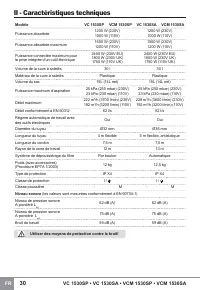
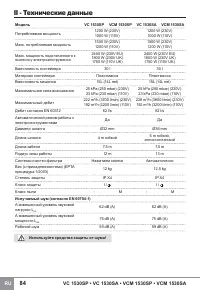
- 86 II - Технические данные; модель; Используйте средства защиты от шума!
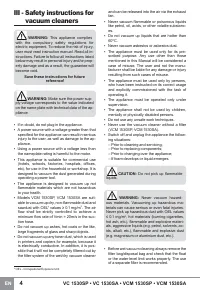
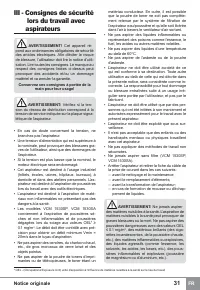
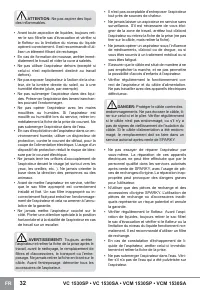
- 87 III - Инструкции техники; Храните настоящие инструкции для
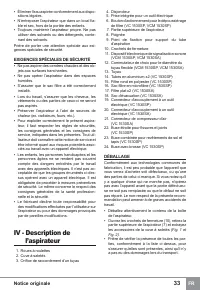
- 89 Специальные требования техники безо; пылесосом
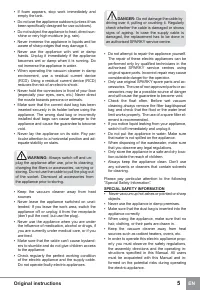
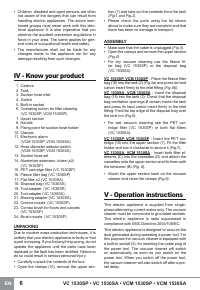
- 90 V - Указания по работе; ПЕРЕД НАЧАлОм РАБОТЫ
- 91 РЕГУлИРОвКА мОЩНОСТИ; тем как вновь приступить сухой уборке,
- 92 АвТОмАТИЧЕСКИЙ РЕЖИм РАБОТЫ С; влАЖНАЯ УБОРКА
- 93 как вновь приступить к сухой уборке,; ЧИСТКА ФИлЬТРА; СИСТЕмА “PRESS & CLEAN”; ХРАНЕНИЕ
- 94 ПРИНАДлЕЖНОСТИ; Только для пылесосов класса M
- 95 ОПОРОЖНЕНИЕ КОНТЕЙНЕРА
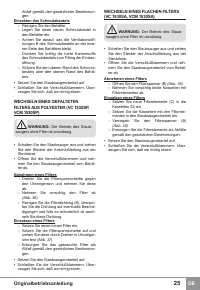
- 96 ЗАмЕНА ПлОСКОГО ФИлЬТРА; Удаление фильтра; Примечания
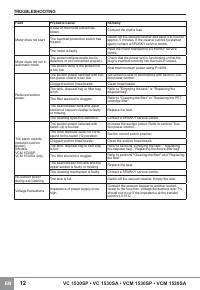
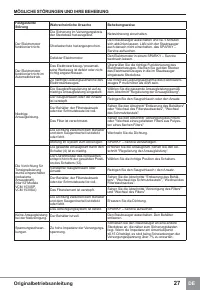
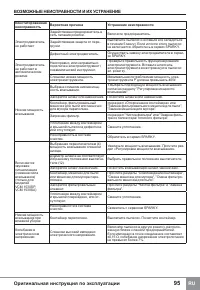
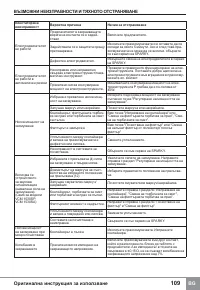
- 97 вОЗмОЖНЫЕ НЕИСПРАвНОСТИ И ИХ УСТРАНЕНИЕ
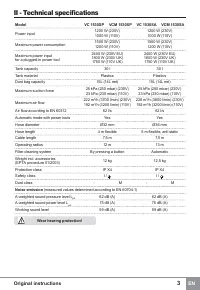
Характеристики

Остались вопросы?Не нашли свой ответ в руководстве или возникли другие проблемы? Задайте свой вопрос в форме ниже с подробным описанием вашей ситуации, чтобы другие люди и специалисты смогли дать на него ответ. Если вы знаете как решить проблему другого человека, пожалуйста, подскажите ему :)


