Шуруповерты Makita DHP482RFE3 - инструкция пользователя по применению, эксплуатации и установке на русском языке. Мы надеемся, она поможет вам решить возникшие у вас вопросы при эксплуатации техники.
Если остались вопросы, задайте их в комментариях после инструкции.
"Загружаем инструкцию", означает, что нужно подождать пока файл загрузится и можно будет его читать онлайн. Некоторые инструкции очень большие и время их появления зависит от вашей скорости интернета.


9
ENGLISH
Screwdriving operation
CAUTION:
Adjust the adjusting ring to the
proper torque level for your work.
CAUTION:
Make sure that the driver bit is
inserted straight in the screw head, or the screw
and/or driver bit may be damaged.
First, turn the action mode changing ring so that the
arrow on the tool body points to the
marking.
Place the point of the driver bit in the screw head and
apply pressure to the tool. Start the tool slowly and then
increase the speed gradually. Release the switch trigger
as soon as the clutch cuts in.
NOTE:
When driving wood screw, pre-drill a pilot hole
2/3 the diameter of the screw. It makes driving easier
and prevents splitting of the workpiece.
Hammer drilling operation
CAUTION:
There is a tremendous and sud-
den twisting force exerted on the tool/drill bit
at the time of hole breakthrough, when the hole
becomes clogged with chips and particles, or
when striking reinforcing rods embedded in the
concrete.
First, turn the action mode changing ring so that the
arrow on the tool body points to the
marking. The
adjusting ring can be aligned in any torque levels for
this operation.
Be sure to use a tungsten-carbide tipped drill bit.
Position the drill bit at the desired location for the hole,
then pull the switch trigger. Do not force the tool. Light
pressure gives best results. Keep the tool in position
and prevent it from slipping away from the hole.
Do not apply more pressure when the hole becomes
clogged with chips or particles. Instead, run the tool at
an idle, then remove the drill bit partially from the hole.
By repeating this several times, the hole will be cleaned
out and normal drilling may be resumed.
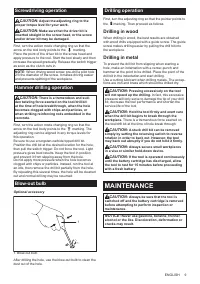
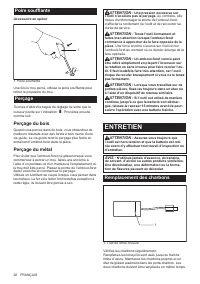
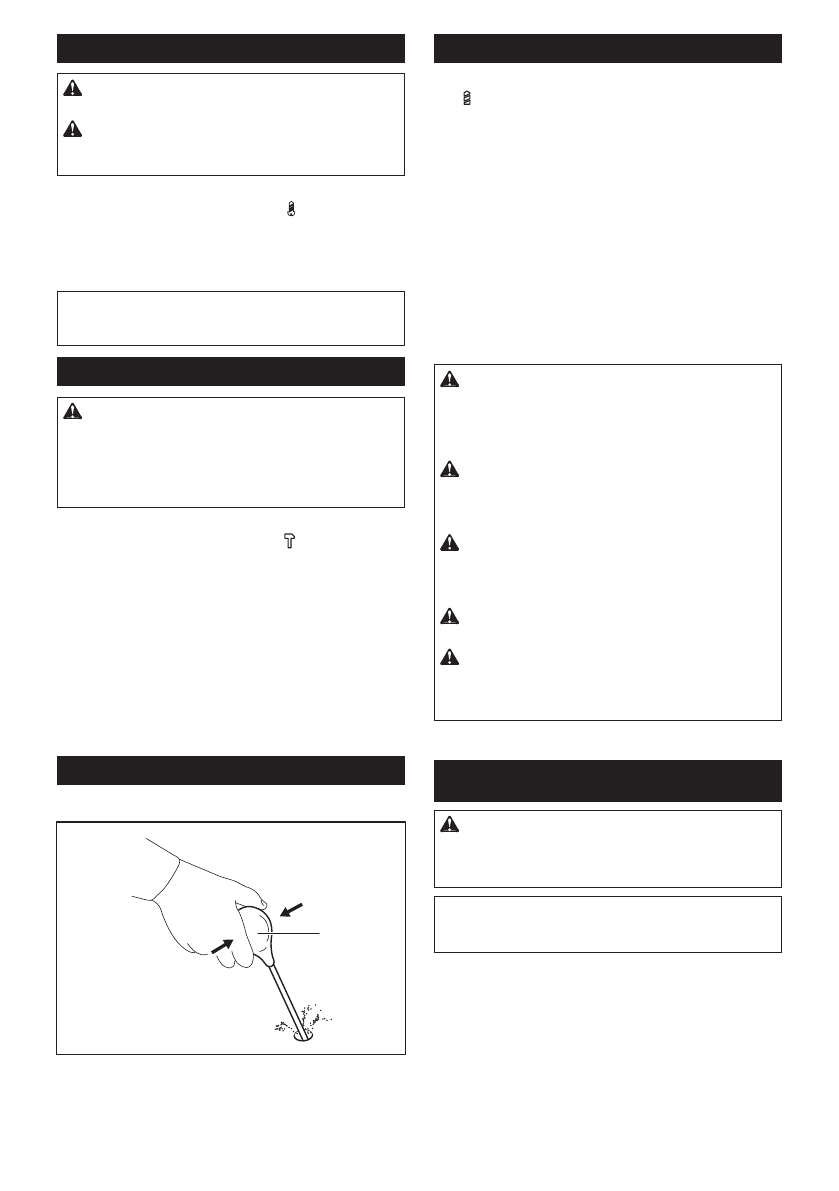
Blow-out bulb
Optional accessory
1
1. Blow-out bulb
After drilling the hole, use the blow-out bulb to clean the
dust out of the hole.
Drilling operation
First, turn the adjusting ring so that the pointer points to
the
marking. Then proceed as follows.
Drilling in wood
When drilling in wood, the best results are obtained
with wood drills equipped with a guide screw. The guide
screw makes drilling easier by pulling the drill bit into
the workpiece.
Drilling in metal
To prevent the drill bit from slipping when starting a
hole, make an indentation with a center-punch and
hammer at the point to be drilled. Place the point of the
drill bit in the indentation and start drilling.
Use a cutting lubricant when drilling metals. The excep-
tions are iron and brass which should be drilled dry.
CAUTION:
Pressing excessively on the tool
will not speed up the drilling.
In fact, this excessive
pressure will only serve to damage the tip of your drill
bit, decrease the tool performance and shorten the
service life of the tool.
CAUTION:
Hold the tool firmly and exert care
when the drill bit begins to break through the
workpiece.
There is a tremendous force exerted on
the tool/drill bit at the time of hole break through.
CAUTION:
A stuck drill bit can be removed
simply by setting the reversing switch to reverse
rotation in order to back out. However, the tool
may back out abruptly if you do not hold it firmly.
CAUTION:
Always secure small workpieces
in a vise or similar hold-down device.
CAUTION:
If the tool is operated continuously
until the battery cartridge has discharged, allow
the tool to rest for 15 minutes before proceeding
with a fresh battery.
MAINTENANCE
CAUTION:
Always be sure that the tool is
switched off and the battery cartridge is removed
before attempting to perform inspection or
maintenance.
NOTICE:
Never use gasoline, benzine, thinner,
alcohol or the like. Discoloration, deformation or
cracks may result.
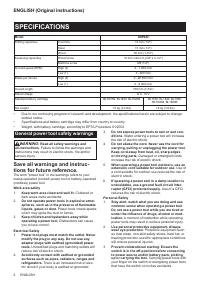
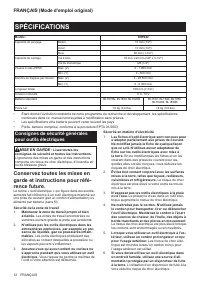
Характеристики

Остались вопросы?Не нашли свой ответ в руководстве или возникли другие проблемы? Задайте свой вопрос в форме ниже с подробным описанием вашей ситуации, чтобы другие люди и специалисты смогли дать на него ответ. Если вы знаете как решить проблему другого человека, пожалуйста, подскажите ему :)


Где найти инструкцию для Makita DHP 882