Шуруповерты Bosch GSR 36 V LI - инструкция пользователя по применению, эксплуатации и установке на русском языке. Мы надеемся, она поможет вам решить возникшие у вас вопросы при эксплуатации техники.
Если остались вопросы, задайте их в комментариях после инструкции.
"Загружаем инструкцию", означает, что нужно подождать пока файл загрузится и можно будет его читать онлайн. Некоторые инструкции очень большие и время их появления зависит от вашей скорости интернета.


22
| English
1 609 929 M41 | (23.8.07)
Bosch Power Tools
The lithium ion battery can be charged at any
time without reducing its service life. Interrupt-
ing the charging procedure does not damage the
battery.
The Li-ion battery is protected against deep dis-
charging by the “Electronic Cell Protection
(ECP)”. When the battery is empty, the machine
is switched off by means of a protective circuit:
The inserted tool no longer rotates.
Do not continue to press the
On/Off switch after the ma-
chine has been automatically switched off.
The
battery can be damaged.
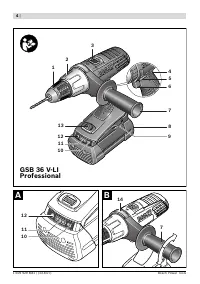
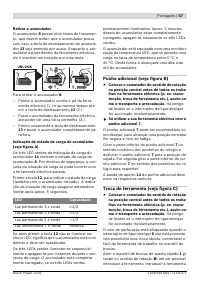
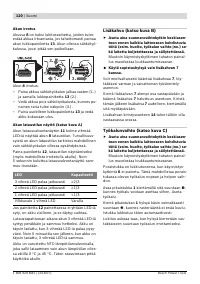
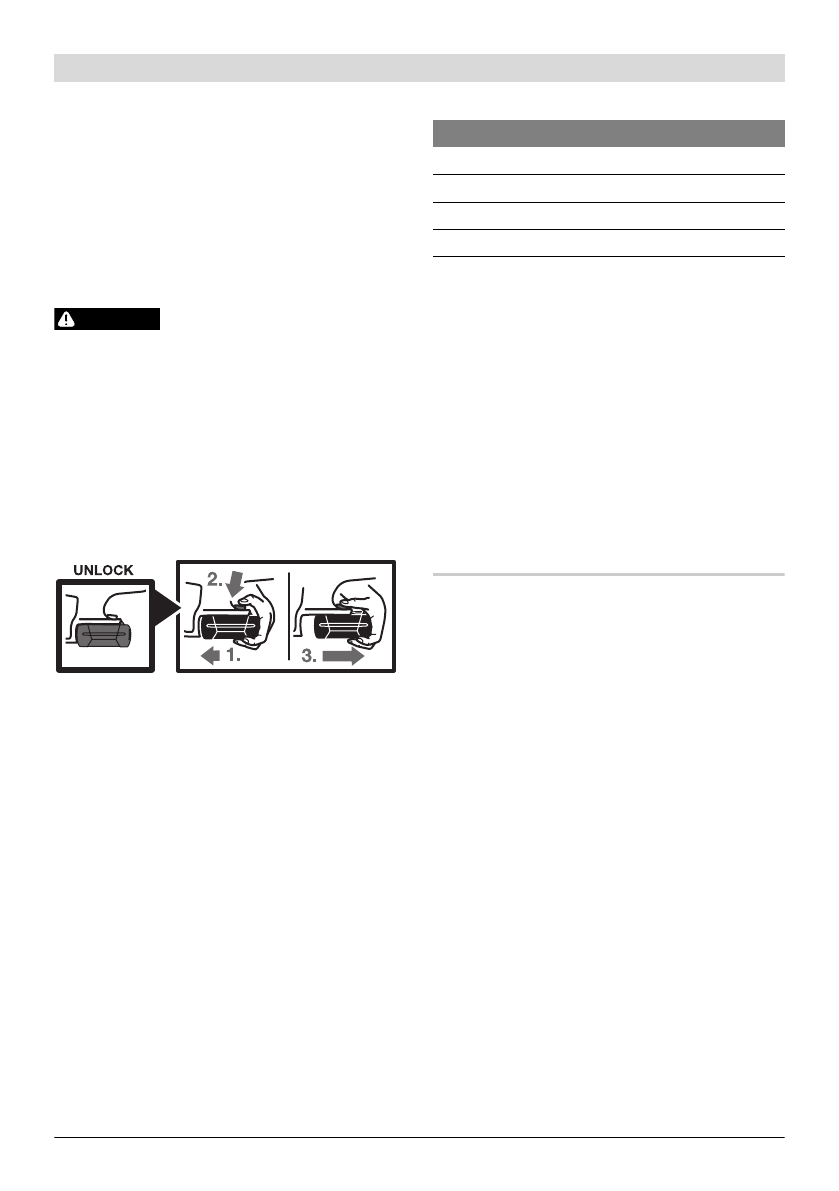
Removing the Battery
The battery
8
is equipped with two locking lev-
els that should prevent the battery from falling
out when pushing the battery unlocking button
13
unintentionally. As long as the battery is in-
serted in the power tool, it is held in position by
means of a spring.
To remove the battery
8
:
–
Push the battery against the base of the pow-
er tool (1.) and at the same time press the
battery unlocking button
13
(2.).
–
Pull the battery out of the power tool until a
red stripe becomes visible (3.).
–
Press the battery unlocking button
13
again
and pull out the battery completely.
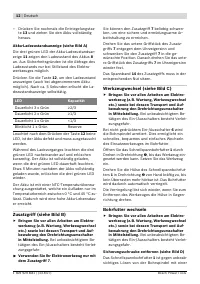
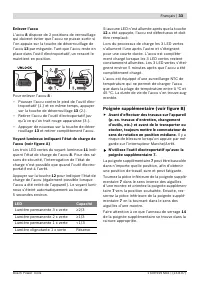
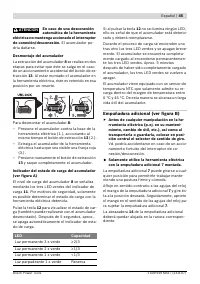
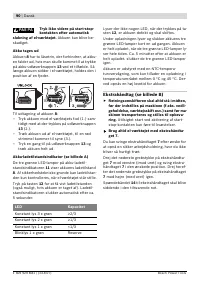
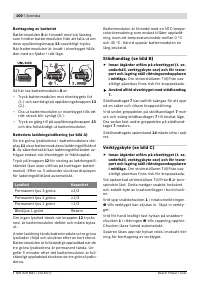
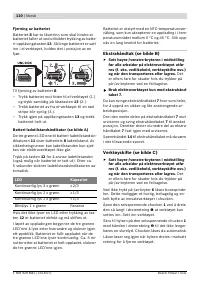
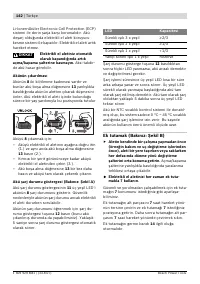
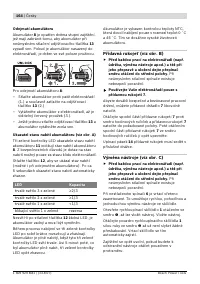
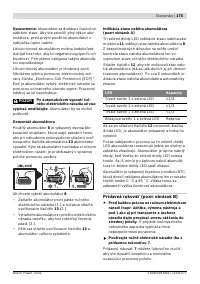
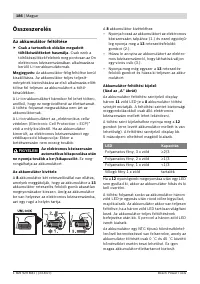
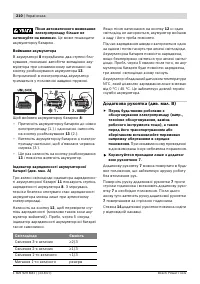
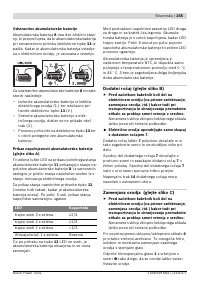
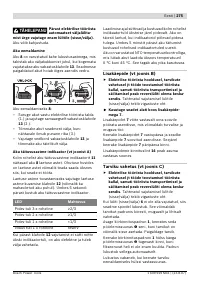
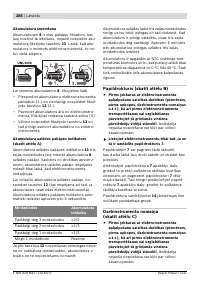
Battery Charge-control Indication
(see figure A)
The three green LEDs of the battery charge-con-
trol indicator
11
indicate the charge condition of
the battery
8
. For safety reasons, it is only pos-
sible to check the status of the charge condition
when the machine is at a standstill.
Push button
12
to indicate the charge condition
(also possible when the battery is removed).
The battery charge-control indicator automati-
cally goes out after approx. 5 seconds.
When no LED lights up after pushing button
12
,
then the battery is defective and must be re-
placed.
During the charging procedure, the three green
LEDs light up one after the other and briefly go
out. The battery is fully charged when the three
green LEDs light up continuously. The three
LEDs go out again approx. 5 minutes after the
battery has been fully charged.
The battery is equipped with a NTC temperature
control which allows charging only within a tem-
perature range of between 0 °C and 45 °C. A
long battery service life is achieved in this man-
ner.
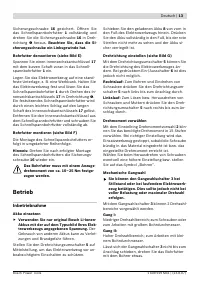
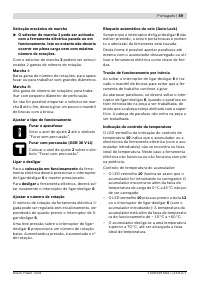
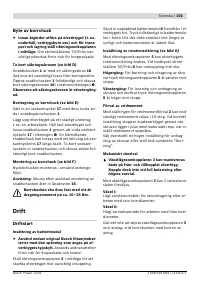
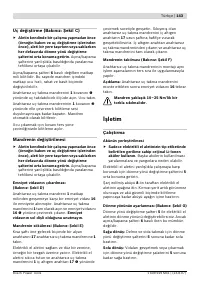
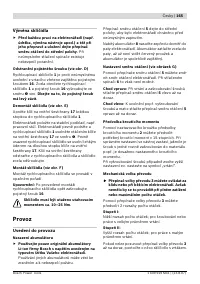
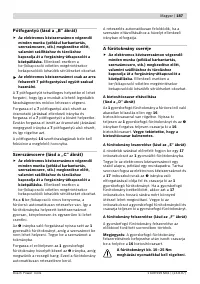
Auxiliary Handle (see figure B)
f
Before any work on the machine (e. g.,
maintenance, tool change, etc.) as well as
during transport and storage, set the rota-
tional direction switch to the centre posi-
tion.
Unintentional actuation of the On/Off
switch can lead to injuries.
f
Operate your machine only with the auxilia-
ry handle 7.
The auxiliary handle
7
can be set to any position
for a secure and low-fatigue working posture.
Turn the bottom part of the auxiliary handle
7
in
counterclockwise direction and swivel the auxil-
iary handle
7
to the desired position. Then
retighten the bottom part of the auxiliary handle
7
by turning in clockwise direction.
The clamping band
14
of the auxiliary handle
must be seated in the corresponding groove.
WARNING
LED
Capacity
Continuous lighting 3 x green
≥
2/3
Continuous lighting 2 x green
≥
1/3
Continuous lighting 1 x green
< 1/3
Flashing light 1 x green
Reserve
OBJ_BUCH-487-001.book Page 22 Thursday, August 23, 2007 9:18 AM
Содержание
- 194 ) Осторожное обращение и применение
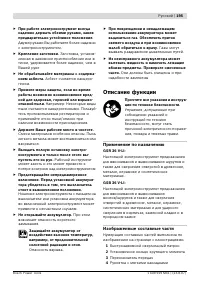
- 195 Крепление заготовки.; Описание функции; Применение по назначению
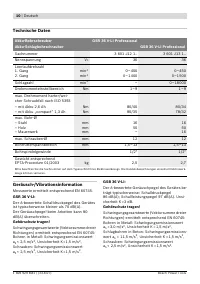
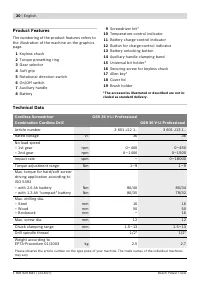
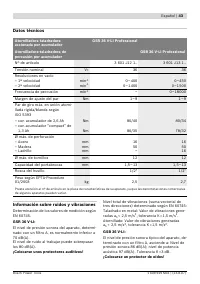
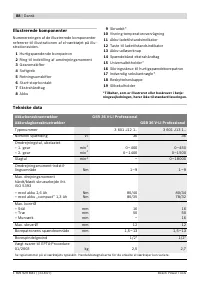
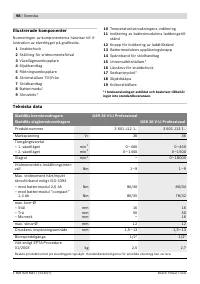
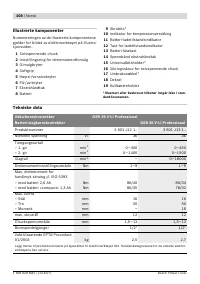
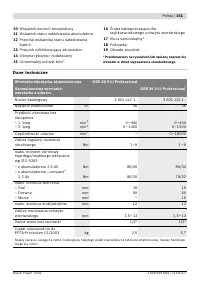
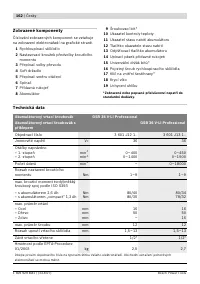
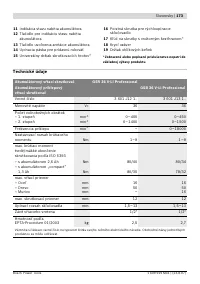
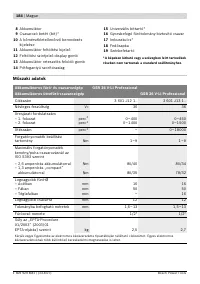
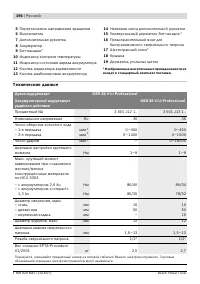
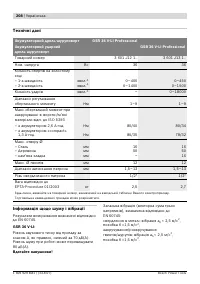
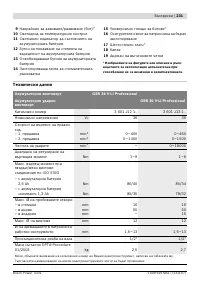
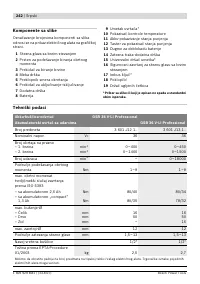
- 196 Технические данные
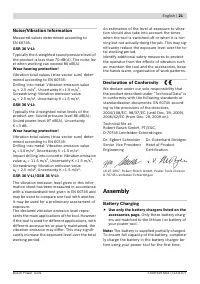
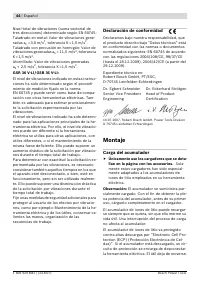
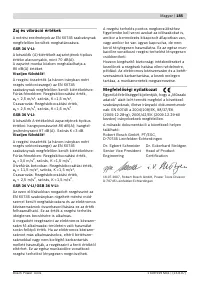
- 197 Данные по шуму и вибрации; Применяйте средства защиты органов слуха!; Заявление о соответствии
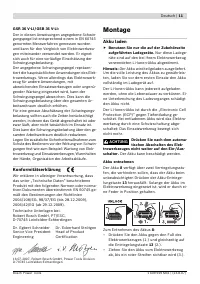
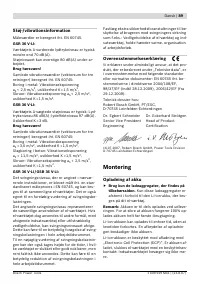
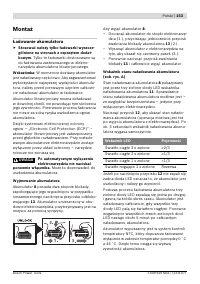
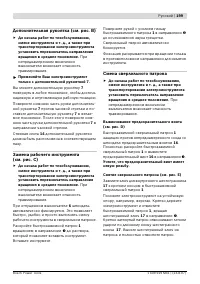
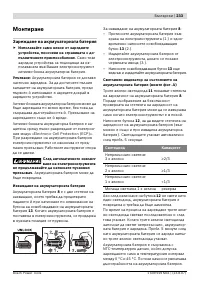
- 198 Сборка; Зарядка аккумулятора; Снятие аккумулятора
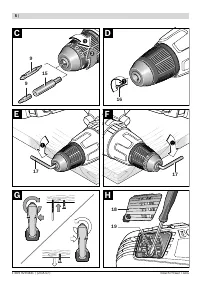
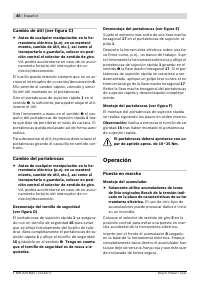
- 199 Смена сверлильного патрона
- 200 Работа с инструментом; Включение электроинструмента
- 201 Установка числа оборотов; Указания по применению; Рукоятка с мягкими накладками
- 202 Техобслуживание и сервис; Техобслуживание и очистка; Россия
- 203 Беларусь; Транспорт


