
Реноваторы Makita DTM52Z - инструкция пользователя по применению, эксплуатации и установке на русском языке. Мы надеемся, она поможет вам решить возникшие у вас вопросы при эксплуатации техники.
Если остались вопросы, задайте их в комментариях после инструкции.
"Загружаем инструкцию", означает, что нужно подождать пока файл загрузится и можно будет его читать онлайн. Некоторые инструкции очень большие и время их появления зависит от вашей скорости интернета.


9 ENGLISH
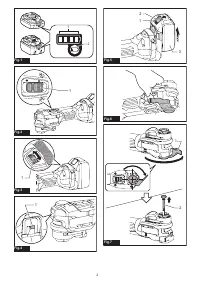
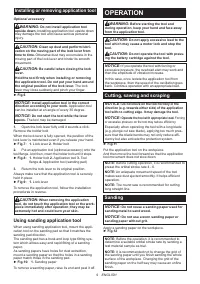
Installing or removing application tool
Optional accessory
WARNING:
Do not install application tool
upside down.
Installing application tool upside down
may damage the tool and cause serious personal
injury.
CAUTION:
Clean up dust and perform lubri-
cation on the moving part of the lock lever from
time to time.
Otherwise dust may accumulate in the
moving part of the lock lever and hinder its smooth
movement.
CAUTION:
Be careful when closing the lock
lever.
Hold the tool firmly when installing or removing
the application tool. Do not put your hand around
the original position of the lock lever.
The lock
lever may close suddenly and pinch your finger.
►
Fig.6
NOTICE:
Install application tool in the correct
direction according to your work.
Application tool
can be installed at an angle of every 30 degree.
NOTICE:
Do not start the tool while the lever
opens.
The tool may be damaged.
1.
Open the lock lever fully until it sounds a click.
Remove the holder bolt.
When the lock lever is fully opened, the position of the
lock lever is maintained even if you release your hand.
►
Fig.7:
1.
Lock lever
2.
Holder bolt
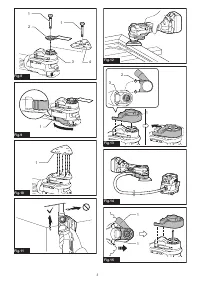
2.
Put an application tool (optional accessory) onto the
tool flange. And then, insert the holder bolt until it stops.
►
Fig.8:
1.
Holder bolt
2.
Application tool
3.
Tool
flange
4.
Application tool (sanding pad)
3.
Return the lock lever to its original position.
Always make sure that the application tool is securely
held in place.
►
Fig.9:
1.
Lock lever
To remove the application tool, follow the installation
procedures in reverse.
CAUTION:
When removing the application
tool, do not touch the application tool or the work-
piece immediately after operation; they may be
extremely hot and could burn your skin.
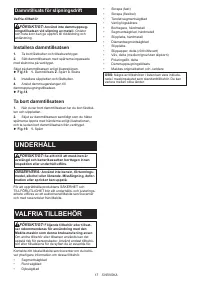
Using sanding application tool
When using sanding application tool, mount the appli-
cation tool on the sanding pad so that it matches the
sanding pad direction.
The sanding pad has a hook and loop type fitting sys
-
tem which allows easy and rapid fitting of a sanding
paper.
As sanding papers have holes for dust extraction,
mount a sanding paper so that the holes in a sanding
paper match those in the sanding pad.
►
Fig.10:
1.
Sanding paper
To remove a sanding paper, raise its end and peel it off.
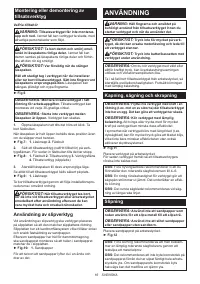
OPERATION
WARNING:
Before starting the tool and
during operation, keep your hand and face away
from the application tool.
CAUTION:
Do not apply excessive load to the
tool which may cause a motor lock and stop the
tool.
CAUTION:
Do not operate the tool with press-
ing the battery cartridge against the tool.
NOTICE:
If you operate the tool with forcing or
excessive pressure, the overload alert may work and
then the amplitude of vibration increase.
In this case, once isolate the application tool from
the workpiece, then the speed of the oscillation goes
back. Continue operation with an appropriate load.
Cutting, sawing and scraping
NOTICE:
Do not move on the tool forcibly in the
direction (e.g. towards either side) of the application
tool with no cutting edge. It may damage the tool.
NOTICE:
Operate the tool with appropriate load.
Forcing
or excessive pressure on the tool may reduce efficiency.
Especially when operating the tool with a long blade
(e.g. plunge cut saw blade), applying too much pres
-
sure that the blade bends may not only reduce effi
-
ciency but also activate the protection system.
►
Fig.11
Put the application tool on the workpiece.
And then move the tool forward so that the application
tool movement does not slow down.
NOTE:
Before cutting operation, it is recommended to
preset the orbital stroke rate 4 - 6.
NOTE:
An adequate movement speed of the tool
makes saw dust ejected smoothly. It helps efficient
operation.
NOTE:
The round saw is recommended for cutting
long straight line.
Sanding
NOTICE:
Do not reuse a sanding paper used for
sanding metal to sand wood.
NOTICE:
Do not use a worn sanding paper or
sanding paper without grit.
Apply a sanding paper on the workpiece.
►
Fig.12
NOTE:
Before the operation, it is recommended to
determine a suitable orbital stroke rate by sanding a
test material sample as trial.
NOTE:
It is recommended not to change the grid of
the sanding paper until you finish sanding the whole
surface of the workpiece. Changing the grid of the
sanding paper on the half way may cause an unfine
finish.
Содержание
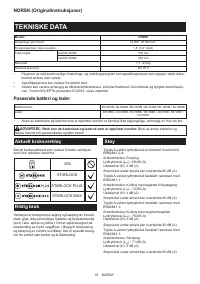
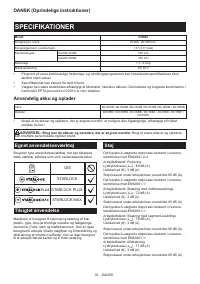
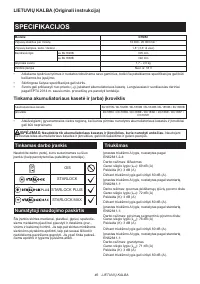
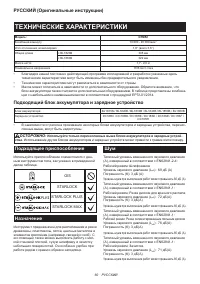
- 60 ТЕХНИЧЕСКИЕ ХАРАКТЕРИСТИКИ; Подходящий блок аккумулятора и зарядное устройство; Назначение
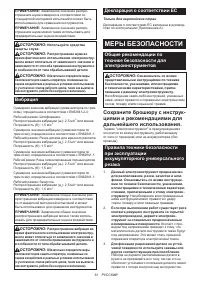
- 61 МЕРЫ БЕЗОПАСНОСТИ; Сохраните брошюру с инструк
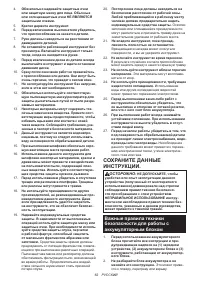
- 62 СОХРАНИТЕ ДАННЫЕ; Важные правила техники
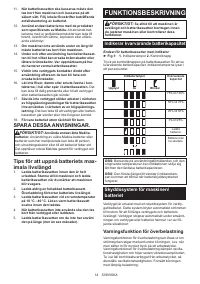
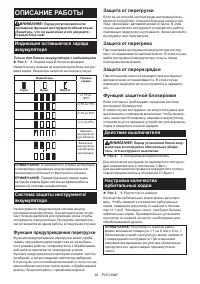
- 64 ОПИСАНИЕ РАБОТЫ; Функция предупреждения перегрузки
- 65 Постоянный контроль скорости; СБОРКА
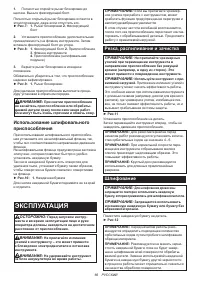
- 66 Использование шлифовального; ЭКСПЛУАТАЦИЯ; Резка, распиливание и зачистка
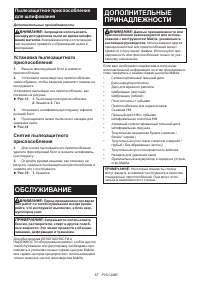
- 67 Пылезащитное приспособление; Установка пылезащитного; ОБСЛУЖИВАНИЕ
Характеристики

Остались вопросы?Не нашли свой ответ в руководстве или возникли другие проблемы? Задайте свой вопрос в форме ниже с подробным описанием вашей ситуации, чтобы другие люди и специалисты смогли дать на него ответ. Если вы знаете как решить проблему другого человека, пожалуйста, подскажите ему :)


