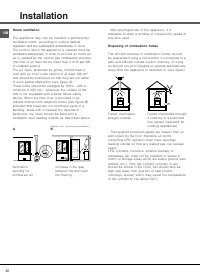
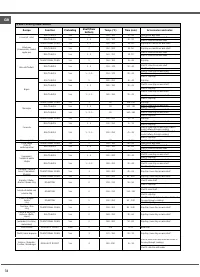
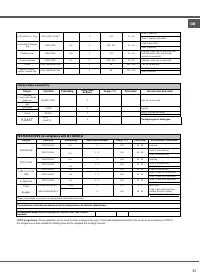
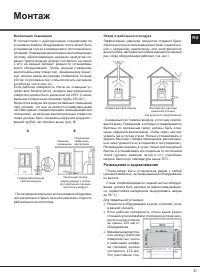
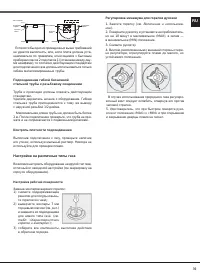
Плита Whirlpool AXMT 6332/IX/1 - инструкция пользователя по применению, эксплуатации и установке на русском языке. Мы надеемся, она поможет вам решить возникшие у вас вопросы при эксплуатации техники.
Если остались вопросы, задайте их в комментариях после инструкции.
"Загружаем инструкцию", означает, что нужно подождать пока файл загрузится и можно будет его читать онлайн. Некоторые инструкции очень большие и время их появления зависит от вашей скорости интернета.

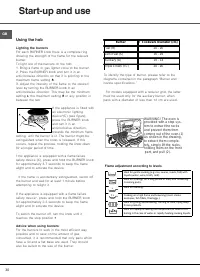


GB
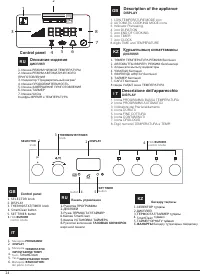
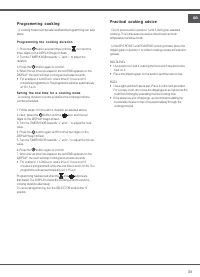
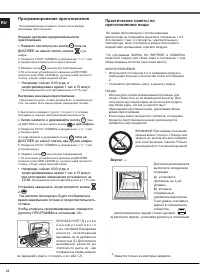
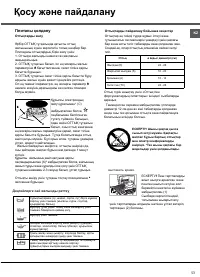
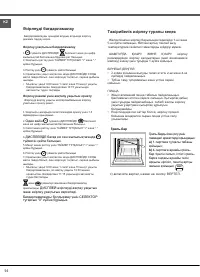
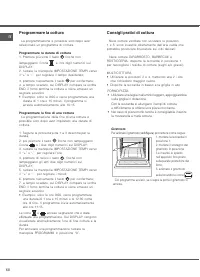
P r o g r a m m i n g c o o k i n g
A cooking mode must be selected before programming can take
place.
P r o g r a m m i n g t h e c o o k i n g d u r a t i o n
1. Press the
button several times until the
icon and the
three digits on the DISPLAY begin to flash.
2. Turn the TIMER KNOB towards “+” and “-” to adjust the
duration.
3. Press the
button again to confirm;
4. When the set time has elapsed, the text END appears on the
DISPLAY, the oven will stop cooking and a buzzer sounds.
• For example: it is 9:00 a.m. and a time of 1 hour and 15
minutes is programmed. The programme will stop automatically
at 10:15 a.m.
S e t t i n g t h e e n d t i m e f o r a c o o k i n g m o d e
A cooking duration must be set before the cooking end time
can be scheduled.
1. Follow steps 1 to 3 to set the duration as detailed above.
2. Next, press the
button until the
icon and the two
digits on the DISPLAY begin to flash.
3. Turn the TIMER KNOB towards “+” and “-” to adjust the hour
value.
4. Press the
button again until the other two digits on the
DISPLAY begin to flash.
5. Turn the TIMER KNOB towards “+” and “-” to adjust the minute
value.
6. Press the
button again to confirm.
7. When the set time has elapsed, the text END appears on the
DISPLAY, the oven will stop cooking and a buzzer sounds.
• For example: it is 9:00 a.m. and a time of 1 hour and 15
minutes is programmed, while the end time is set to 12:30. The
programme will start automatically at 11:15 a.m.
Programming has been set when the
and
buttons are
illuminated. The DISPLAY shows the cooking end time and the
cooking duration alternately.
To cancel programming, turn the SELECTOR knob to the “0”
position.
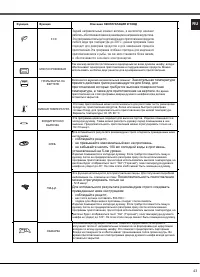
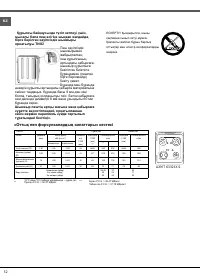
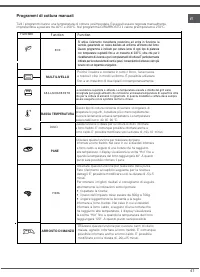
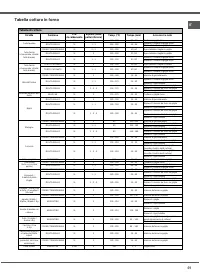
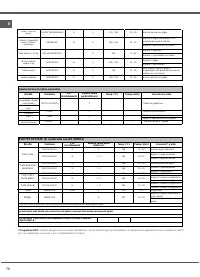
Practical cooking advice
Do not place racks in position 1 and 5 during fan-assisted
cooking. This is because excessive direct heat can burn
temperature sensitive foods.
In the SPIT ROAST and ROASTING cooking modes, place the
dripping pan in position 1 to collect cooking residues (fat and/or
grease).
MULTILEVEL
• Use positions 2 and 4, placing the food which requires more
heat on 2.
• Place the dripping pan on the bottom and the rack on top.
PIZZA
• Use a light aluminium pizza pan. Place it on the rack provided.
For a crispy crust, do not use the dripping pan as it prevents the
crust from forming by extending the total cooking time.
• If the pizza has a lot of toppings, we recommend adding the
mozzarella cheese on top of the pizza halfway through the
cooking process.
33
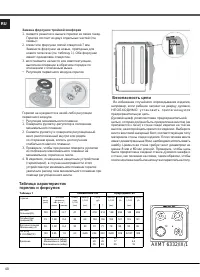
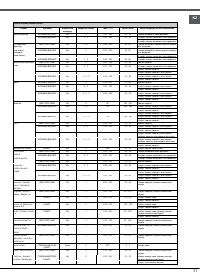
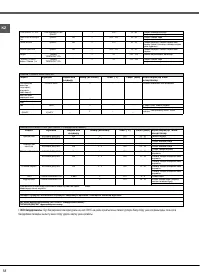
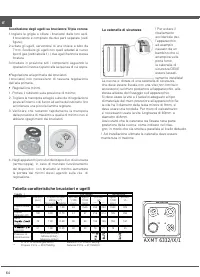
Характеристики

Остались вопросы?Не нашли свой ответ в руководстве или возникли другие проблемы? Задайте свой вопрос в форме ниже с подробным описанием вашей ситуации, чтобы другие люди и специалисты смогли дать на него ответ. Если вы знаете как решить проблему другого человека, пожалуйста, подскажите ему :)


