
Перфораторы Makita DHR282ZJ - инструкция пользователя по применению, эксплуатации и установке на русском языке. Мы надеемся, она поможет вам решить возникшие у вас вопросы при эксплуатации техники.
Если остались вопросы, задайте их в комментариях после инструкции.
"Загружаем инструкцию", означает, что нужно подождать пока файл загрузится и можно будет его читать онлайн. Некоторые инструкции очень большие и время их появления зависит от вашей скорости интернета.
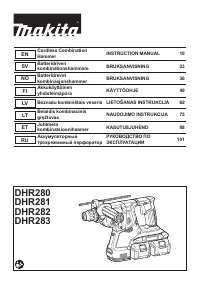


13 ENGLISH
5.
Do not use the wireless unit in places where
the temperature exceeds 50°C (122°F).
6.
Do not operate the wireless unit in places
where medical instruments, such as heart
pace makers are near by.
7.
Do not operate the wireless unit in places
where automated devices are near by.
If oper-
ated, automated devices may develop malfunction
or error.
8.
The wireless unit can produce electromagnetic
fields (EMF) but they are not harmful to the
user.
9.
The wireless unit is an accurate instrument. Be
careful not to drop or strike the wireless unit.
10.
Avoid touching the terminal of the wireless
unit with bare hands or metallic materials.
11.
Always remove the battery on the tool when
installing the wireless unit.
12.
When opening the lid of the slot, avoid the
place where dust and water may come into the
slot. Always keep the inlet of the slot clean.
13.
Always insert the wireless unit in the correct
direction.
14.
Do not press the wireless activation button
on the wireless unit too hard and/or press the
button with an object with a sharp edge.
15.
Always close the lid of the slot when
operating.
16.
Do not remove the wireless unit from the slot
while the power is being supplied to the tool.
Doing so may cause a malfunction of the wireless
unit.
17.
Do not remove the sticker on the wireless unit.
18.
Do not put any sticker on the wireless unit.
19.
Do not leave the wireless unit in a place where
static electricity or electrical noise could be
generated.
20.
Do not leave the wireless unit in a place sub-
ject to high heat, such as a car sitting in the
sun.
21.
Do not leave the wireless unit in a dusty or
powdery place or in a place corrosive gas
could be generated.
22.
Sudden change of the temperature may bedew
the wireless unit. Do not use the wireless unit
until the dew is completely dried.
23.
When cleaning the wireless unit, gently wipe
with a dry soft cloth. Do not use benzine, thin-
ner, conductive grease or the like.
24.
When storing the wireless unit, keep it in the
supplied case or a static-free container.
25.
Do not insert any devices other than Makita
wireless unit into the slot on the tool.
26.
Do not use the tool with the lid of the slot dam-
aged.
Water, dust, and dirt come into the slot may
cause malfunction.
27.
Do not pull and/or twist the lid of the slot more
than necessary.
Restore the lid if it comes off
from the tool.
28.
Replace the lid of the slot if it is lost or
damaged.
SAVE THESE INSTRUCTIONS.
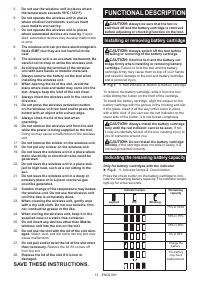
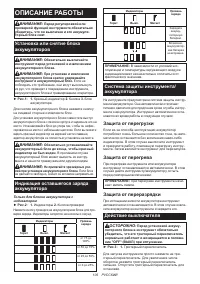
FUNCTIONAL DESCRIPTION
CAUTION:
Always be sure that the tool is
switched off and the battery cartridge is removed
before adjusting or checking function on the tool.
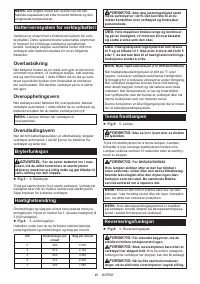
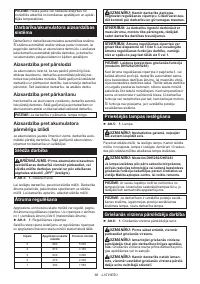
Installing or removing battery cartridge
CAUTION:
Always switch off the tool before
installing or removing of the battery cartridge.
CAUTION:
Hold the tool and the battery car-
tridge firmly when installing or removing battery
cartridge.
Failure to hold the tool and the battery
cartridge firmly may cause them to slip off your hands
and result in damage to the tool and battery cartridge
and a personal injury.
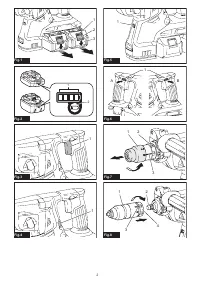
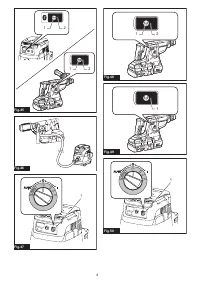
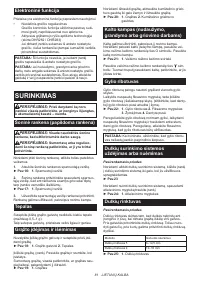
►
Fig.1:
1.
Red indicator
2.
Button
3.
Battery cartridge
To remove the battery cartridge, slide it from the tool
while sliding the button on the front of the cartridge.
To install the battery cartridge, align the tongue on the
battery cartridge with the groove in the housing and slip
it into place. Insert it all the way until it locks in place
with a little click. If you can see the red indicator on the
upper side of the button, it is not locked completely.
CAUTION:
Always install the battery cartridge
fully until the red indicator cannot be seen.
If not,
it may accidentally fall out of the tool, causing injury to
you or someone around you.
CAUTION:
Do not install the battery cartridge
forcibly.
If the cartridge does not slide in easily, it is
not being inserted correctly.
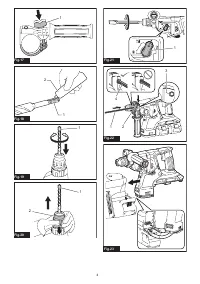
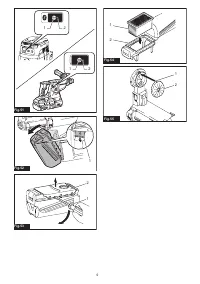
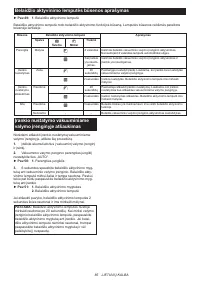
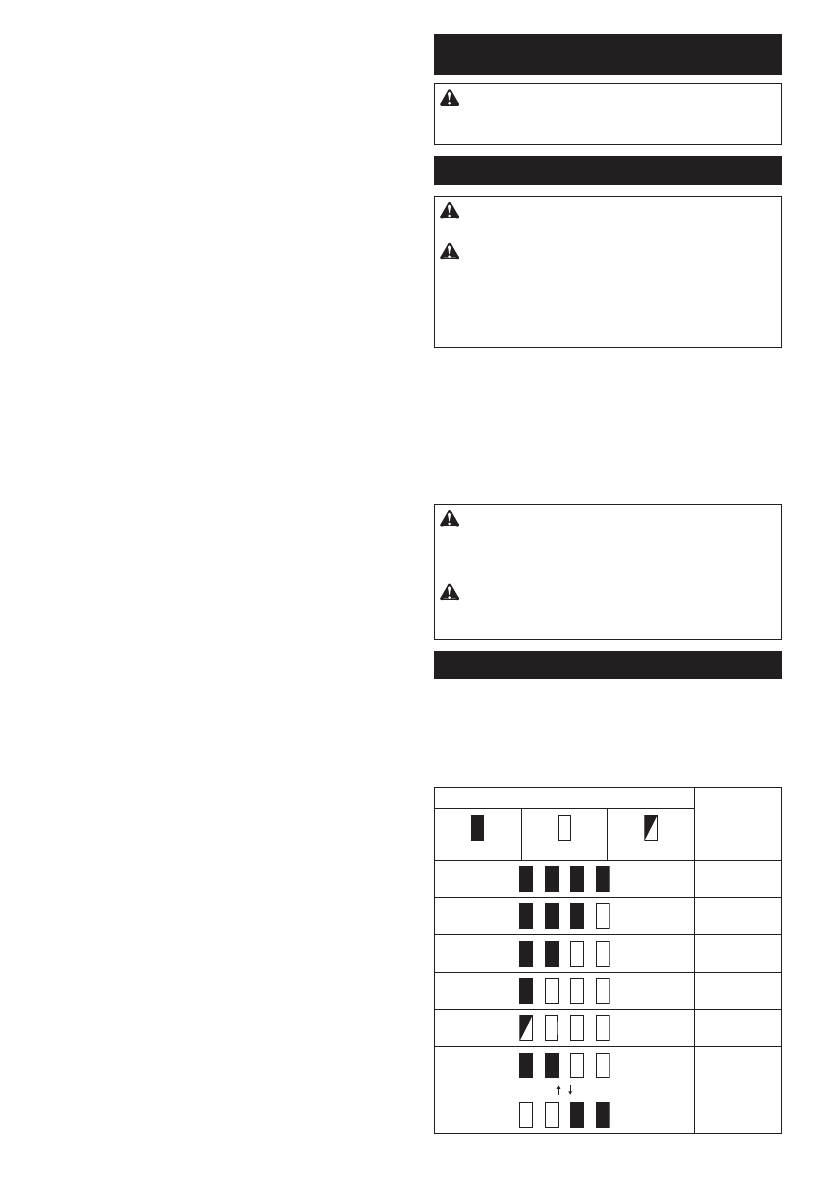
Indicating the remaining battery capacity
Only for battery cartridges with the indicator
►
Fig.2:
1.
Indicator lamps
2.
Check button
Press the check button on the battery cartridge to indi-
cate the remaining battery capacity. The indicator lamps
light up for a few seconds.
Indicator lamps
Remaining
capacity
Lighted
Off
Blinking
75% to 100%
50% to 75%
25% to 50%
0% to 25%
Charge the
battery.
The battery
may have
malfunctioned.
Содержание
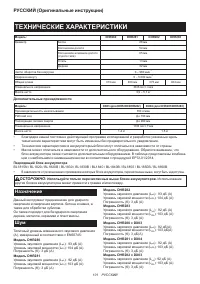
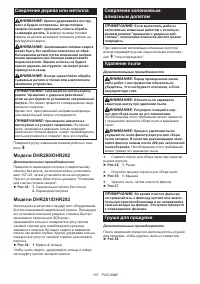
- 101 ТЕХНИЧЕСКИЕ ХАРАКТЕРИСТИКИ; Назначение
- 102 МЕРЫ БЕЗОПАСНОСТИ; Сохраните брошюру с инструк
- 103 Важные правила техники; СОХРАНИТЕ ДАННЫЕ
- 104 Советы по обеспечению мак
- 105 ОПИСАНИЕ РАБОТЫ; Защита от перегрузки
- 106 Изменение скорости; Включение передней лампы
- 107 Установка быстро cменяемого
- 108 СБОРКА
- 109 Колпак для пыли в сборе; ЭКСПЛУАТАЦИЯ; Сверление с ударным действием
- 110 Сверление дерева или металла; Сверление колонковым; Груша для продувки
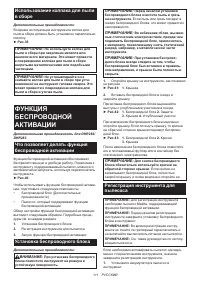
- 111 ФУНКЦИЯ
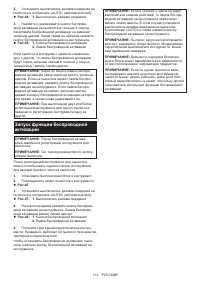
- 112 Запуск функции беспроводной
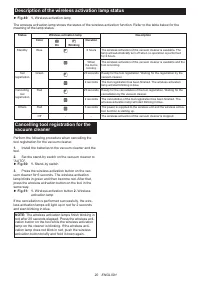
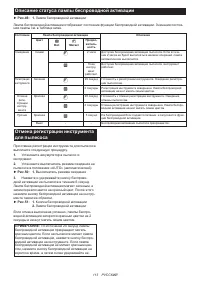
- 113 Описание статуса лампы беспроводной активации
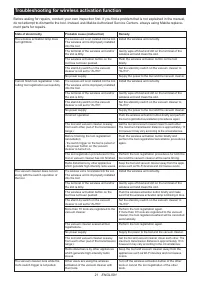
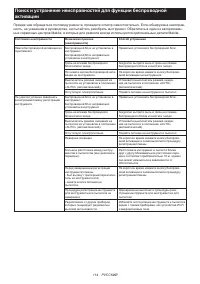
- 114 Поиск и устранение неисправностей для функции беспроводной
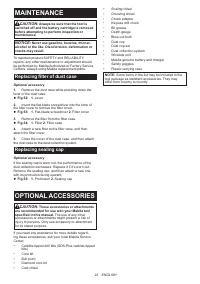
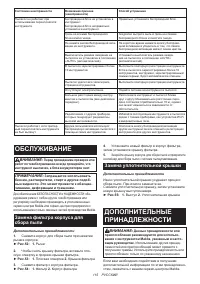
- 115 ОБСЛУЖИВАНИЕ; Замена фильтра корпуса для; Замена уплотнительной крышки; ДОПОЛНИТЕЛЬНЫЕ
Характеристики

Остались вопросы?Не нашли свой ответ в руководстве или возникли другие проблемы? Задайте свой вопрос в форме ниже с подробным описанием вашей ситуации, чтобы другие люди и специалисты смогли дать на него ответ. Если вы знаете как решить проблему другого человека, пожалуйста, подскажите ему :)


