Перфораторы Makita DHR182ZWJ - инструкция пользователя по применению, эксплуатации и установке на русском языке. Мы надеемся, она поможет вам решить возникшие у вас вопросы при эксплуатации техники.
Если остались вопросы, задайте их в комментариях после инструкции.
"Загружаем инструкцию", означает, что нужно подождать пока файл загрузится и можно будет его читать онлайн. Некоторые инструкции очень большие и время их появления зависит от вашей скорости интернета.


17 ENGLISH
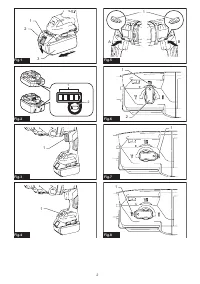
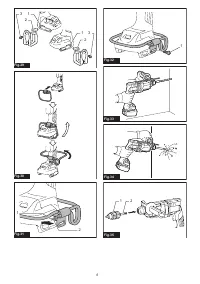
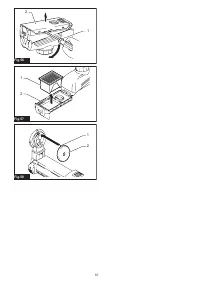
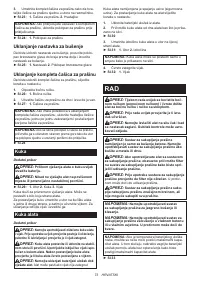
Removing the drill bit
To remove the drill bit, pull the chuck cover down all the
way and pull the drill bit out.
►
Fig.25:
1.
Bit
2.
Chuck cover
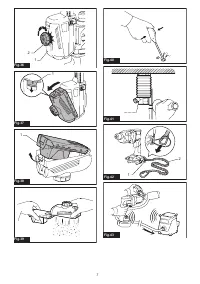
Removing the dust cup set
To remove the dust cup set, follow the steps below.
1.
Loosen the side grip.
►
Fig.26:
1.
Side grip
2.
Hold the root of dust cup and pull it out.
►
Fig.27:
1.
Dust cup
NOTE:
If it is difficult to remove the dust cup set,
remove the claws of the dust cup one by one by
swinging and pulling the root of the dust cup.
NOTE:
If the cap comes off from the dust cup, attach
it with its printed side facing up so that groove on the
cap fits in the inside periphery of the attachment.
►
Fig.28
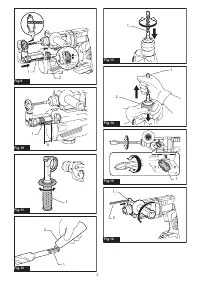
Hook
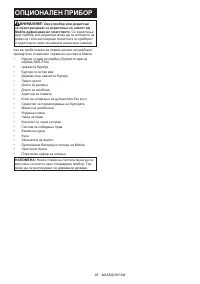
Optional accessory
CAUTION:
Always remove the battery when
hanging the tool with the hook.
CAUTION:
Never hook the tool at high loca
-
tion or on potentially unstable surface.
►
Fig.29:
1.
Groove
2.
Hook
3.
Screw
The hook is convenient for temporarily hanging the tool.
This can be installed on either side of the tool.
To install the hook, insert it into a groove in the tool
housing on either side and then secure it with a screw.
To remove, loosen the screw and then take it out.
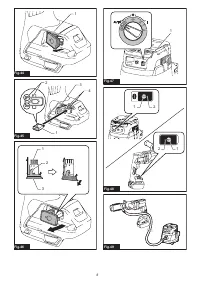
Tool hanger
Optional accessory
CAUTION:
Do not use damaged tool hanger
and screw. Before use, always check for dam
-
ages, cracks or deformations, and make sure that
the screw is tightened.
CAUTION:
Install or remove the tool hanger
on a stable table or surface. Be sure to use the
screw provided with the tool hanger only. After
installing the tool hanger, make sure that the tool
hanger is securely installed with the screw.
CAUTION:
Do not remove the battery car
-
tridge while hanging the tool.
The tool may fall if the
screw is not tightened.
The tool hanger is intended for connecting the lanyard
(tether strap). To install the tool hanger to the tool,
follow the steps below.
1.
Remove the battery cartridge from the tool.
2.
Attach the tool hanger from the bottom of the tool
as shown in the figure.
►
Fig.30
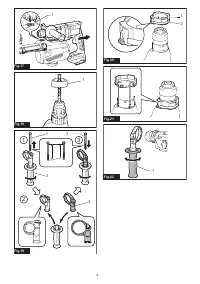
3.
Insert the protrusion of the tool hanger into the
groove on the left side of the tool.
►
Fig.31:
1.
Groove
2.
Protrusion
NOTE:
The tool hanger can be installed in the direc-
tion as shown in the figure only.
4.
Tighten the screw firmly.
►
Fig.32:
1.
Screw
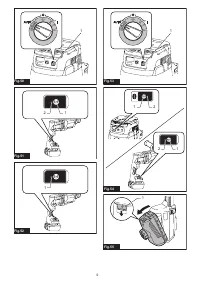
OPERATION
CAUTION:
Always use the side grip (auxiliary
handle) and firmly hold the tool by both side grip
and switch handle during operations.
CAUTION:
Always make sure that the work
-
piece is secured before operation.
CAUTION:
Do not pull the tool out forcibly
even the bit gets stuck. Loss of control may
cause injury.
CAUTION:
The dust collection system is
intended for drilling in concrete only. Do not use the
dust collection system for drilling in metal or wood.
CAUTION:
When using the tool with the dust
collection system, be sure to attach the filter
to the dust collection system to prevent dust
inhalation.
CAUTION:
Before using the dust collection
system, check that the filter is not damaged.
Failure to do so may cause dust inhalation.
CAUTION:
The dust collection system col
-
lects the generated dust at a considerable rate,
but not all dust can be collected.
NOTICE:
Do not use the dust collection system
for core drilling or chiseling.
NOTICE:
Do not use the dust collection system
for drilling in wet concrete or use this system
in wet environment. Failure to do so may cause
malfunction.
NOTE:
If the battery cartridge is in low temperature,
the tool’s capability may not be fully obtained. In this
case, warm up the battery cartridge by using the
tool with no load for a while to fully obtain the tool’s
capability.
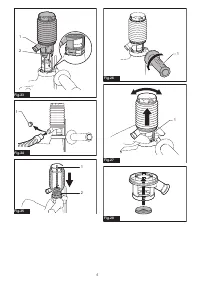
►
Fig.33
Hammer drilling operation
CAUTION:
There is tremendous and sudden
twisting force exerted on the tool/drill bit at the time of
hole break-through, when the hole becomes clogged
with chips and particles, or when striking reinforcing
rods embedded in the concrete.
Always use the side
grip (auxiliary handle) and firmly hold the tool by
both side grip and switch handle during opera
-
tions.
Failure to do so may result in the loss of control
of the tool and potentially severe injury.
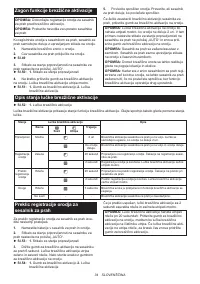
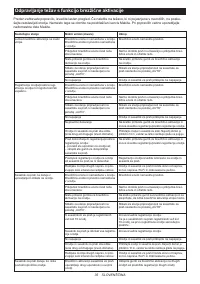
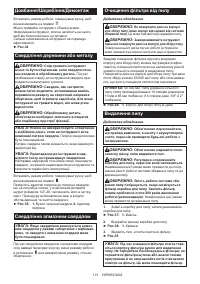
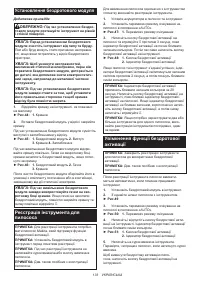
Содержание
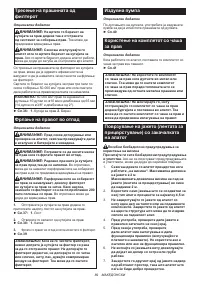
- 138 МЕРЫ БЕЗОПАСНОСТИ; Сохраните брошюру с инструк
- 139 Важные правила техники; СОХРАНИТЕ ДАННЫЕ
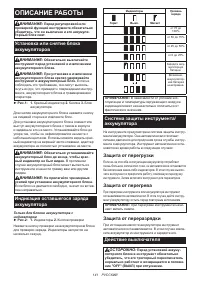
- 140 Советы по обеспечению мак
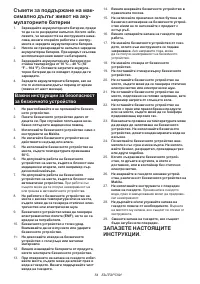
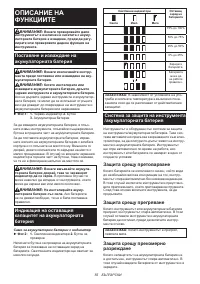
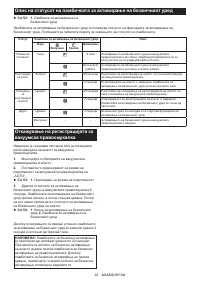
- 141 ОПИСАНИЕ РАБОТЫ; Защита от перегрузки
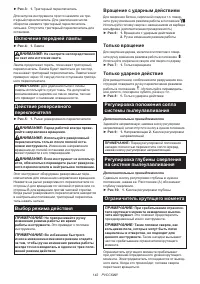
- 142 Вращение с ударным действием
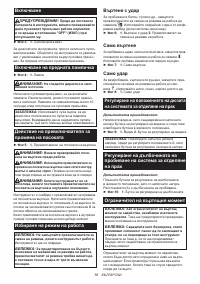
- 143 СБОРКА; Установка колпака для пыли в сборе
- 144 Снятие головки сверла; Крючок для подвешивания; ЭКСПЛУАТАЦИЯ
- 145 Сверление с ударным действием
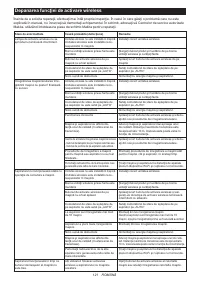
- 147 ФУНКЦИЯ; Что позволяет делать функция
- 148 Регистрация инструмента для
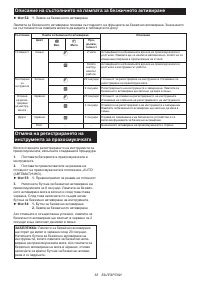
- 149 Описание статуса лампы беспроводной активации
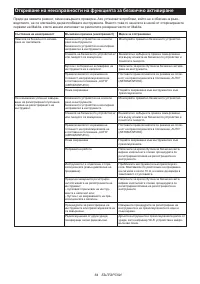
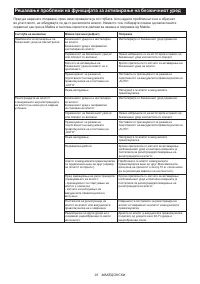
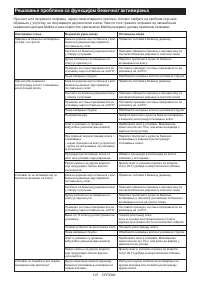
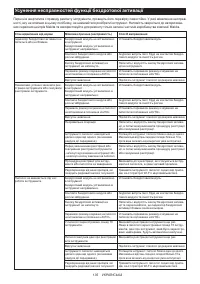
- 150 Поиск и устранение неисправностей для функции беспроводной
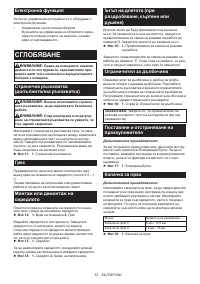
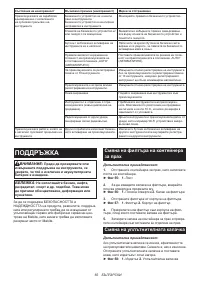
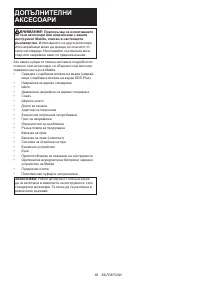
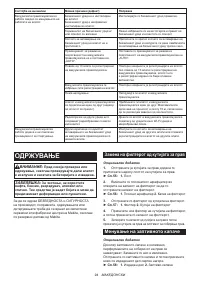
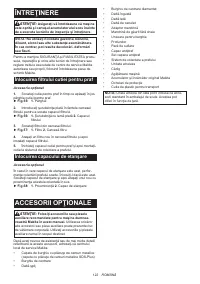
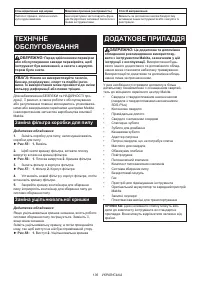
- 151 ОБСЛУЖИВАНИЕ; Замена фильтра корпуса для сбора пыли; Замена уплотнительной крышки; ДОПОЛНИТЕЛЬНЫЕ
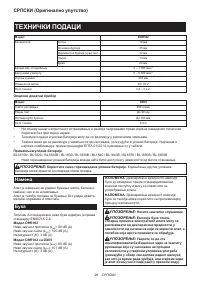
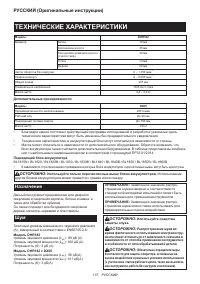
Характеристики

Остались вопросы?Не нашли свой ответ в руководстве или возникли другие проблемы? Задайте свой вопрос в форме ниже с подробным описанием вашей ситуации, чтобы другие люди и специалисты смогли дать на него ответ. Если вы знаете как решить проблему другого человека, пожалуйста, подскажите ему :)


