Перфораторы Makita DHR182ZWJ - инструкция пользователя по применению, эксплуатации и установке на русском языке. Мы надеемся, она поможет вам решить возникшие у вас вопросы при эксплуатации техники.
Если остались вопросы, задайте их в комментариях после инструкции.
"Загружаем инструкцию", означает, что нужно подождать пока файл загрузится и можно будет его читать онлайн. Некоторые инструкции очень большие и время их появления зависит от вашей скорости интернета.


15 ENGLISH
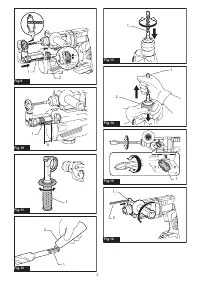
Switch action
WARNING:
Before installing the battery car
-
tridge into the tool, always check to see that the
switch trigger actuates properly and returns to
the "OFF" position when released.
►
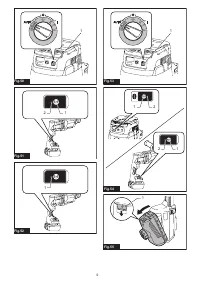
Fig.3:
1.
Switch trigger
To start the tool, simply pull the switch trigger. Tool
speed is increased by increasing pressure on the switch
trigger. Release the switch trigger to stop.
Lighting up the front lamp
►
Fig.4:
1.
Lamp
CAUTION:
Do not look in the light or see the
source of light directly.
Pull the switch trigger to light up the lamp. The lamp
keeps on lighting while the switch trigger is being pulled.
The lamp goes out approximately 10 seconds after
releasing the switch trigger.
NOTE:
Use a dry cloth to wipe the dirt off the lens of
the lamp. Be careful not to scratch the lens of lamp, or
it may lower the illumination.
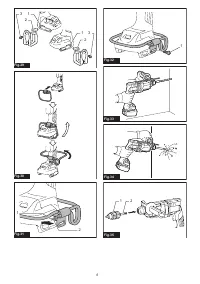
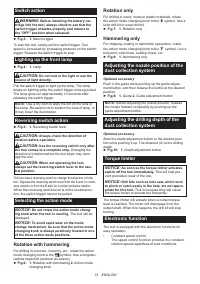
Reversing switch action
►
Fig.5:
1.
Reversing switch lever
CAUTION:
Always check the direction of
rotation before operation.
CAUTION:
Use the reversing switch only after
the tool comes to a complete stop.
Changing the
direction of rotation before the tool stops may dam-
age the tool.
CAUTION:
When not operating the tool,
always set the reversing switch lever to the neu
-
tral position.
This tool has a reversing switch to change the direction of rota-
tion. Depress the reversing switch lever from the A side for clock-
wise rotation or from the B side for counterclockwise rotation.
When the reversing switch lever is in the neutral posi-
tion, the switch trigger cannot be pulled.
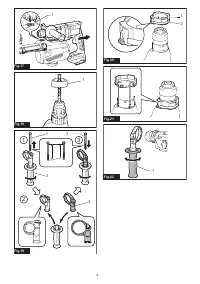
Selecting the action mode
NOTICE:
Do not rotate the action mode chang
-
ing knob when the tool is running.
The tool will be
damaged.
NOTICE:
To avoid rapid wear on the mode
change mechanism, be sure that the action mode
changing knob is always positively located in one
of the three action mode positions.
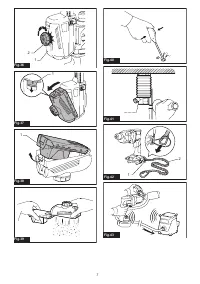
Rotation with hammering
For drilling in concrete, masonry, etc., rotate the action
mode changing knob to the
symbol. Use a tungsten-
carbide tipped bit (optional accessory).
►
Fig.6:
1.
Rotation with hammering
2.
Action mode
changing knob
Rotation only
For drilling in wood, metal or plastic materials, rotate
the action mode changing knob to the symbol. Use a
twist drill bit or wood drill bit.
►
Fig.7:
1.
Rotation only
Hammering only
For chipping, scaling or demolition operations, rotate
the action mode changing knob to the symbol. Use a
bull point, cold chisel, scaling chisel, etc.
►
Fig.8:
1.
Hammering only
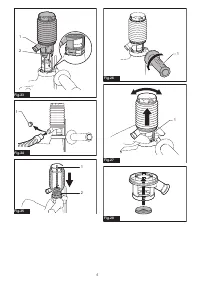
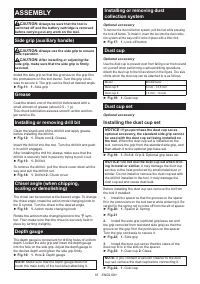
Adjusting the nozzle position of the
dust collection system
Optional accessory
Push in the guide while pushing up the guide adjust
-
ment button, and then release the button at the desired
position.
►
Fig.9:
1.
Guide
2.
Guide adjustment button
NOTE:
Before adjusting the nozzle position, release
the nozzle forward completely by pushing up the
guide adjustment button.
Adjusting the drilling depth of the
dust collection system
Optional accessory
Slide the depth adjustment button to the desired posi
-
tion while pushing it up. The distance (A) is the drilling
depth.
►
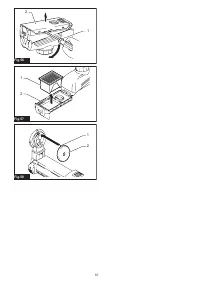
Fig.10:
1.
Depth adjustment button
Torque limiter
NOTICE:
As soon as the torque limiter actuates,
switch off the tool immediately.
This will help pre-
vent premature wear of the tool.
NOTICE:
Drill bits such as hole saw, which tend
to pinch or catch easily in the hole, are not appro
-
priate for this tool.
This is because they will cause
the torque limiter to actuate too frequently.
The torque limiter will actuate when a certain torque
level is reached. The motor will disengage from the
output shaft. When this happens, the drill bit will stop
turning.
Electronic function
The tool is equipped with the electronic functions for
easy operation.
•
Constant speed control
The speed control function provides the constant
rotation speed regardless of load conditions.
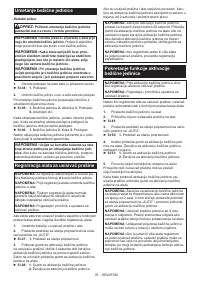
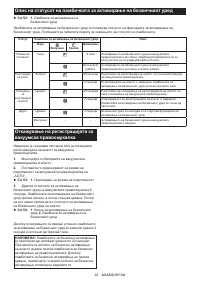
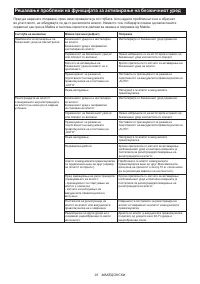
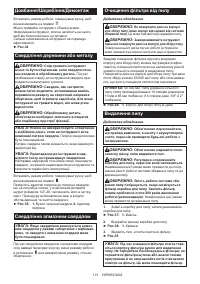
Содержание
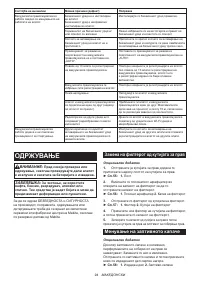
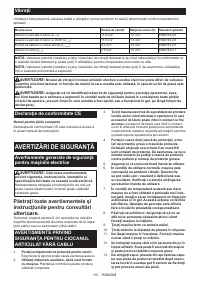
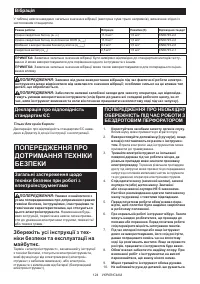
- 138 МЕРЫ БЕЗОПАСНОСТИ; Сохраните брошюру с инструк
- 139 Важные правила техники; СОХРАНИТЕ ДАННЫЕ
- 140 Советы по обеспечению мак
- 141 ОПИСАНИЕ РАБОТЫ; Защита от перегрузки
- 142 Вращение с ударным действием
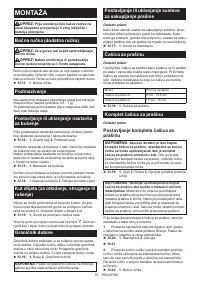
- 143 СБОРКА; Установка колпака для пыли в сборе
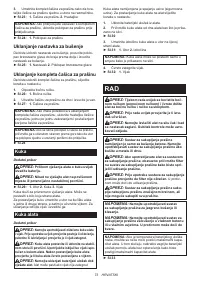
- 144 Снятие головки сверла; Крючок для подвешивания; ЭКСПЛУАТАЦИЯ
- 145 Сверление с ударным действием
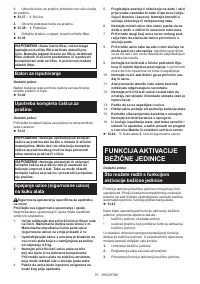
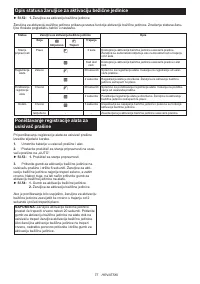
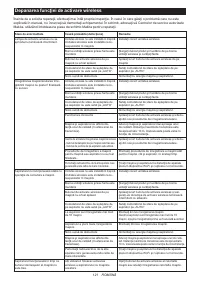
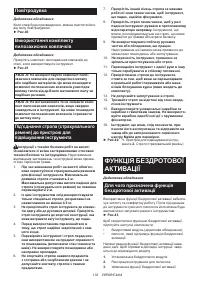
- 147 ФУНКЦИЯ; Что позволяет делать функция
- 148 Регистрация инструмента для
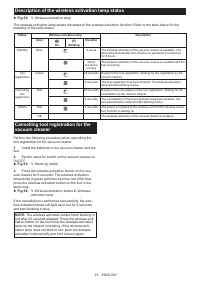
- 149 Описание статуса лампы беспроводной активации
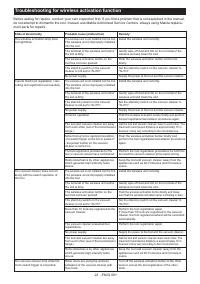
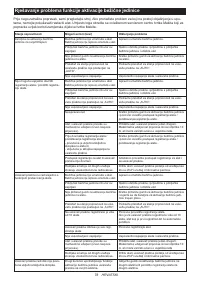
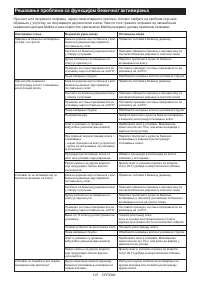
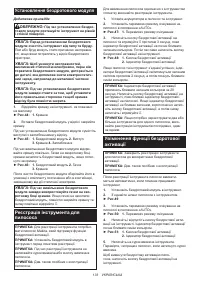
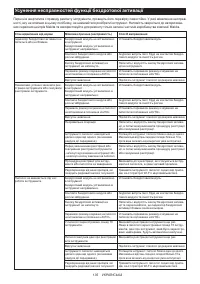
- 150 Поиск и устранение неисправностей для функции беспроводной
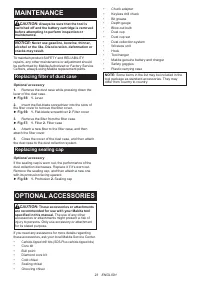
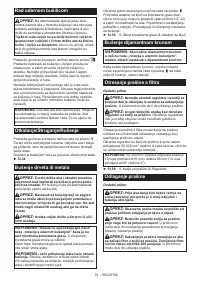
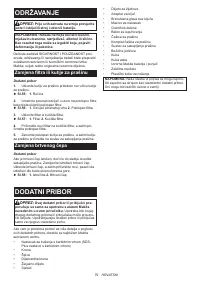
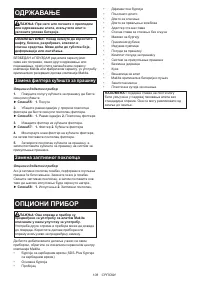
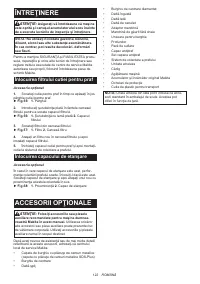
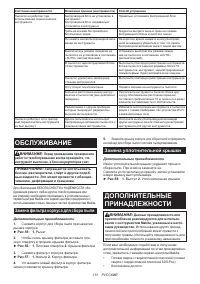
- 151 ОБСЛУЖИВАНИЕ; Замена фильтра корпуса для сбора пыли; Замена уплотнительной крышки; ДОПОЛНИТЕЛЬНЫЕ
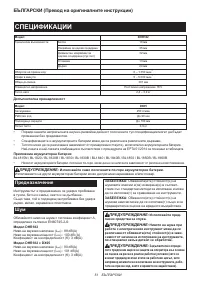
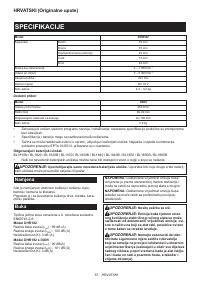
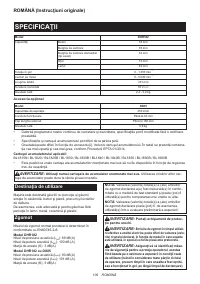
Характеристики

Остались вопросы?Не нашли свой ответ в руководстве или возникли другие проблемы? Задайте свой вопрос в форме ниже с подробным описанием вашей ситуации, чтобы другие люди и специалисты смогли дать на него ответ. Если вы знаете как решить проблему другого человека, пожалуйста, подскажите ему :)


