
Мультиметры BENNING MM 1-3 044083 - инструкция пользователя по применению, эксплуатации и установке на русском языке. Мы надеемся, она поможет вам решить возникшие у вас вопросы при эксплуатации техники.
Если остались вопросы, задайте их в комментариях после инструкции.
"Загружаем инструкцию", означает, что нужно подождать пока файл загрузится и можно будет его читать онлайн. Некоторые инструкции очень большие и время их появления зависит от вашей скорости интернета.


20
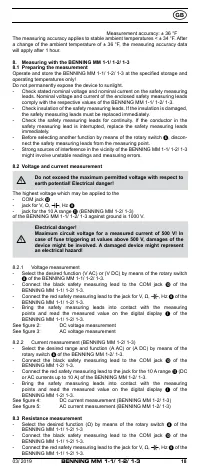
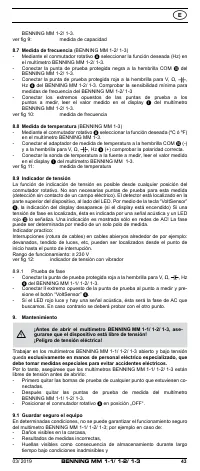
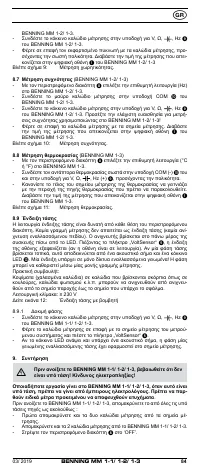
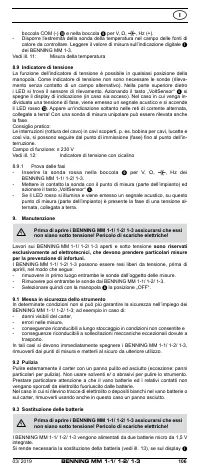
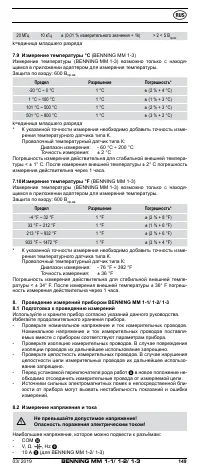
- Arrange the end of the temperature measuring lead in the vicinity of the heat
source to be monitored. Read the measured value on the digital display
of the BENNING MM 1-3.
See figure 11:
Temperature measurement
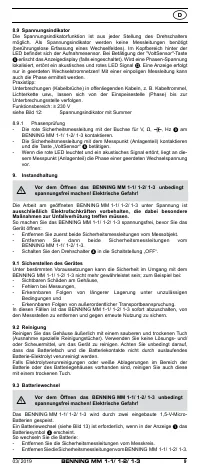
8.9 Voltage indicator
The voltage indicator function is possible from each position of the rotary switch.
No measuring leads are required as voltage indicator (non-contact detection
of an alternating field). The detector is located on the upper part of the device
behind the LED. By pressing the „VoltSensor“ key
5
, the display indication dis-
appears (if the display is switched on). If a phase voltage is localized, this is
indicated by an acoustic signal and a red LED signal
M
. An indication is made in
earthed AC current networks only! The phase can be determined by means of a
single-pole measuring lead.
Practical hint:
Interruptions (cable breaks) in cables lying around openly such as e.g. cable
reels, fairy lights etc. can be traced from the feeding point (phase) to the point
of interruption.
Functional range:
≥
230 V
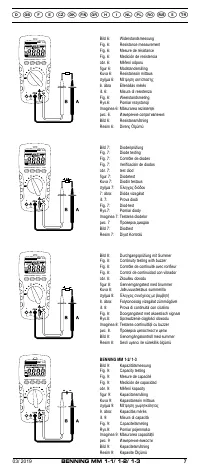
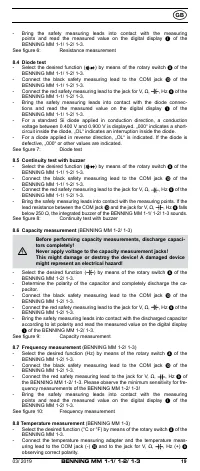
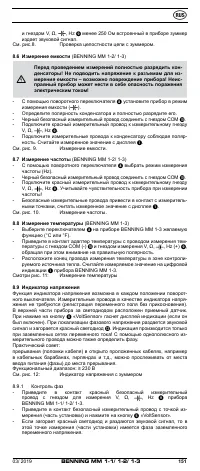
See figure 12:
Voltage indicator with buzzer
8.9.1 Phase test
- Connect the red safety measuring lead to the jack for V,
,
, Hz
9
of the
BENNING MM 1-1/ 1-2/ 1-3.
- Bring the safety measuring lead into contact with the measuring point of the
system part and press the „VoltSensor“ key
5
.
- If the red LED lights and if there is an acoustic signal, the phase of an
earthed AC voltage is applied to this measuring point (system part).
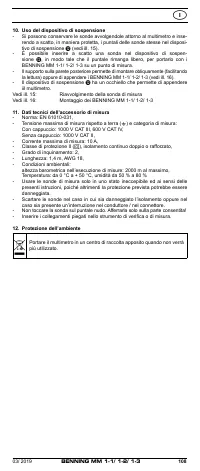
9. Maintenance
Before opening the BENNING MM 1-1/ 1-2/ 1-3, make sure that
the device is free of voltage! Electrical danger!
Working on the opened BENNING MM 1-1/ 1-2/ 1-3 under voltage must be car-
ried out by
skilled electricians with special precautions for the prevention
of accidents only!
Make sure that the BENNING MM 1-1/ 1-2/ 1-3 is free of voltage as described
below before opening the device:
- First, remove both safety measuring leads from the object to be measured.
-
Then, remove both safety measuring leads from the BENNING MM 1-1/ 1-2/ 1-3.
- Switch the rotary switch
8
to position „OFF“.
9.1 Securing the device
Under certain circumstances, safe operation of the BENNING MM 1-1/ 1-2/ 1-3
might no longer be ensured, e.g. in case of:
- visible damages of the housing,
- incorrect measuring results,
- recognizable consequences of prolonged storage under inadmissible condi-
tions and
- recognizable consequences of extraordinary stress due to transport.
In such cases, immediately switch off the BENNING MM 1-1/ 1-2/ 1-3, discon-
nect it from the measuring points and secure it against further use.
9.2 Cleaning
Clean the exterior of the device with a clean dry cloth (exception: special
cleaning wipers). Do not use any solvents and/or abrasives to clean the device.
Make sure that the battery compartment and the battery contacts are not con-
taminated by leaking battery electrolyte.
If there are electrolyte contamination or white deposits in the area of the battery
or the battery compartment, clean these areas as well by means of a dry cloth.
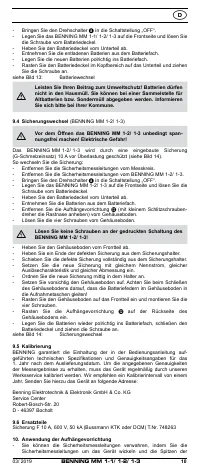
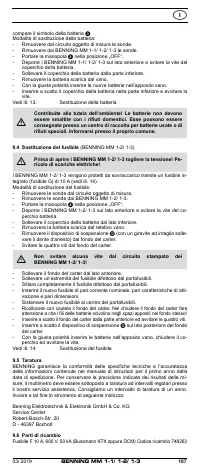
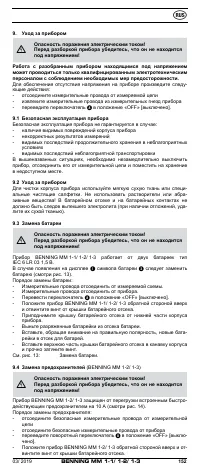
9.3 Battery replacement
Before opening the BENNING MM 1-1/ 1-2/ 1-3, make sure that
the device is free of voltage! Electrical danger!
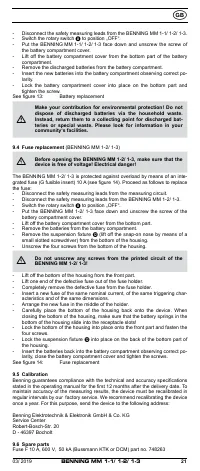
The BENNING MM 1-1/ 1-2/ 1-3 is supplid by means of two integrated 1.5 V
micro (AAA) batteries.
Battery replacement (see figure 13) is required, if the battery symbol
appears
on the display
.
Proceed as follows to replace the battery:
- Disconnect the safety measuring leads from the measuring circuit.
03/ 2019
BENNING MM 1-1/ 1-2/ 1-3


