Магнитолы Pioneer MVH-09UB - инструкция пользователя по применению, эксплуатации и установке на русском языке. Мы надеемся, она поможет вам решить возникшие у вас вопросы при эксплуатации техники.
Если остались вопросы, задайте их в комментариях после инструкции.
"Загружаем инструкцию", означает, что нужно подождать пока файл загрузится и можно будет его читать онлайн. Некоторые инструкции очень большие и время их появления зависит от вашей скорости интернета.


11
H:\PDF-OUT\127075007251\020Chapter_EN.fm
MVH-09UB/MVH-09UBG
127075007251
En
En
g
lis
h
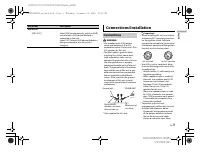
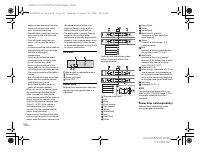
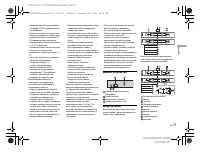
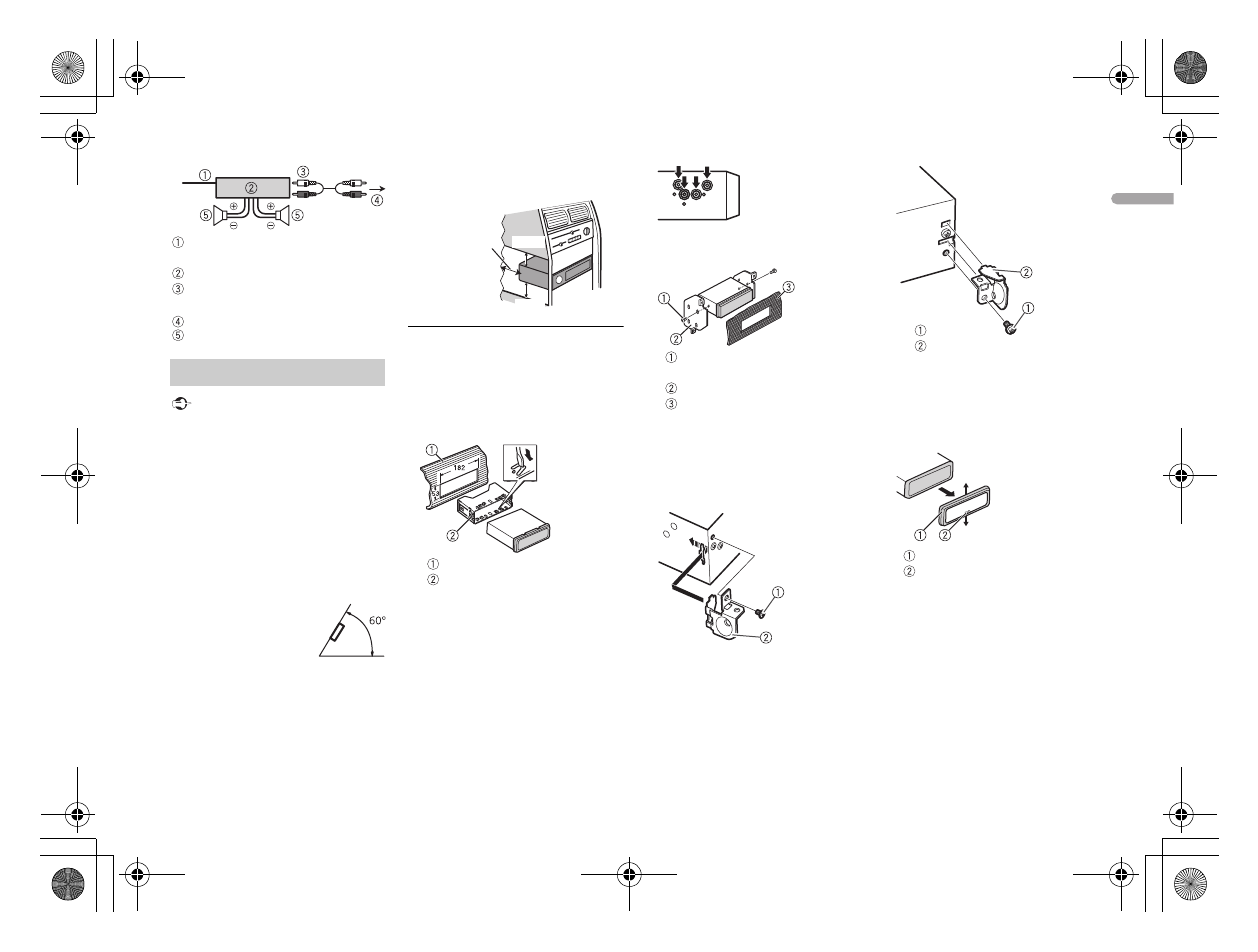
System remote control
Connect to blue/white cable.
Power amp (sold separately)
Connect with RCA cables (sold
separately)
To rear output or subwoofer output
Rear speaker or subwoofer
Important
•
Check all connections and systems
before final installation.
•
Do not use unauthorized parts as
this may cause malfunctions.
•
Consult your dealer if installation
requires drilling of holes or other
modifications to the vehicle.
•
Do not install this unit where:
– it may interfere with operation of
the vehicle.
– it may cause injury to a passenger
as a result of a sudden stop.
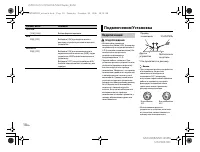
•
Optimum
performance is
obtained when the
unit is installed at an
angle of less than 60°.
•
When installing, to ensure proper
heat dispersal when using this unit,
make sure you leave ample space
behind the rear panel and wrap any
loose cables so they are not blocking
the vents.
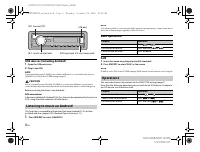
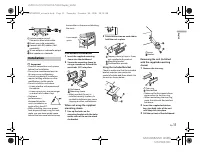
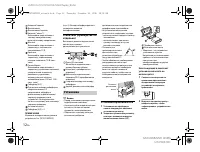
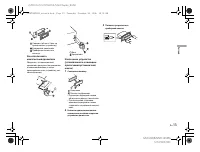
DIN mount installation
1
Insert the supplied mounting
sleeve into the dashboard.
2
Secure the mounting sleeve by
using a screwdriver to bend the
metal tabs (90°) into place.
Dashboard
Mounting sleeve
•
Make sure that the unit is
installed securely in place. An
unstable installation may cause
skipping or other malfunctions.
When not using the supplied
mounting sleeve
1
Line up the holes on the
mounting bracket with the holes
on the sides of the unit to attach
the bracket.
Installation
Leave ample
space
5 cm
5 cm
2
Screw in one screw on each side to
hold the unit in place.
Tapping screw (φ5 mm × 9 mm,
not supplied with product)
Mounting bracket
Dashboard or console
Using the included bracket
Check to make sure that the included
bracket matches your particular
model of vehicle and then attach it to
the unit as shown below.
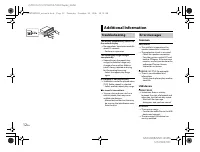
Removing the unit (installed
with the supplied mounting
sleeve)
1
Remove the trim ring.
Trim ring
Notched tab
•
Releasing the front panel allows
easier access to the trim ring.
•
When reattaching the trim ring,
point the side with the notched
tab down.
2
Insert the supplied extraction
keys into both sides of the unit
until they click into place.
3
Pull the unit out of the dashboard.
Screw
Bracket
_127075007251_artwork.book Page 11 Thursday, November 24, 2016 10:34 AM
Содержание
- 18 О данном руководстве:; Содержание; Перед началом эксплуатации
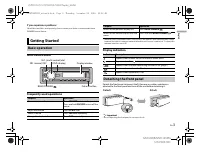
- 19 ПРЕДУПРЕЖДЕНИЕ; Часто используемые операции; Начало работы; Основные операции
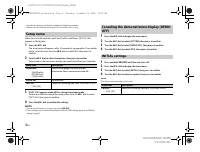
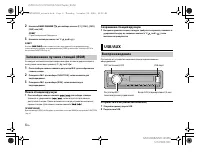
- 20 Индикация на дисплее; Снятие передней панели; Снятие; Установочное меню
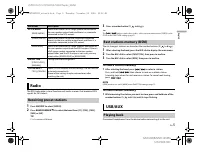
- 21 Настройки INITIAL; Радио
- 22 Поиск станции вручную; Сохранение станций вручную; Воспроизведение
- 23 ВНИМАНИЕ; Прослушивание музыки на Android; AUX; Операции
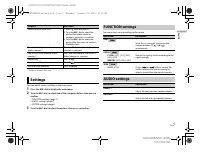
- 24 Настройки; Настройки FUNCTION
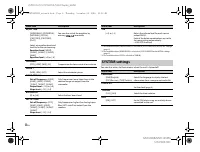
- 25 Настройки SYSTEM
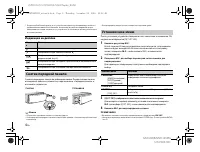
- 26 Подключения/Установка; Подключения
- 27 Данное устройство
- 28 Установка; Установка крепления DIN
- 30 Общие; Дополнительная информация
- 31 Файлы WMA; Файлы MP3
- 32 Пример иерархии
- 33 Серийный номер


