
Кофеварка BRAYER BR1103 - инструкция пользователя по применению, эксплуатации и установке на русском языке. Мы надеемся, она поможет вам решить возникшие у вас вопросы при эксплуатации техники.
Если остались вопросы, задайте их в комментариях после инструкции.
"Загружаем инструкцию", означает, что нужно подождать пока файл загрузится и можно будет его читать онлайн. Некоторые инструкции очень большие и время их появления зависит от вашей скорости интернета.


8
EN
•
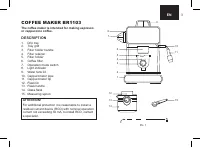
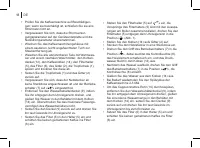
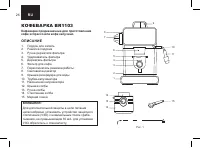
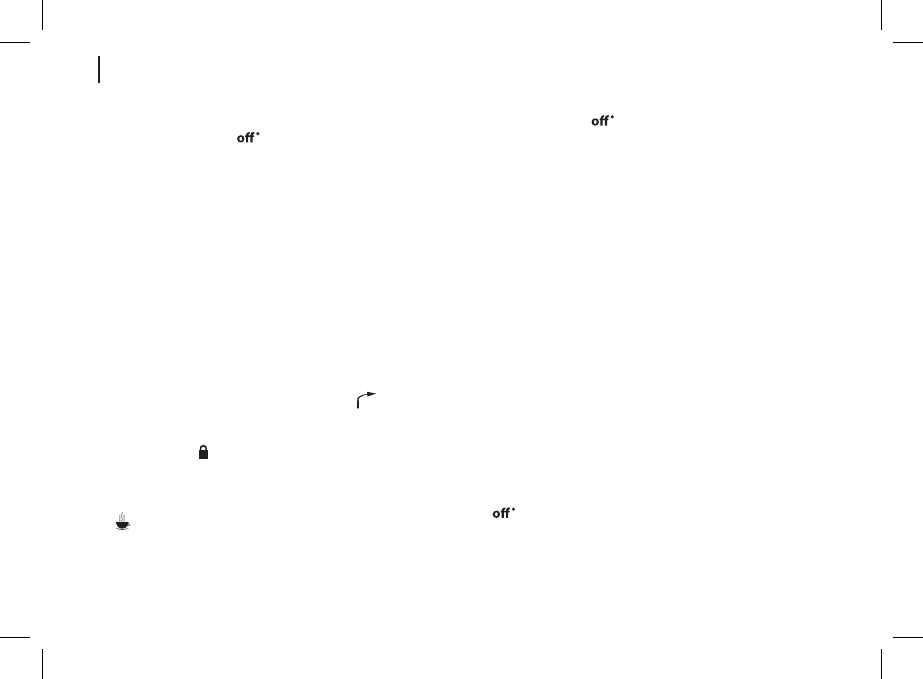
After making coffee set the operation mode switch (7)
to the position «
» to switch the coffee maker off,
and the indicator (8) will go out.
•
Pour the ready coffee into cups.
•
Remove the filter holder (5) by turning it clockwise,
wash the filter (6). Use the filter retainer (4) to avoid
the filter (6) dropping.
•
Control the tray (1) filling, when the tray (1) is full,
remove the grid (2) and the tray (1), pour the liquid out
of the tray (1). Wash the tray (1) and the grid (2), dry
them and install the tray (1) and the grid (2) back to
their places.
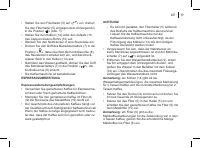
MAKING CAPPUCCINO
Attention!
When making cappuccino be careful to avoid
getting burns by outgoing hot steam.
•
Make coffee, as described in the chapter «MAKING
ESPRESSO», pour coffee in the cup with enough
capacity to add frothed milk.
•
Milk for making foam must be cold, fresh and without
additives. Use whole milk with fat content from 4%
to 6%, the cream fat content should be not less than
10%.
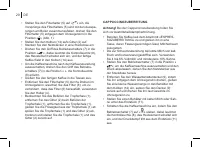
• Set the operation mode switch (7) to the position «
» to switch the coffee maker off and release the
pressure, then unplug the unit.
• Remove the water tank lid (9) turning it
counterclockwise and pour some water into the tank
• Make sure that the power plug is not inserted into the
mains socket, and the operation mode switch (7) is
set to the position «
».
• Remove the water tank lid (9) turning it
counterclockwise and fill the water tank, using the
flask (14). Do not exceed the maximal capacity of the
water tank.
Note:
there are water level marks on the flask (14), the
maximal level mark is for 4 cups of coffee, the minimal
mark is for 2 cups of coffee.
• Install the lid (9) back to its place and thread it
rotating clockwise.
•
Put the filter (6) into the holder (5), add ground coffee
into the filter (6) with the measuring spoon (15).
Note:
there are marks on the filter (6) for the amount of
ground coffee for making 2 or 4 cups of coffee. Add the
required amount of ground coffee into the filter (6).
•
Set the filter holder (5) to the position «
», the filter
holder (5) ledges should match the grooves in the
boiler. Turn the filter holder (5) counterclockwise to
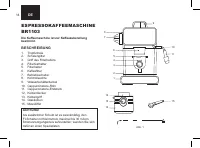
the position « » (pic. 1).
•
Place the flask (14) on the grid (2).
• Insert the power plug into the mains socket.
• Set the operation mode switch (7) to the position «
brew
», the light indicator (8) will light up, the heating
element will switch on and the ready coffee will start
pouring into the flask (14).


