
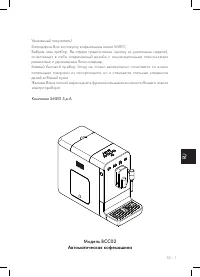
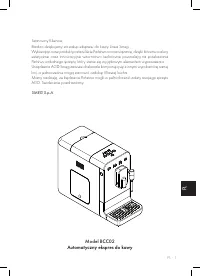
Кофемашина Smeg BCC02WHMEU - инструкция пользователя по применению, эксплуатации и установке на русском языке. Мы надеемся, она поможет вам решить возникшие у вас вопросы при эксплуатации техники.
Если остались вопросы, задайте их в комментариях после инструкции.
"Загружаем инструкцию", означает, что нужно подождать пока файл загрузится и можно будет его читать онлайн. Некоторые инструкции очень большие и время их появления зависит от вашей скорости интернета.


EN - 4
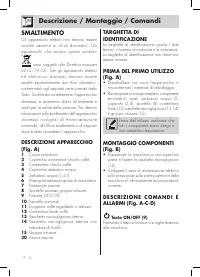
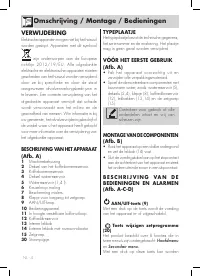
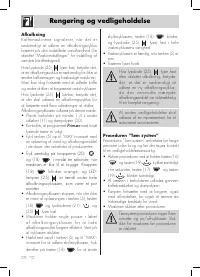
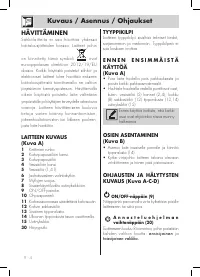
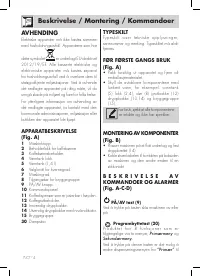
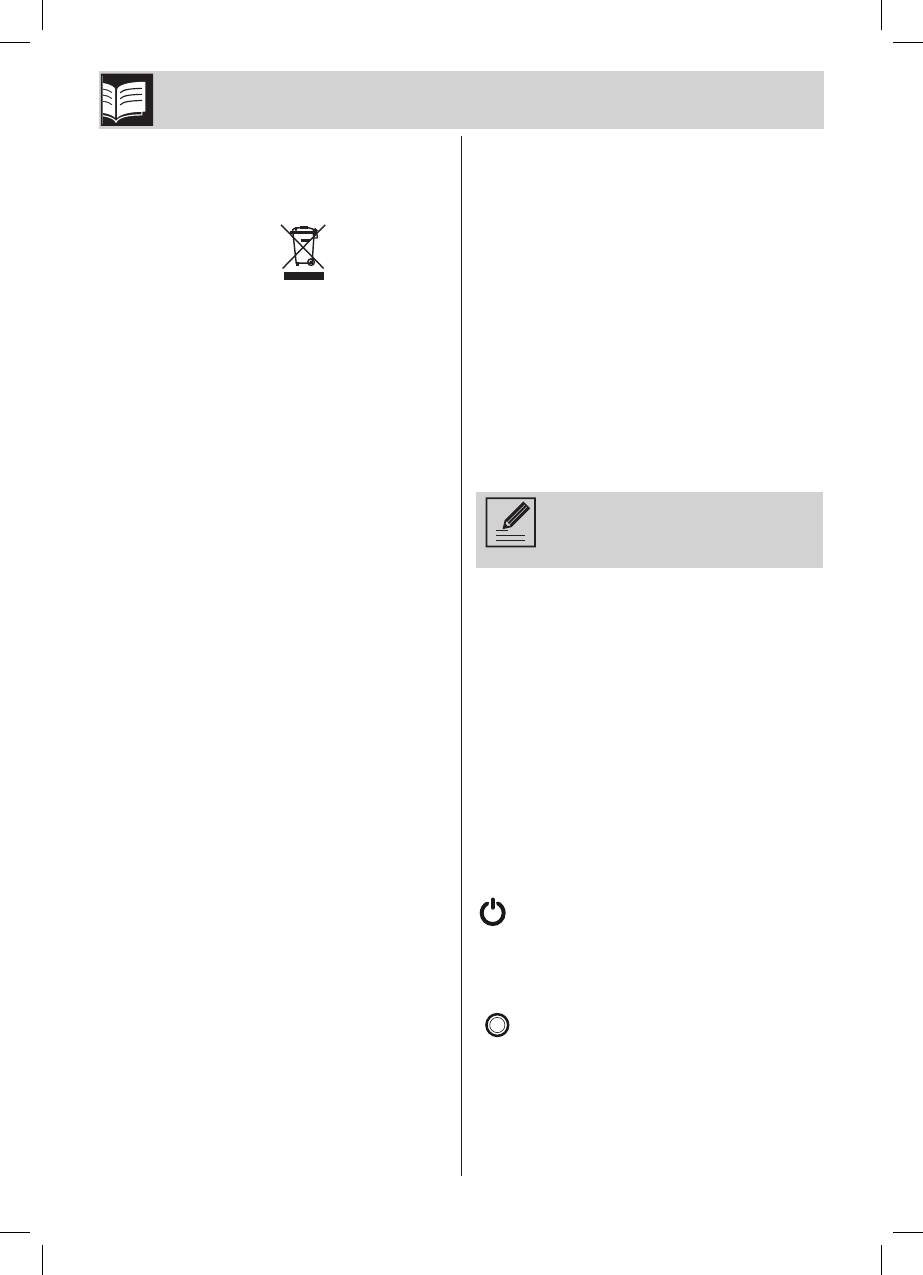
DISPOSAL
Electrical appliances must not be disposed
of with household waste. The appliances
that have this symbol
are subject to
the European Directive 2012/19/EU. All
discarded electric and electronic appliances
must be disposed of separately from household
waste, by taking them to relevant centres
envisioned by the Country. By disposing of
the discarded appliance correctly, damage
to the environment and risks to health will be
avoided. For further information regarding
disposal of the discarded appliance, contact
the Municipal Administration, the Disposal
dept. or the shop where the appliance was
purchased.
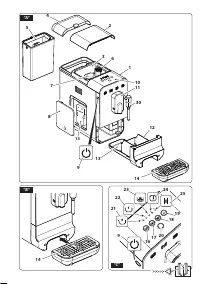
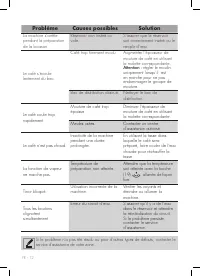
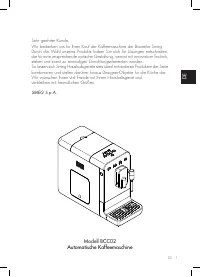
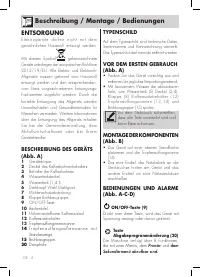
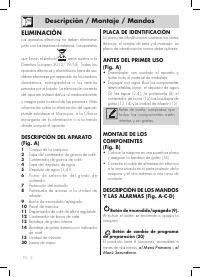
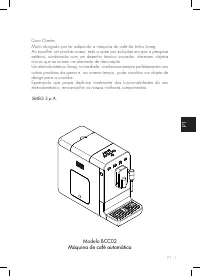
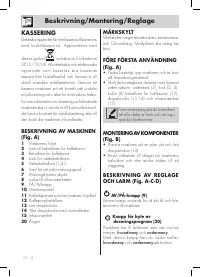
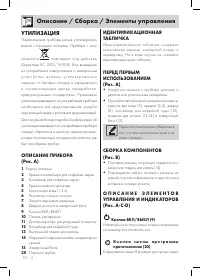
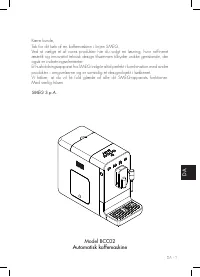
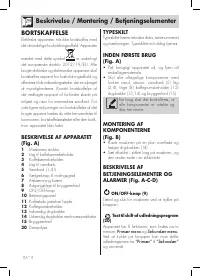
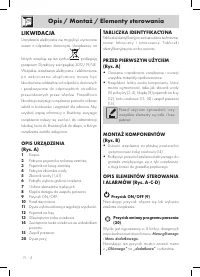
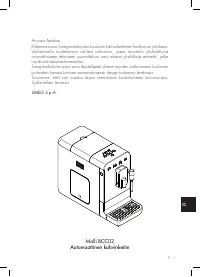
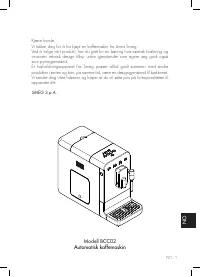
DESCRIPTION OF THE APPLIANCE
(Fig. A)
1
Machine body.
2
Coffee bean container lid.
3
Coffee bean container.
4
Water tank cover.
5
Water tank (1,4 l).
6
Grinding selection knob.
7
Grinders protection.
8
Brewing group access door.
9
ON/OFF button.
10
Control panel.
11
Height adjustable coffee dispenser.
12
Coffee grounds container.
13
Internal drip tray.
14
External drip tray with level indicator.
15
Brewing group.
30
Steam wand.
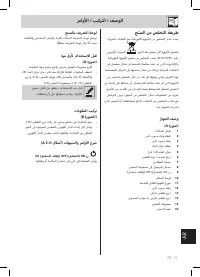
IDENTIFICATION PLATE
The identification plate states the technical
data, serial number, and marking.
The identification plate must never be removed.
BEFORE FIRST USE
(Fig. A)
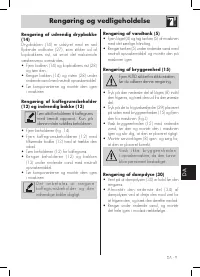
• Unpack the appliance carefully and remove
all packaging materials.
• Rinse the removable components with
lukewarm water, such as: water tank (5)
covers (2,4), door (8) grounds container
(12) drip trays (13,14) and brewing group
(15).
B e f o r e u s e , c h e c k t h a t a l l
components are integral and have
no cracks.
ASSEMBLY OF COMPONENTS
(Fig. B)
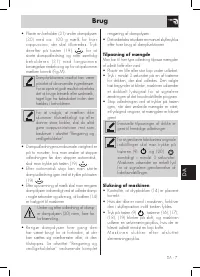
• Place the machine on a flat surface and fix
the drip tray (14).
• Connect the power supply cable to the
socket on the rear of the machine and the
other end to a power socket.
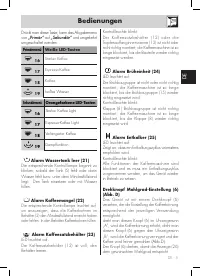
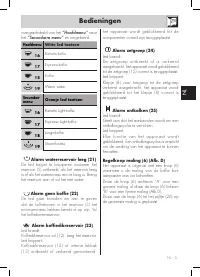
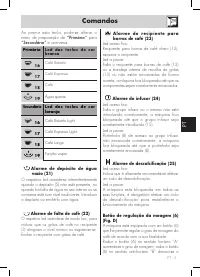
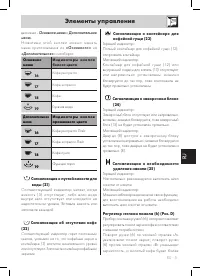
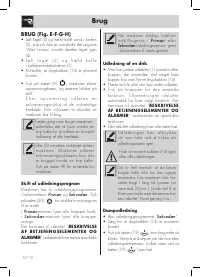
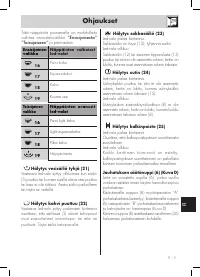
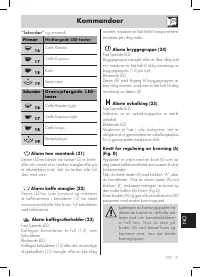
DESCRIPTION OF CONTROLS
AND ALARMS (Fig. A-C-D)
ON/OFF button (9)
Pressing the button switches the machine on
or off.
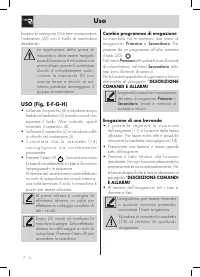
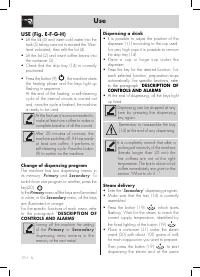
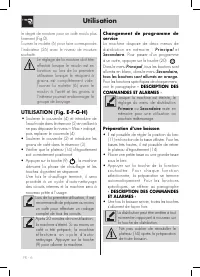
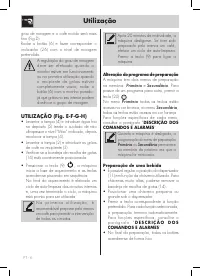
Change dispensing program
button (20)
The product has 8 functions, accessible
through two menus,
Primary Menu
and
Secondary Menu.
By pressing this button it is possible to change
the dispensing menu from
“Primary”
and
Description / Assembly / Controls
Содержание
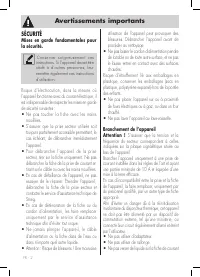
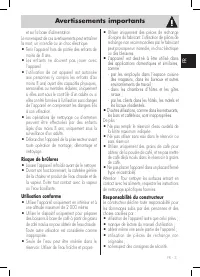
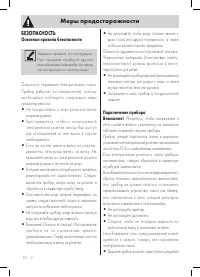
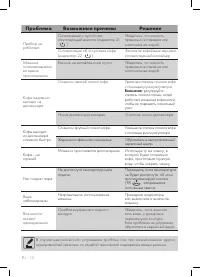
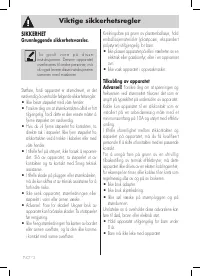
- 103 БЕЗОПАСНОСТЬ; Основные правила безопасности; Бережно храните эти инструкции.; Подключение прибора; Меры предосторожности
- 105 УТИЛИЗАЦИЯ; К н о п к а с м е н ы п р о г р а м м ы
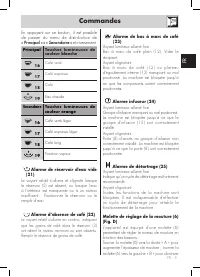
- 106 Сигнализация о пустой емкости для; Элементы управления
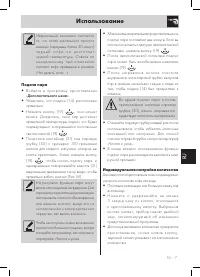
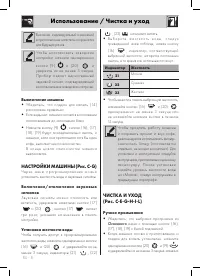
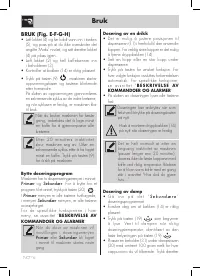
- 107 Использование
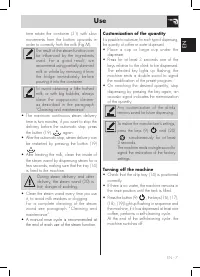
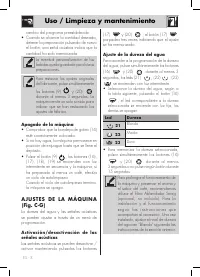
- 108 Подача пара; Дополнительного меню; Индивидуальная настройка количества
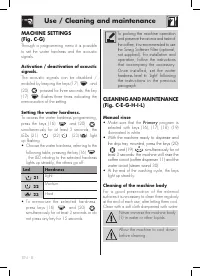
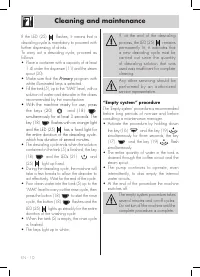
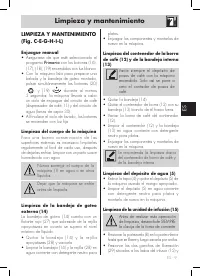
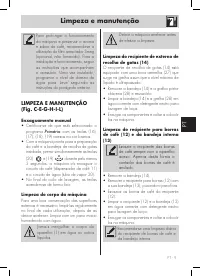
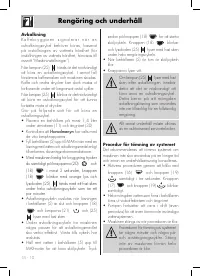
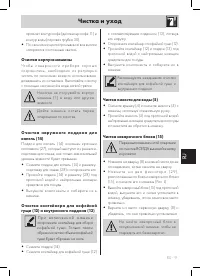
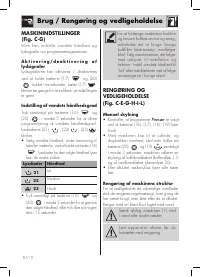
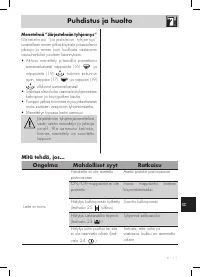
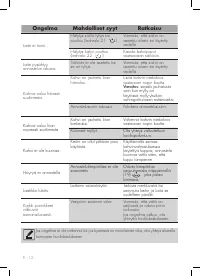
- 109 Использование / Чистка и уход; ЧИСТКА И УХОД; Ручное промывание; Основного
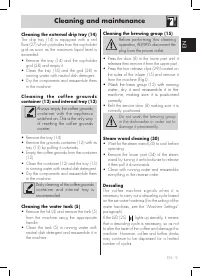
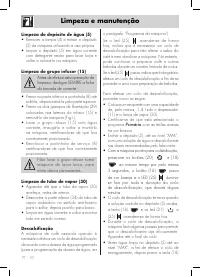
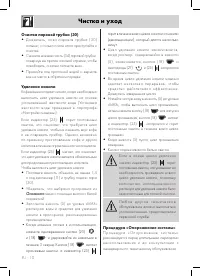
- 110 Чистка и уход; Очистка корпуса машины; П р и в к л ю ч е н н о й м а ш и н е
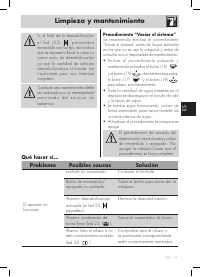
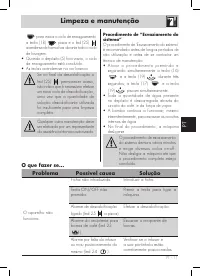
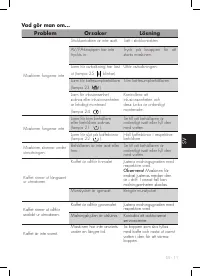
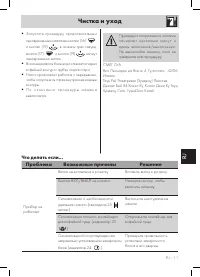
- 111 Удаление накипи; Процедура «Опорожнение системы»
Характеристики

Остались вопросы?Не нашли свой ответ в руководстве или возникли другие проблемы? Задайте свой вопрос в форме ниже с подробным описанием вашей ситуации, чтобы другие люди и специалисты смогли дать на него ответ. Если вы знаете как решить проблему другого человека, пожалуйста, подскажите ему :)


