
Газонокосилки VERTO 1600 Вт 52G574 - инструкция пользователя по применению, эксплуатации и установке на русском языке. Мы надеемся, она поможет вам решить возникшие у вас вопросы при эксплуатации техники.
Если остались вопросы, задайте их в комментариях после инструкции.
"Загружаем инструкцию", означает, что нужно подождать пока файл загрузится и можно будет его читать онлайн. Некоторые инструкции очень большие и время их появления зависит от вашей скорости интернета.


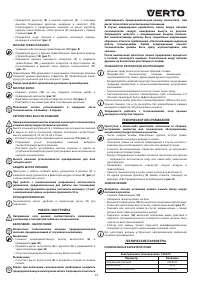


11
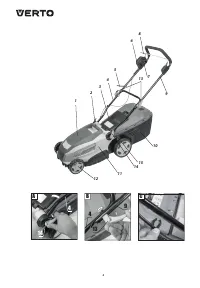
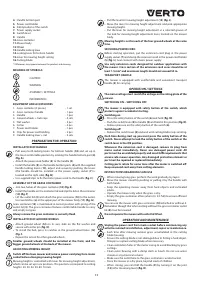
4.
Handle bottom part
5.
Power cord holder
6.
Safety button of the switch
7.
Power supply socket
8.
Switch lever
9.
Handle
10.
Grass container
11.
Mower body
12.
Wheel
13.
Handle locking lever
14.
Locking lever for bottom handle
15.
Lever for mowing height setting
16.
Cutting blade
* Differences may appear between the product and drawing.
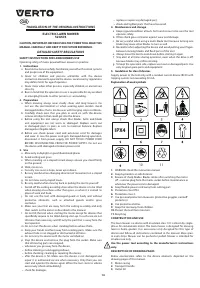
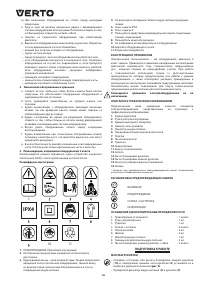
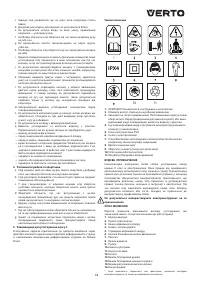
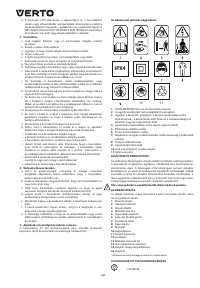
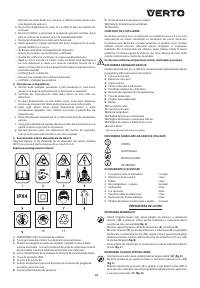
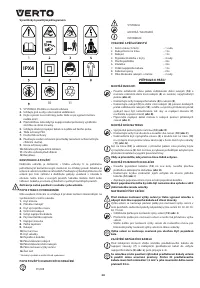
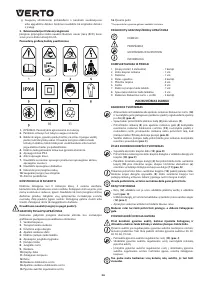
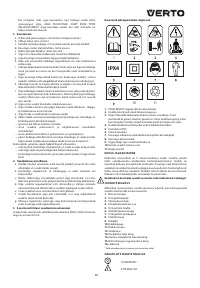
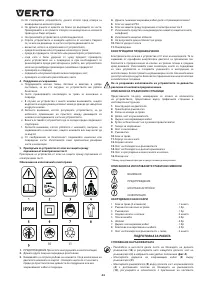
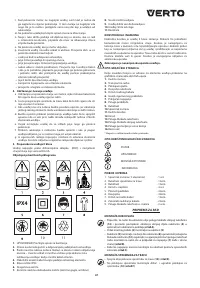
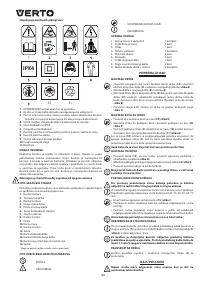
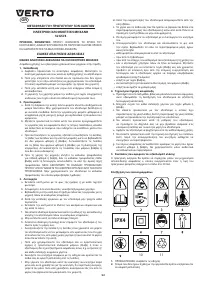
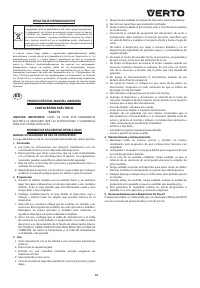
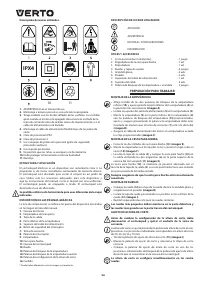
MEANING OF SYMBOLS
CAUTION
WARNING
ASSEMBLY / SETTINGS
INFORMATION
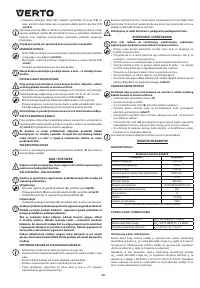
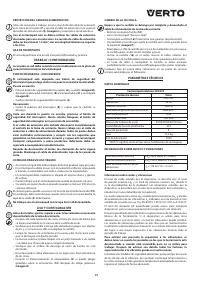
EQUIPMENT AND ACCESSORIES
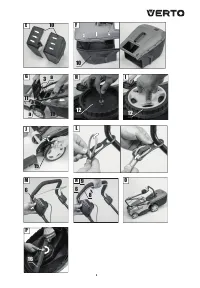
1. Grass container (3 pieces)
- 1 set
2. Grass container handle
- 1 pce
3. Handle
- 1 pce
4. Ground wheels + hub caps
- 4 sets
5. Flat washer
- 4 pcs
6. Cotter
- 4 pcs
7. Power cord holder
- 1 pce
8. Clips for power cord holding
- 2 pcs
9. Handle locking lever + nut
- 2 sets
PREPARATION FOR OPERATION
INSTALLATION OF HANDLE
•
Pull away both locking levers for bottom handle (
14
) and set up in
the most comfortable position by rotating the handle bottom part (
4
)
(
fig. A
).
•
Attach the power cord holder (
5
) to the handle (
9
).
•
Install the handle (
9
) on the handle bottom parts (
4
) with the supplied
handle locking levers (
13
), adjust and secure by pushing the levers
(the handle should be installed so the power supply socket (
7
) is
located on the right side) (
fig. B
).
•
Use supplied clips to fix the motor power cord to the handle (
fig. C
).
ASSEMBLY OF THE GRASS CONTAINER
•
Join two halves of the grass container (
10
) (
fig. E
).
•
Install the handle on the container lid and clip the lid on the container
(
10
) (
fig. F
).
•
Lift the outlet lid (
3
) and attach the grass container (
10
) to the outlet.
Use two latches (
a
) in the upper part of the mower body (
11
) (
fig. G
).
Grass container (
10
) is maintained in correct position with spring of the
outlet lid (
3
). The grass container features comfortable handle to carry
and empty cut grass.
Always ensure the grass container is correctly fixed.
INSTALLATION OF GROUND WHEELS
•
Attach ground wheel (
12
) on its axis, slide on the flat washer and
secure with cotter pin (
fig. H
).
•
To install the hub, press its catches in the ground wheel holes (
12
)
(
fig. I
).
•
Repeat this action for other ground wheels.
Smaller ground wheels should be installed at the front, and the
bigger ground wheels at the back of the mower.
ADJUSTING MOWING HEIGHT
Switch off the lawn mower and remove power cord plug from mains
socket before changing mowing height.
Mowing height is controlled with lever for mowing height adjustment,
which can be set up in six positions. The positions correspond to cutting
heights: 20, 30, 40, 50, 60, 70 mm.
•
Pull the lever for mowing height adjustment (
15
) (
fig. J
).
•
Move the lever for mowing height adjustment and pick appropriate
mowing height.
•
Put the lever for mowing height adjustment in a selected groove of
the lock for mowing height adjustment lever, located on the mower
body.
Mowing height is set for each of the four ground wheels at the same
time.
SECURING POWER CORD
Before starting operation, put the extension cord plug in the power
supply socket (
7
) and clamp the extension cord in the power cord holder
(
5
) (
fig. L
), next connect with mains power supply.
Use only extension cords designed for outdoor applications with
the mower. Cross section of the extension cord cores should be at
least 1.5 mm
2
and maximum length should not exceed 50 m.
TRANSPORT HANDLE
The mower is equipped with comfortable and convenient transport
handle (
2
) for carrying.
OPERATION / SETTINGS
The mains voltage must match the voltage on the rating plate of the
mower.
SWITCHING ON – SWITCHING OFF
The mower is equipped with safety button of the switch, which
protects against accidental starting.
Switching on
•
Press the safety button of the switch (
6
) and hold (
fig. M
).
•
Push the switch lever (
8
) to handle (
9
) and hold in this position (
fig. N
).
•
Release pressure on the safety button of the switch (
6
).
Switching off
•
Release the switch lever (
8
) and wait until cutting blade stops rotating.
Each time during start up you must press the safety button of the
switch. Never attempt to lock the safety button of the switch or the
switch lever in the ON position.
Whenever the extension cord is damaged, remove its plug from
mains socket immediately. Never use damaged power cord. All
parts must be assembled properly and must fulfil requirements that
ensure safe mower operation. Any damaged protective element or
part must be repaired or replaced immediately.
Cutting parts rotate for some time after the motor is switched off.
Keep unwound cord away from cutting elements.
INSTRUCTIONS REGARDING SAFE USE
•
When mowing long grass perform the work gradually, by layers.
•
Move the mower smoothly pushing or pulling it by the handle with
both hands.
•
Keep the operating mower away from hard objects and cultivated
plants.
•
Operate the mower only when the grass is dry.
•
Empty the grass container often (when it is 2/3 full) to ensure efficient
mowing.
You can use the mower with grass container (
10
) attached or without it.
Remember though that when cutting without the grass container outlet
lid (
3
) must be lowered.
Do not operate the mower with outlet lid lifted.
OPERATION AND MAINTENANCE
Unplug the power cord from mains socket before commencing any
activities related to installation, adjustment, repair or maintenance.
•
Each time after mowing remove grass accumulated in the cutting
blade housing.
•
Ensure the cutting blade is not damaged due to hitting a hard object.
Sharpen or replace cutting blade when necessary.
•
Clean ventilation holes of the motor casing to avoid blocking by grass
cuttings.
•
Clean outer housing with a damp cloth or brush. Do not use water
stream or any chemical solvent.
•
Make sure the outlet hole to the grass container is unobstructed.
•
Store the mower in a dry place, beyond reach of children.
•
When storing, you can fold the handle (
9
) by turning it on the joint
(
13
) (after loosening lever) (
fig. O
).

